Showing posts with label spellbinders. Show all posts

1.10.2023

British Ducks and Whatnot

 Did you know that was a thing? There are British Ducks. No, really. Very. British Ducks. I didn't know that until I went to London over Christmas, where I met the most British duck I've ever seen. Here... let me introduce you....


There she is. Tell me she is not the most British duck you have ever seen. And, yes, she lives in the Queen's Gardens. And she is lovely. I did not take her home. but I sure did want to do so.

All that to say, ducks are pretty fun. and this new SUPER cute duck die set from Spellbinders is no exception to that!


Ummm... seriously, though! I used an amazing new raindrop 3-D Embossing folder for the background along with blended distress inks and then pieced together the adorable duck, giving him sparkly red rubber rain boots and a sparkly rain cap along with a red umbrella. 


The sentiment die is from the new Raining Hearts Etched Die set and I love it! I stacked it three deep to give it a bit of structure and dimension. And... because I borrowed a couple of the child's rubber ducks for this photo shoot... he insisted on being in a shot with them.

He's a pretty cute little duckling, himself, if you ask me! HA! 

So, head on over and check out the newest release from Spellbinders and spend your day contemplating the nationality of ducks. If you do those two things, I promise you will have a wonderful day. You truly will!

Have a good one!

11.21.2021

Season of Wonder

 So, I made this card and then I was so excited about it I just had to post it before the stack that I have waiting to be posted. It happens, what can I tell ya?

Here's the thing...since I took a super long break from crafting, a few trends have emerged on the technique side and I am trying to learn some new things and do different stuff. Stencils are EVERYWHERE now. Like... they are huge. And hot foiling seems to be pretty big, too. Sooooo...I decided to pull out some of my new Pinkfresh Studio goodies and practice a bit of both of those things! 


I used the absolutely gorgeous Wintry Forest stencil set with some distress inks to create this scene. Now, folks, understand that I often struggle with color choices. I am not super great at brining a bunch of colors together, but I was SO HAPPY with this color combination. Seriously. I love it so much. It makes me happy. For the final stencil, I used VersaMark ink and then heat embossed the snow onto the branches to complete the look. 


The sentiment is hot foiled using the Thrill of Hope hot foil plate set along with the coordinating dies. I cut the sentiment several times and stacked them to give it depth. 

No joke. This is one of those cards that I just kept looking at and thinking... whoa! I made that! LOL! Don't you love it when that happens? Drop a link to a project you are particularly proud of in the comments and I'll come check it out!

Have a great day!

7.14.2015

OMG! Congrats!

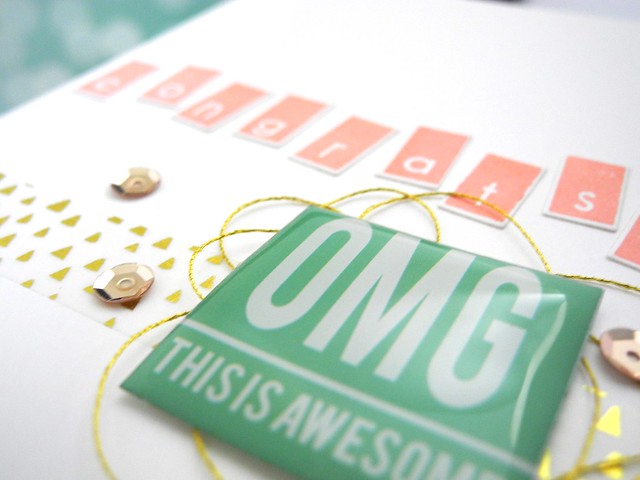
It is almost time for the Pinkfresh Studio July Embellishment kit to go live, but before we move to that one, I have a card I want to share using the awesome June kit that is still available! These letter stamps and the die that goes with them? Holy goodness, I am in love!

OMG! This is Awesome! by Jennifer Ingle #JustJingle #PinkfreshStudio #cards

That washi tape. *sigh* For reals, though. I am so in love with hit. And the epoxy stickers are fabulous! I brushed the back of this one to make it not sticky and then added some string and foam tape behind it to pop it up.

OMG! This is Awesome! by Jennifer Ingle #JustJingle #PinkfreshStudio #cards


Be sure to head on over to the Pinkfresh Studio blog to check out more inspiration!

Thank you to Pinkfresh Studio for providing the kits for my design team projects at no cost. All art and opinions in this post are my own.

7.13.2015

Mondays and Coffee Go Together Like...

Like, well, Mondays and Coffee, wouldn't you say? I have a super fun coffee themed card up over on the Spellbinders® blog! I've included a complete tutorial to show you how to recreate it, too! I hope you will stop by and check it out!

Coffee Time by Jennifer Ingle for Spellbinders #JustJingle #Spellbinders

Also, I am pretty excited that you are now able to LEAVE COMMENTS on the Spellbinders® blog!!! Yes!!! So make sure to leave some love while you are over there checking out the tutorial! 

Have a Happy! (And maybe a coffee, while you're at it. *wink*)


6.30.2015

It's New and It's Awesome!


Have you heard about the new Spellbinders® Sapphire machine? It is currently exclusively available through Joann Stores and when you see the price, you are going to be a *wee tad bit* excited. For reals, though. This is a fabulous smaller machine and there is also a great line of blue dies to go with it! YAY! This week some of the Spellbinders® designers and partners are participating in a blog hop AND you have a chance to win a Sapphire! Seriously. It's the cutest thing ever and you need one. I promise. Click on THIS LINK to find out how to enter to win!

In the meantime, I am sharing a card today that I created using some of the fabulous new Sapphire dies!

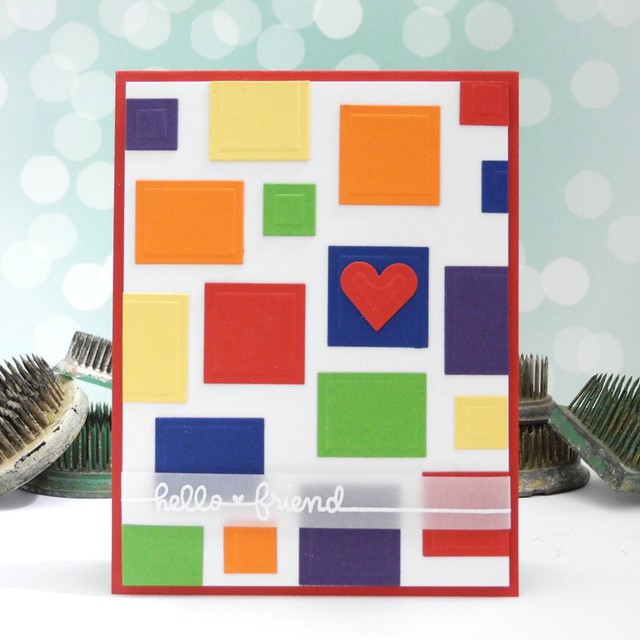
Hello Friend by Jennifer Ingle #spellbinders #JustJingle #cardmaking #giveaway


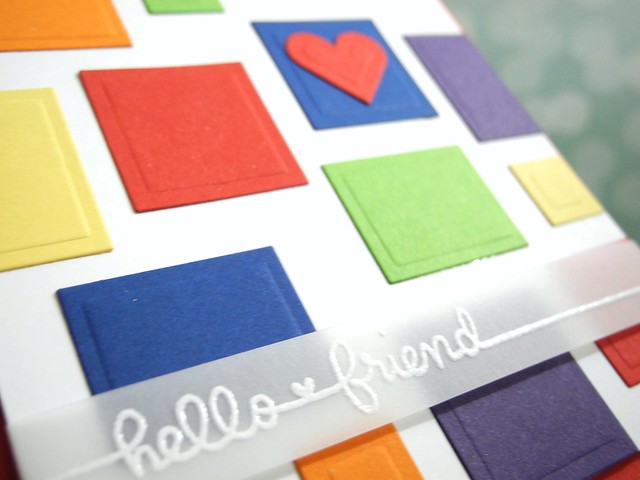
For this card I pulled out the Basic Squares, Basic Rectangles, and the Mini Hearts die sets. Why, yes, I do happen to be in love with these dies. Like, SUPER DUPER in love, dude. Save the date. For reals, though.

Hello Friend by Jennifer Ingle #spellbinders #JustJingle #cardmaking #giveaway


I cut the shapes in several colors before adhering them randomly onto my card. I made sure to emboss each piece (because Spellbinders® dies are MADE to cut and emboss and they rock like that) to add extra visual texture to the design. I absolutely LOVE how this one turned out. For reals.

Be sure to head on over to the Spellbinders® Blog to enter to win and to check out the blog hop!

Have a Happy!

6.14.2015

Two Cards. Two Techniques. Two Tutorials

It's not TUESDAY, but it is TWOSDAY! hee-hee....see what I did there? *sigh* Okay, I will get on with it, I promise.

Here's the deal, I have TWO cards and TWO tutorials up today on different blogs. Each shows a different technique and I honestly think both are awesome and I hope you love them.

Gold Foil Awesome by Jennifer Ingle #justjingle #casualfridaysstamps #goldfoil #cards


This card is up over on the CAS-ual Fridays Stamps blog and I have a complete tutorial showing you how to get that distressed foil look! Hint: No fancy machines required! YAY! I'd love for you to stop by and check it out!

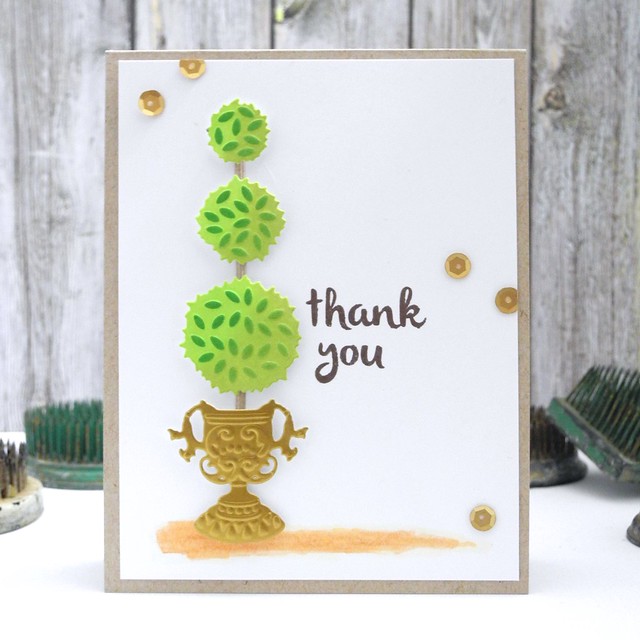
Topiary Thanks by Jennifer Ingle #justjingle #spellbinders #cards #diy


This card is up over on the Spellbinders blog and with this one I show you how to really get FULL mileage out of your Spellbinders dies by using them to cut, emboss, AND stencil to create a seriously fantastic finished look. LOVE IT!

So, basically, why are you still here? GO! Check out these tutorials! Share them with friends! Thanks and I love you all!

Have a Happy!

6.10.2015

Because Sometimes You Just Feel Like Putting a Shaker in the Middle of a Card

That's a really long blog post title, but it's true, soooo.... I'm going with it. For reals, though. This was a fun card to create. The Simon Says Stamp Wednesday Challenge theme this week is Super Friends and Super Heroes. The Design Team is featuring Mama Elephant products this week. Mostly because Mama Elephant products are ADORABLE!!! For reals, though. They really are.

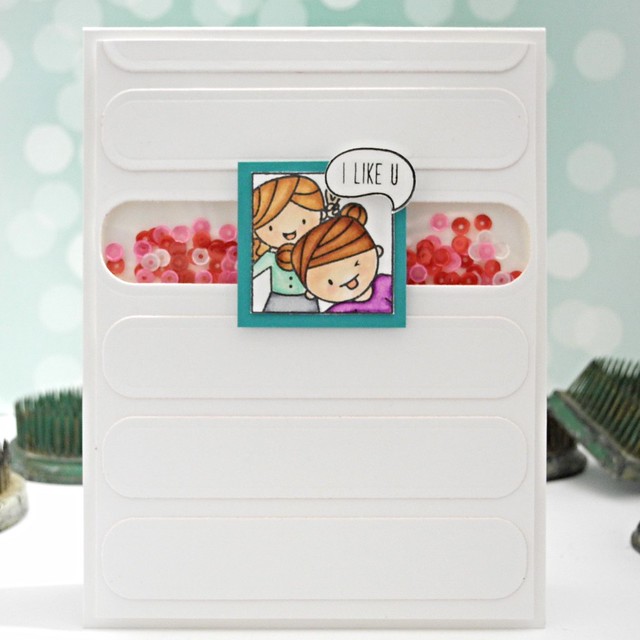
I Like U by Jennifer Ingle #mamaelephant #justjingle #simonsaysstamp #cards


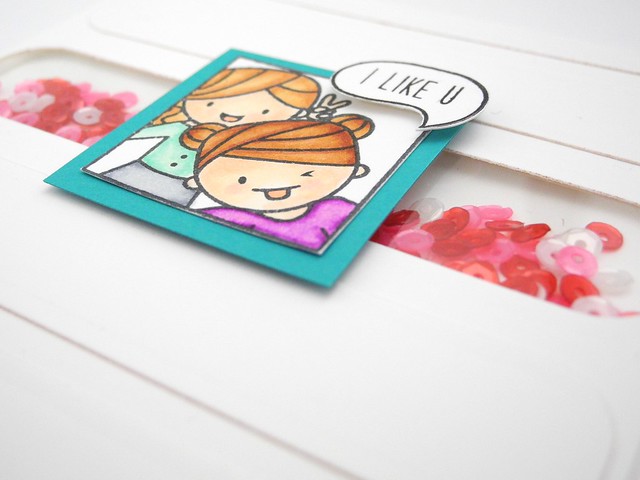
I combined a couple of adorable Mama Elephant stamp sets with the Spellbinders® Curved Matting Basics A die set to create this fun little shaker card. I layered dies over the card for a bit of a textured background that isn't too busy at all. I used the same die to create the shaker window for a bit of added fun! I kind of love this one. And by kind of, I mean I TOTALLY love this one. Totes, dude. Totes.

I Like U by Jennifer Ingle #mamaelephant #justjingle #simonsaysstamp #cards


Now it's your turn! Create a card for a special friend or your super hero and link it up over on the Simon Says Stamp Wednesday Challenge blog! If you need some inspiration, I highly recommend pulling out Mix Tape Vol. 1. It is the quintessence of super hero inspiration. I promise.

One lucky participant is going to win a $50 Gift Voucher to the Simon Says Stamp Store! WHAT?! Yup. Totally. Even super heroes need to shop now and then, right? Right. 


Supplies:
Stamps: Mama Elephant Photo Bomb and Small Talk Clear Stamp Sets
Markers: Spectrum Noir 

Have a Happy!

P.S. Heavenly Donuts Coffee choice for today: Chocolate Covered Strawberry. And yes, it is delicious!

5.26.2015

Because Puppies Make Me Smile

They really do. And I like to smile. And I REALLY love puppies. (And for the record, age does not define a puppy in my world. They are ALL PUPPIES!!!) Even though it makes me a little sad to pull out my puppy stamps, it reminds me of both of my sweet girlies and THAT makes me happy. I recently got these adorable Mama Elephant Playful Pups from Simon Says Stamp and I just love them. The puppies are just so sweet!

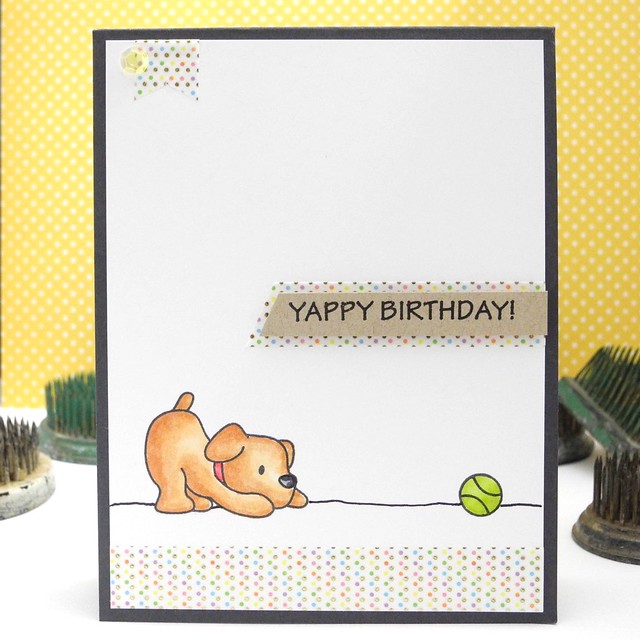
Yappy Birthday


I colored that sweet little chubby puppy with my Spectrum Noir pens and stamped and colored the tennis ball, as well. I then added the line for the floor by hand. I really like doing this, as it is never perfectly straight and adds a touch of visual interest to the card whilst grounding the images quite well.

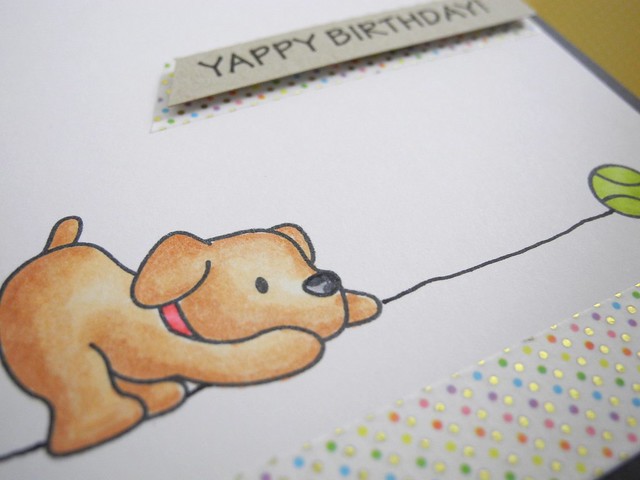
Yappy Birthday (detail)


I used some fun washi tape in a few places to accent the card. I love this tape! It's super cuteness! It is made by Little B so it comes in a cute little dispenser thingy, too. I think you can find it at Michael's. A single Spellbinders® sequin finishes it off. Did you know Spellbinders even HAD sequins? They do. And they don't have holes in them. And I LOVE that. Also, the colors are amazing and they come in a wonderful little pot. Seriously. I love them. Lots.

I hope this little puppy has made you smile today! You can find my complete supply list below.

Have a Happy!

Supplies:
Washi Tape: Little B Designs

5.15.2015

Pinkfresh Studio May Blog Hop and Giveaway!

Hello, and welcome to the Pink Fresh Studio May Embellishment Kit Release blog hop. You may be arriving to my blog from Christin's blog. If you are just finding this fun hop here on my blog and want to see some inspiration from the entire design team, jump on back to the Pink Fresh Studio blog for lots of fun!

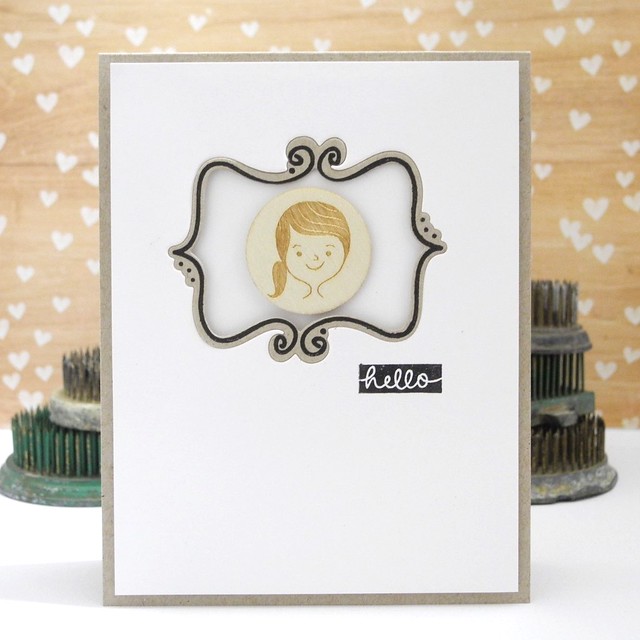
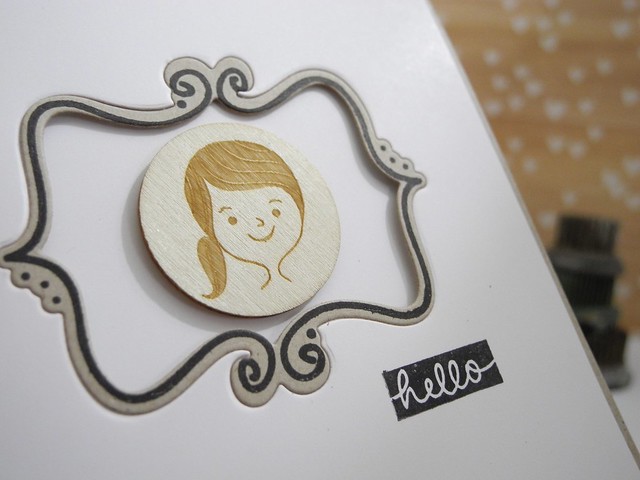
Hello, Girl by Jennifer Ingle #pinkfreshsstudio #winnieandwalter #spellbinders #diy #cards


I created this super fun card (no, seriously, you guys...I kind of love it) using the stamps (Winnie & Walter), die (Spellbinders), and embellishments in the May kit! It came together so quickly because I had everything I needed right there! Love that!

Hello, Girl by Jennifer Ingle #pinkfreshsstudio #winnieandwalter #spellbinders #diy #cards


I won't keep you long, since I know you will want to hop on over to the other posts showcasing this awesome kit, but I DO want to let you know to be sure to head over to the Pinkfresh Studio Facebook page and the Pinkfresh Studio Blog for your chance to win this awesome embellishment kit! Don't forget to leave a comment here, too!

Your next stop on the blog hop is over at Kristen's blog! Enjoy!

Have a Happy!

5.11.2015

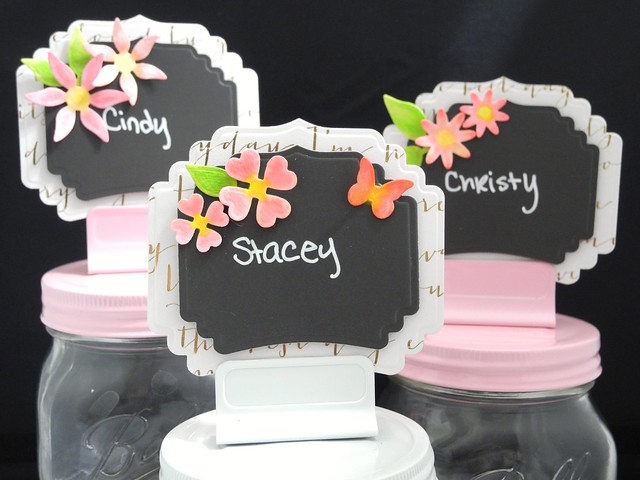
Easy Chalkboard Place Cards with Spellbinders

Hello, friends! I hope you had a wonderful weekend and I hope those of you in the US enjoyed your Mother's Day weekend! It was a gorgeous weekend here and I was lucky enough to spend LOTS of time outside! Love that!

I have a super fun tutorial over on the Spellbinders® blog to share with you today! I created these fun place cards using a couple of die sets and the popular chalkboard look!

Wedding Placecards


Seriously, you guys. These are SO MUCH FUN to create and they would be perfect for a garden party, wedding, shower, and so much more! Head on over to check them out and let me know what you think!

Have a Happy!

5.05.2015

Because: Gnomes

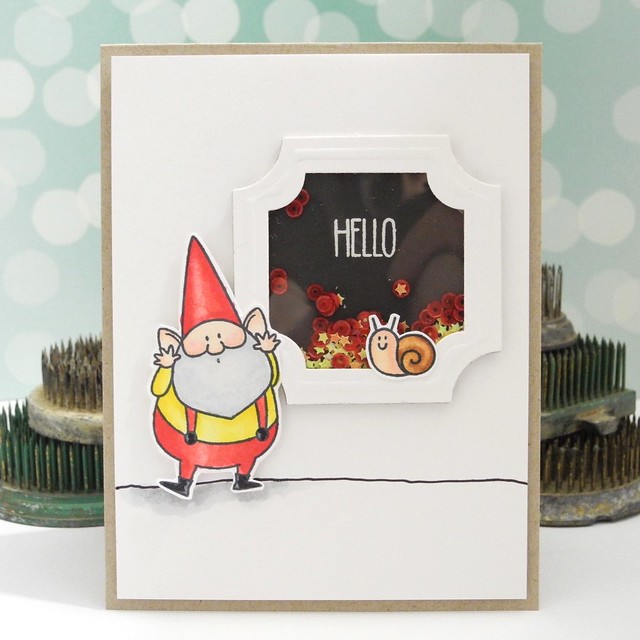
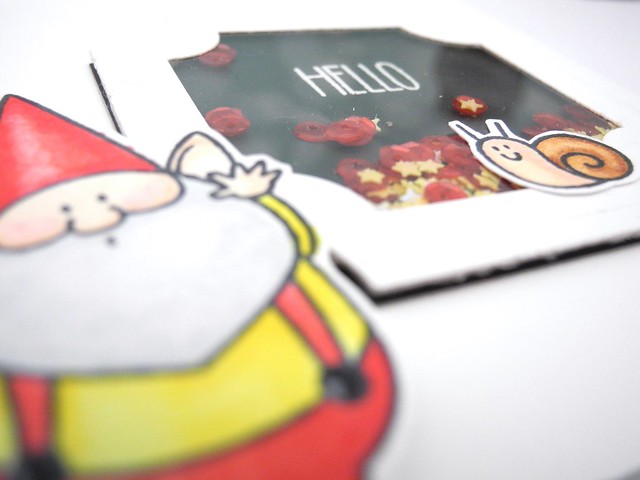
I tried, you guys, I really did. I tried desperately to NOT purchase this absolutely adorable gnome stamp set by MFT. I failed. Miserably. Honestly, it didn't even take that long. But, you GUYS, it's GNOMES!!!! Obviously I needed it. For reals, though.

Hello Gnome by Jennifer Ingle #gnomes #mftstamps #spellbinders #cardmaking #Diy #spectrumnoir


Seriously. How cute is HE?! Super cute. That's how cute, my friends, super.wicked.cute. I colored him with my Spectrum Noir pens and, obviously, did the same with the tiny snail. I fussy cut them (dies are available, but I'm cheap and already own scissors). I can't even. I just love him.

Hello Gnome by Jennifer Ingle #gnomes #mftstamps #spellbinders #cardmaking #Diy #spectrumnoir


To created the shaker, I used some great label dies (Labels Thirty Five) to create an embossed window and then used the same label to cut the background from chalkboard paper. I stamped and embossed the sentiment so it would sit inside the shaker box and then added some fun sequins.

This card, though, you guys... SO much fun to put together. I love these stamps. I'm officially glad I caved. HA!

Have a Happy!

P.S. I am linking this one up to the Virginia's View Layers and Dimension challenge

5.01.2015

(inter)National Scrapbook Day: Bazzill Basics Paper Blog Hop Event

Hello, FRIENDS! Today is going to be a BUSY day around here. No, like, totally for reals. I have four, count 'em FOUR exciting posts to share with you throughout today and tomorrow! We are celebrating (inter)National Scrapbook Day and we are doing it in STYLE here on Just Jingle! Lots of inspiration, lots of prizes, and LOTS of fun!

Bazzill Basics Paper (inter)National Scrapbook Day Blog Hop Event #bazzillbasics #NSD
Happy National Scrapbook Weekend! The Bazzill Basics Design team is excited to celebrate with you! Today we want to share some inspiration to help kick off your weekend creativity!

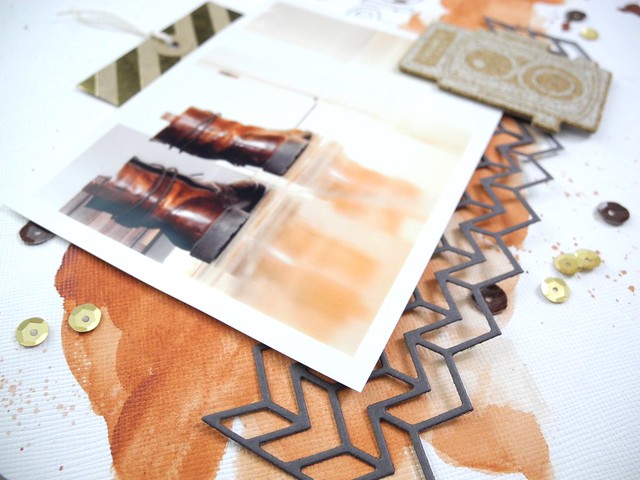
Now, let me remind you, I am a card maker. Yes, it is true, I began this journey as a scrapbooker, but the simple truth is, I was WAY better at card making and they sort of took over my life. But, JUST for you guys, I decided to create an actual scrapbook layout since, well, it is National Scrapbook Day. For reals, I totally did it. (This is a rare sighting folks, I assure you! You may want to take out your cameras, however, do so slowly and quietly as to not frighten the card maker.)

Pictures of You by Jennifer Ingle @Bazzillbasics @Jennifer Ingle #bazzillbasics #scrapbooking


I was inspired by my amazingly talented friend Beck Beattie to give a watercolor background a shot and then layer stuff over it. I am a clean and simple girl to the core, so I kept it fairly simple, but I absolutely LOVE this photo and I actually am thrilled with how this layout highlights it. It tells the story. My story. Our story. And that, my friends, is what scrapbooking is all about, isn't it? For reals, though. I do have some hidden journaling on the pull out tag behind the photo, but I wanted to keep the page within the space I had intended and kind of like that the journaling is just my own, tucked away in there.

Pictures of You (detail)

Bazzill Basics Supplies:
Lily White Bazzill Classic Cardstock (p.s. I was pleased with how well this took watercolor), Bazzill Fourz Zinc Cardstock, Bazzill Stripe Kraft Foil (SWOON!)

Other Supplies:
Spellbinders Chevron Border Die, Zig Kuratake Watercolor paints, Shimelle Cork Stickers, Lawn Fawn Alphabet stamps, American Crafts Thickers, VersaFine ink (a great ink for stamping on textured surfaces), string (yes, I pulled out the turkey string again), sequins


Click on over to the Bazzill Basics Facebook Page for more inspiration and for your chance to win this AWESOME prize!!!! Also, don't forget to share your projects on our Facebook Page or to Instagram tagging us @bazzillbasicspaper #bazzillbasics. We can't WAIT to see what you create!


Bazzill Basics Paper (inter)National Scrapbook Day Giveaway #bazzillbasics #giveaway


Be sure to check in throughout today and tomorrow for lots of (inter)National Scrapbook Day fun!

Have a Happy!

4.16.2015

From Me, To You

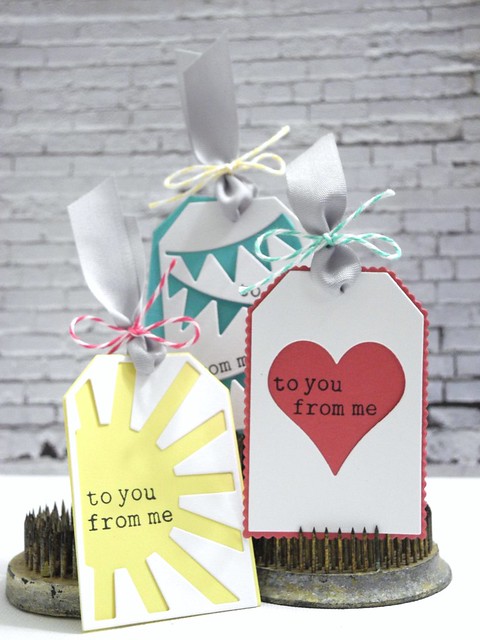
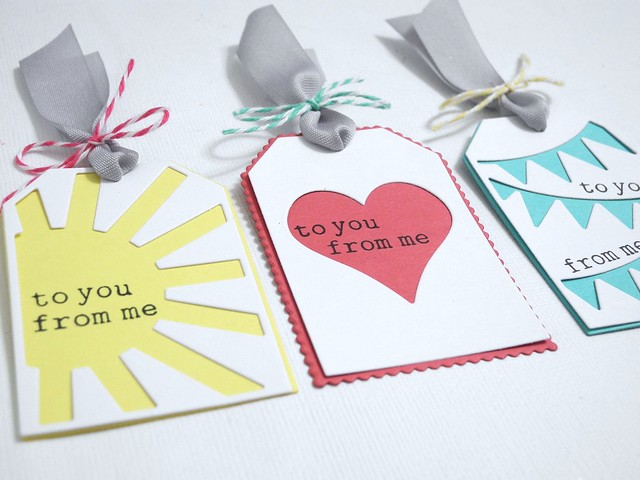
Have you ever sat down to create something, finished it, and then said, "That was too easy. What did I do wrong?" Yeah. That is pretty much how this particular project went. BUT, the truth of the matter, is, the tools MAKE it easy and I LOVE the results so much! CUTENESS! For reals, though.

To You From Me Tag Trio by Jennifer Ingle #spellbinders #tags #diy


Three gift tags. Bright, happy colors. Happy playful shapes. Yes. All of those things. But, seriously, you guys... SO EASY! You guys, all I had to do was combine the new Spellbinders® Tag Trio with the Build a Tag 2 set and stamp a couple of sentiments. Oh...and tie some ribbon onto them with some adorable twine. But, for reals, that's it. That is the sum total of the steps for this project. And CUTENESS!

Tag Trio


I used May Arts ribbon and twine from The Twinery. The stamp set is, well, okay, after searching the internet for a bit I am just coming to grips with the fact that I have no clue what stamp set I used. But to and from stamps are pretty common. You can find some. I believe in you.

Go make some tags, you guys!

Have a Happy!


4.13.2015

Grandma's Cupboard

I am up over on the Spellbinders® blog with a tutorial for this pretty Grandma's Cupboard project! Be sure to head on over to check it out!


In other news, today is the Red Sox home opener!!! I would SO rather be AT the game, but that didn't work out this year, so I will wear my Red Sox shirt and cheer loudly enough for them to hear me at Fenway. That works, right? I'd say so. HA!

Have a Happy!

4.03.2015

She Believed In Possibilities

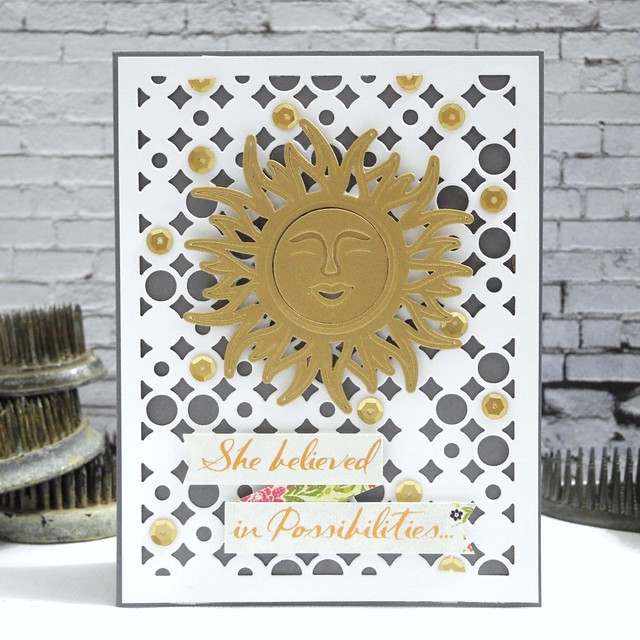
I kind of love this sentiment. I grabbed it from the sticker sheet that comes in the Fancy Pants Me-Ology collection pack. It's a long sticker, but I trimmed it, then added a strip of coordinating patterned paper to turn it into a banner because that sentiment is TOTALLY banner-worthy. For reals, though.

She believed in Possibilities


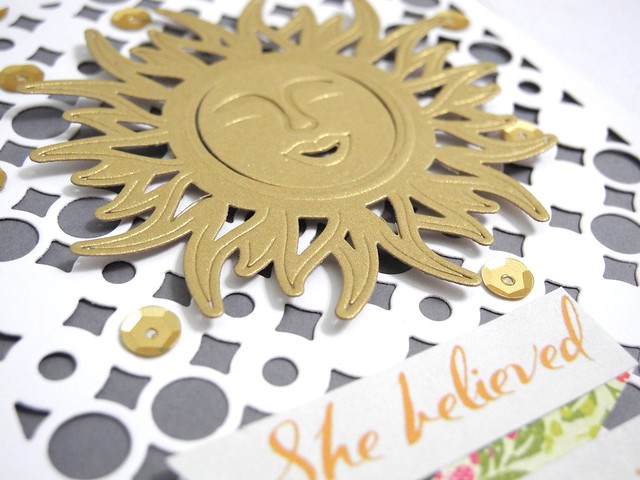
The rest of this card is pretty much Spellbinders AWESOMENESS! Seriously, though, you guys. That Western Sunshine die? LOVE IT! And the background is created with the Contemporary Circles die set. And yes, that's a set...a frame and the actual background. And yes, you need it. Glad we had this chat.

She Believed (detail)


A few sequins add some sparkle and accent the gold sun perfectly.

I hope you have a wonderful Easter!

Have a Happy!

3.24.2015

You're A Gem

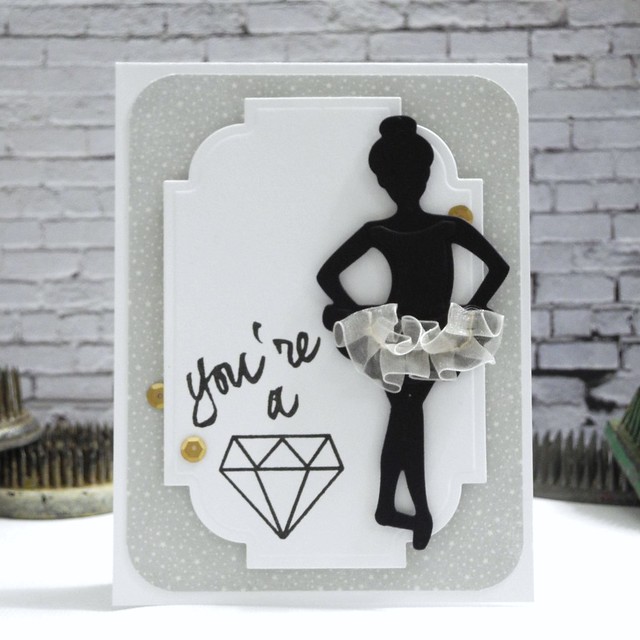
So, I signed up for a few fitness classes. Two of them are dance classes - one Zumba and one called Rythm & Motion. Mind you, I have exactly zero dance training, but I do find dancing to be LOADS of fun and I know that I will actually enjoy my workout this way. The third one is a butts and guts class. I am a little scared to death of that one, but it will be good for me. Right? PLEASE tell me it will be good for me. ANYWAY.... dance... and this card... and these awesome new Tiny Dancer dies from Spellbinders®...

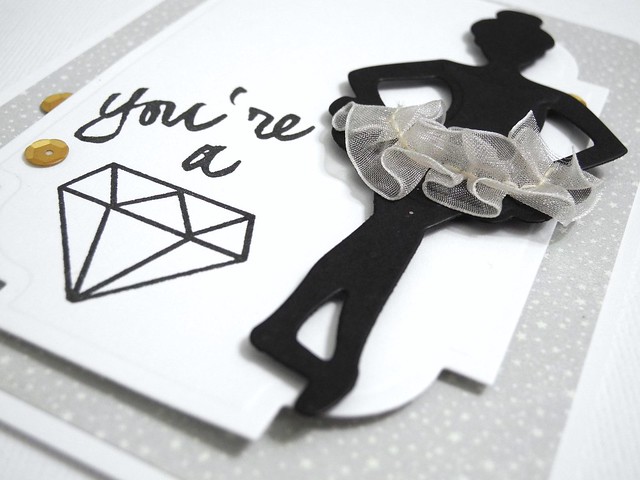
You're A Gem


I layered the adorable dancer over the Labels 38 die stamped with some Avery Elle cuteness from the Many Thanks stamp set. I feel like this stamp and that die just go together so well! LOVE IT!

You're a Gem (detail)


I added a bit of May Arts ribbon to create the tutu. Ummm... you guys, that tutu makes me ridiculously happy. For reals, though.

Be sure to keep your eye on the Spellbinders® blog this week! There is a LOT of fun stuff going on! Inspiration and Giveaways GALORE this week! You won't want to miss out!

Have a Happy!

3.22.2015

Clean and Simple with Pinkfresh Studio

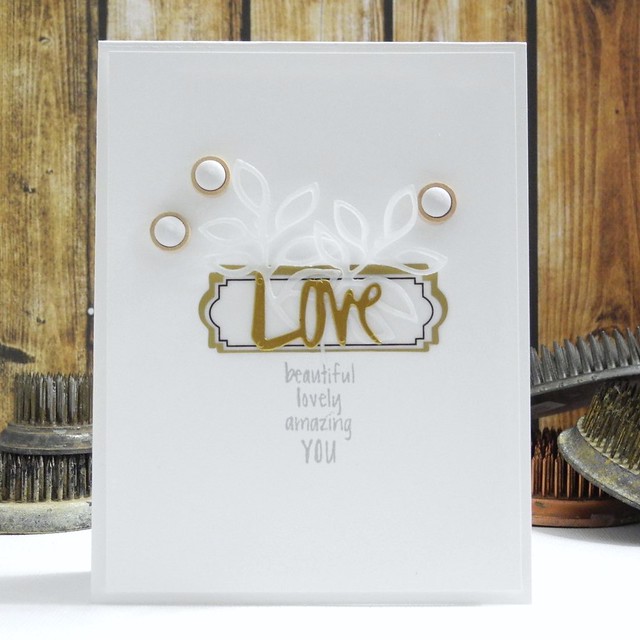
I am showcasing the March kit over on the Pinkfresh Studio blog today! I have two clean and simple cards over there. I actually loved this kit so much, I couldn't stop at two! One of these you will see over there, along with one that you will NOT see here!

Love Beautiful Lovely Amazing You


For this one, I layered the dies (created by Spellbinders for Pinkfresh Studio) over the vellum label to create a new, fresh look. I love how this is so simple, but yet has so much interest.

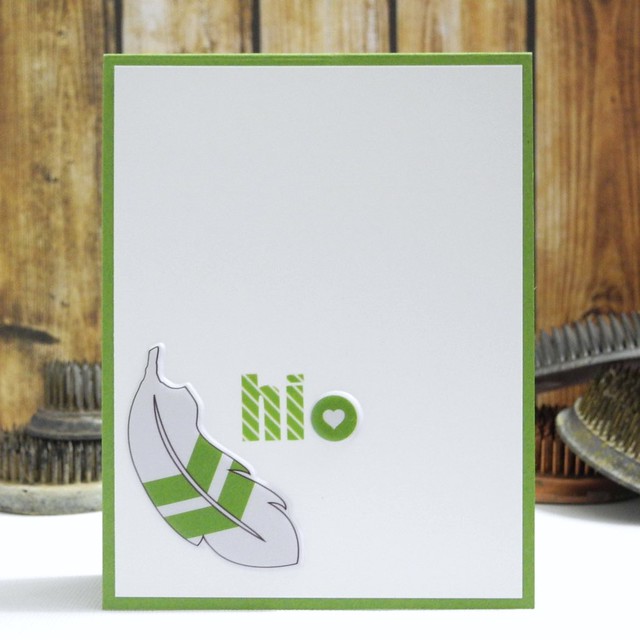
Green Hi


This super fun card uses the feather puffy stickers. Wait. Let's go over that one more time. FEATHER. PUFFY. STICKERS. You guys, for REALS, I love them so much! I combined them with the green striped alphabet stickers for a super fun and super easy card! LOVE IT!

Be sure to head on over to the Pinkfresh Studio blog to see more!

Have a Happy!


3.19.2015

Friends for a Lifetime

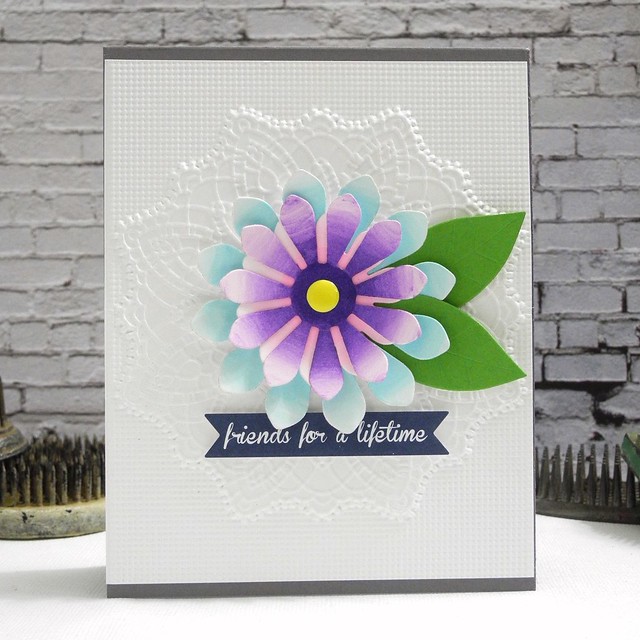
I love when supplies make a pretty card so easy to pull together. That is exactly how this particular design came to be. I pulled out the Urban Blooms die set from Spellbinders® along with the gorgeous Doily Art embossing folder to create the layers and texture on my card.

For a Lifetime


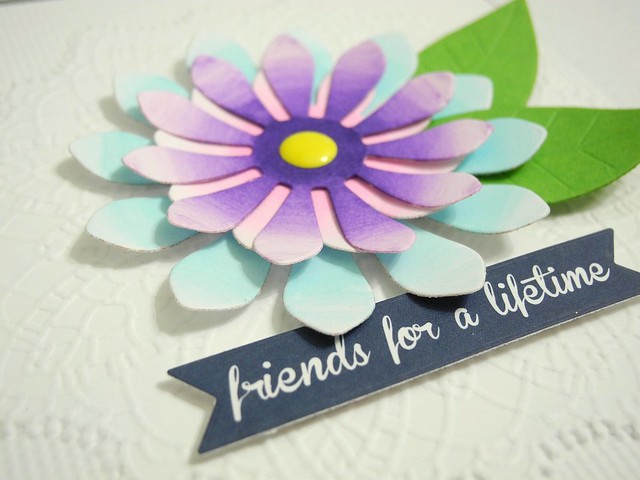
I die cut the three layers of the flower and then colored them with Chameleon markers. This allowed me to do the color fade SUPER quickly and easily. LOVE THAT! The background uses the embossing folder. I love how Spellbinders embossing folders give AMAZEBALLS dimension. For reals, though, you guys. They are awesome. Totally, dude.

For a Lifetime


The sentiment is from a Fancy Pants ephemera pack...I think. LOL! I added a simple enamel dot to the flower center for a pop of yellow. Bright and shiny makes me happy! YAY!

P.S. So does Chocolate Peanut Butter iced coffee.

Have a Happy!

3.04.2015

A Little Girly


We are going GIRLY over on the Simon Says Stamp Wednesday Challenge blog this week! We want to see you create a card or project with a feminine flair! The design team is using Doodlebug Designs products this week. If you love enamel shapes, you should totally check them out! You don't have to use them to play along, but we would love to see what you do with them if you have some!

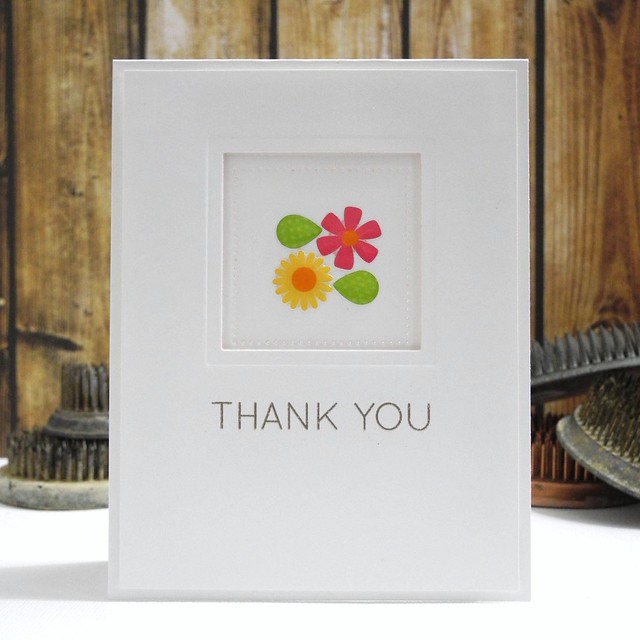
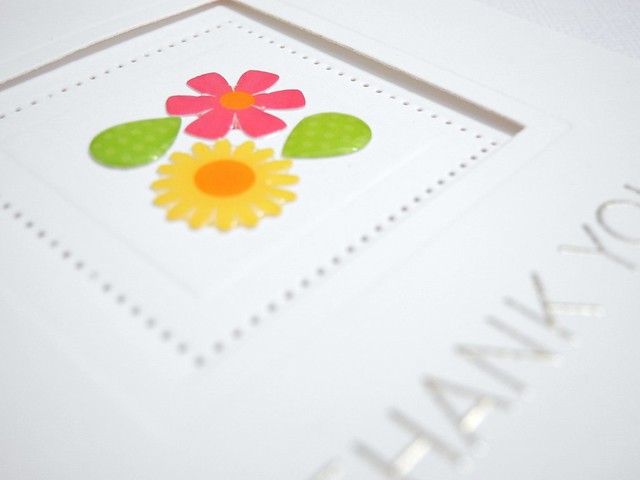
Thank You


I decided to create a clean and simple girly design. I cut and embossed the window using Spellbinders Pierced Squares. I used the piercing die on the inside to add some visual interest and texture to the window. A few enamel shapes from Doodlebug Design add a pop of color from inside the window.

Thank You (detail)


One lucky participant is going to win a $50 Voucher to the Simon Says Stamp Store! You can enter up to five NEW designs! I can't wait to see your girly creations!

Supplies:

Enamel Shapes: Doodlebug Designs
Embossing Powder: Ranger Liquid Platinum
Heat Gun: Milwaukee

Have a Happy!


3.02.2015

Unforgettable...That's What You Are

Yup. Totally just dropped that ear worm. HA! Sorry. It had to happen. No, for reals, though, it did. It's Monday and I need entertainment, what can I say? BUT, at least I have a couple of bits of awesome to share with you today!

First, I have a WINNER for the $20 Simon Says Stamp Gift Voucher Giveaway! And the Winner is...

MARCIE SHARP!

Congratulations, Marcie!

And I also have a super fun card to share with you today!

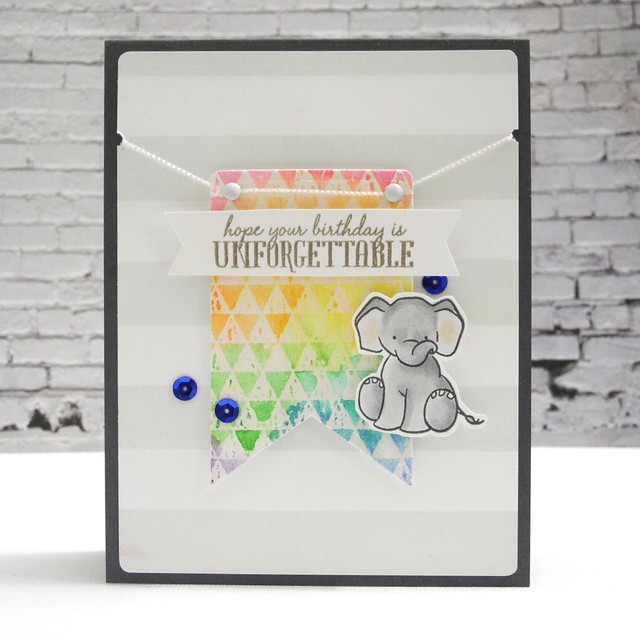
Unforgettable


This one uses a couple of different background stamps along with the adorable new Unforgettable stamp set from WPlus9. Ummm, you guys, for reals, though...I love this stamp set. I actually created this one awhile ago right after I got it because I HAD to use it, I just haven't had the chance to post it yet, so, well, here it is, folks!

Unforgettable (detail)


To create the banner, I stamped and embossed the Hero Arts Tiny Flags background stamp on watercolor paper with Matte Dull embossing powder. I then watercolored over the embossing and cut and embossed the banner using Spellbinders® Baby Buntings dies.  I stamped the background stripes on my card based and then accented with brads (yes, you can still use those), some May Arts string, and a few sequins.

This card was created purely for fun and I LOVE that about it! It was so much fun to pull together and it makes me smile!

Supplies:

Stamps: Hero Arts Tiny Flags, Simon Says Stamp Wide Stripes, WPlus9 Unforgettable
Die: Spellbinders® Baby Buntings
Ink: My Favorite Things Black Licorice Hybrid, Simon Says Stamp Fog, VersaMark
Watercolors: Zig Kuretake
Watercolor Paper: Tim Holtz
String: May Arts
Tools: Corner Chomper, Copic Markers, Milwaukee Heat Gun
Embossing Powder: Wow Clear Matte Dull, Ranger Liquid Platinum
Other: White Mini Brads, Blue Sequins

ShareThis