Showing posts with label wedding. Show all posts

5.04.2016

It's Stencil Time!


Hello, friends! We are playing with Stencils this week for the Simon Says Stamp Wednesday Challenge! I have to be honest, I don't reach for my stencils very often, so this was definitely a challenge for me, but I had a lot of fun with it and love the results! The Design Team is using Stencil Girl products this week. You don't have to use them to play along, but if you have some we'd love to see what you do with them!

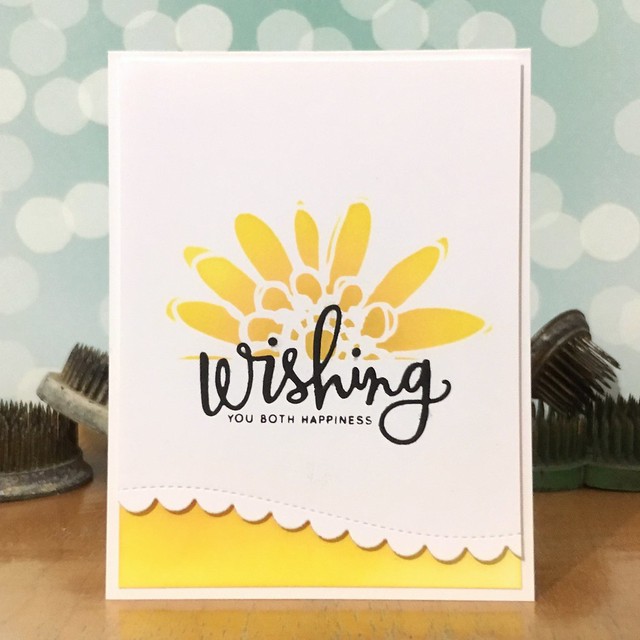
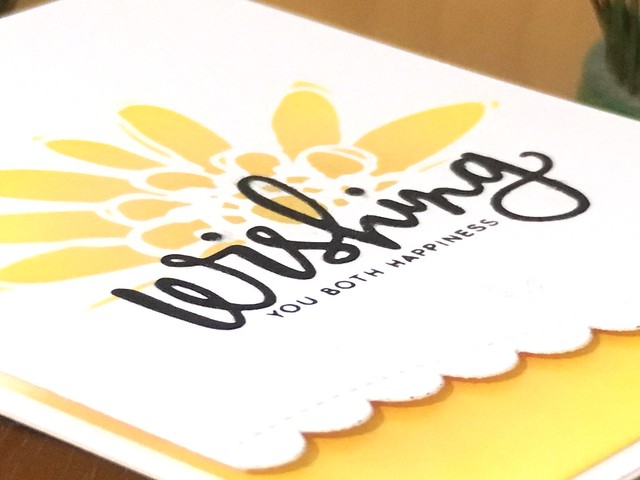
Wishing You Both by Jennifer Ingle #SimonSaysStamp #JustJingle


I used a few different distress inks, blending them together, to create the stenciled flower design. I then used the Simon Says Stamp Wishing die and coordinating stamp set for the sentiment. I love how it turned out! So fun! A bit of border layering over more blended ink was the perfect way to finish off a simple design.

Untitled


Now it's your turn! Create something awesome using stencils in a fun and creative way and ink it up over on the Simon Says Stamp Wednesday Challenge blog! We can't WAIT to see what you create!


One lucky participant will win a $50 Gift Certificate to the Simon Says Stamp store! WOOT! WOOT! Happy creating!


5.14.2015

A Bit of Gold and Shimmer

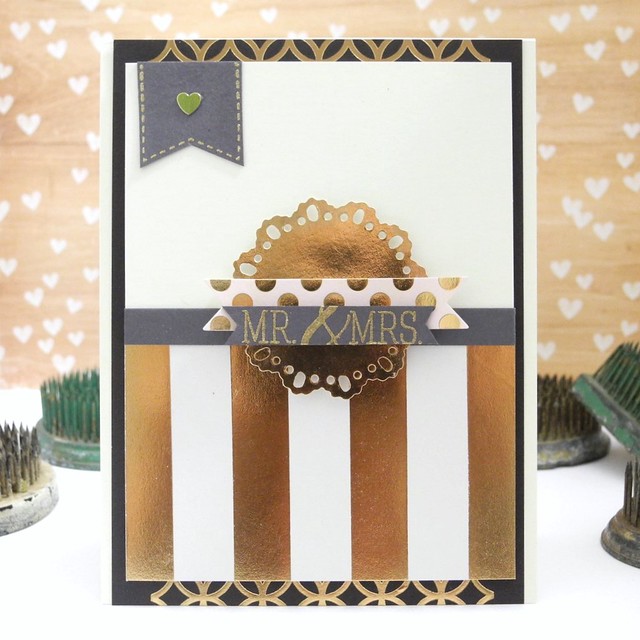
This gold trend? I love it. I really and truly do. And I'm not even sorry.

Mr. & Mrs. by Jennifer Ingle #simonsaysstamp @simonsaysck #cardkit #diy #wedding #gold


I created this card entirely from the Simon Says Stamp May Card Kit, therefore, it came together SUPER DUPER fast because all of the 'stuff' was coordinated for me and all I had to do was design something pretty. Well, THAT is easy enough! Particularly with these awesome papers and stickers and stamps! WHAT?! Yup. For reals, you guys.

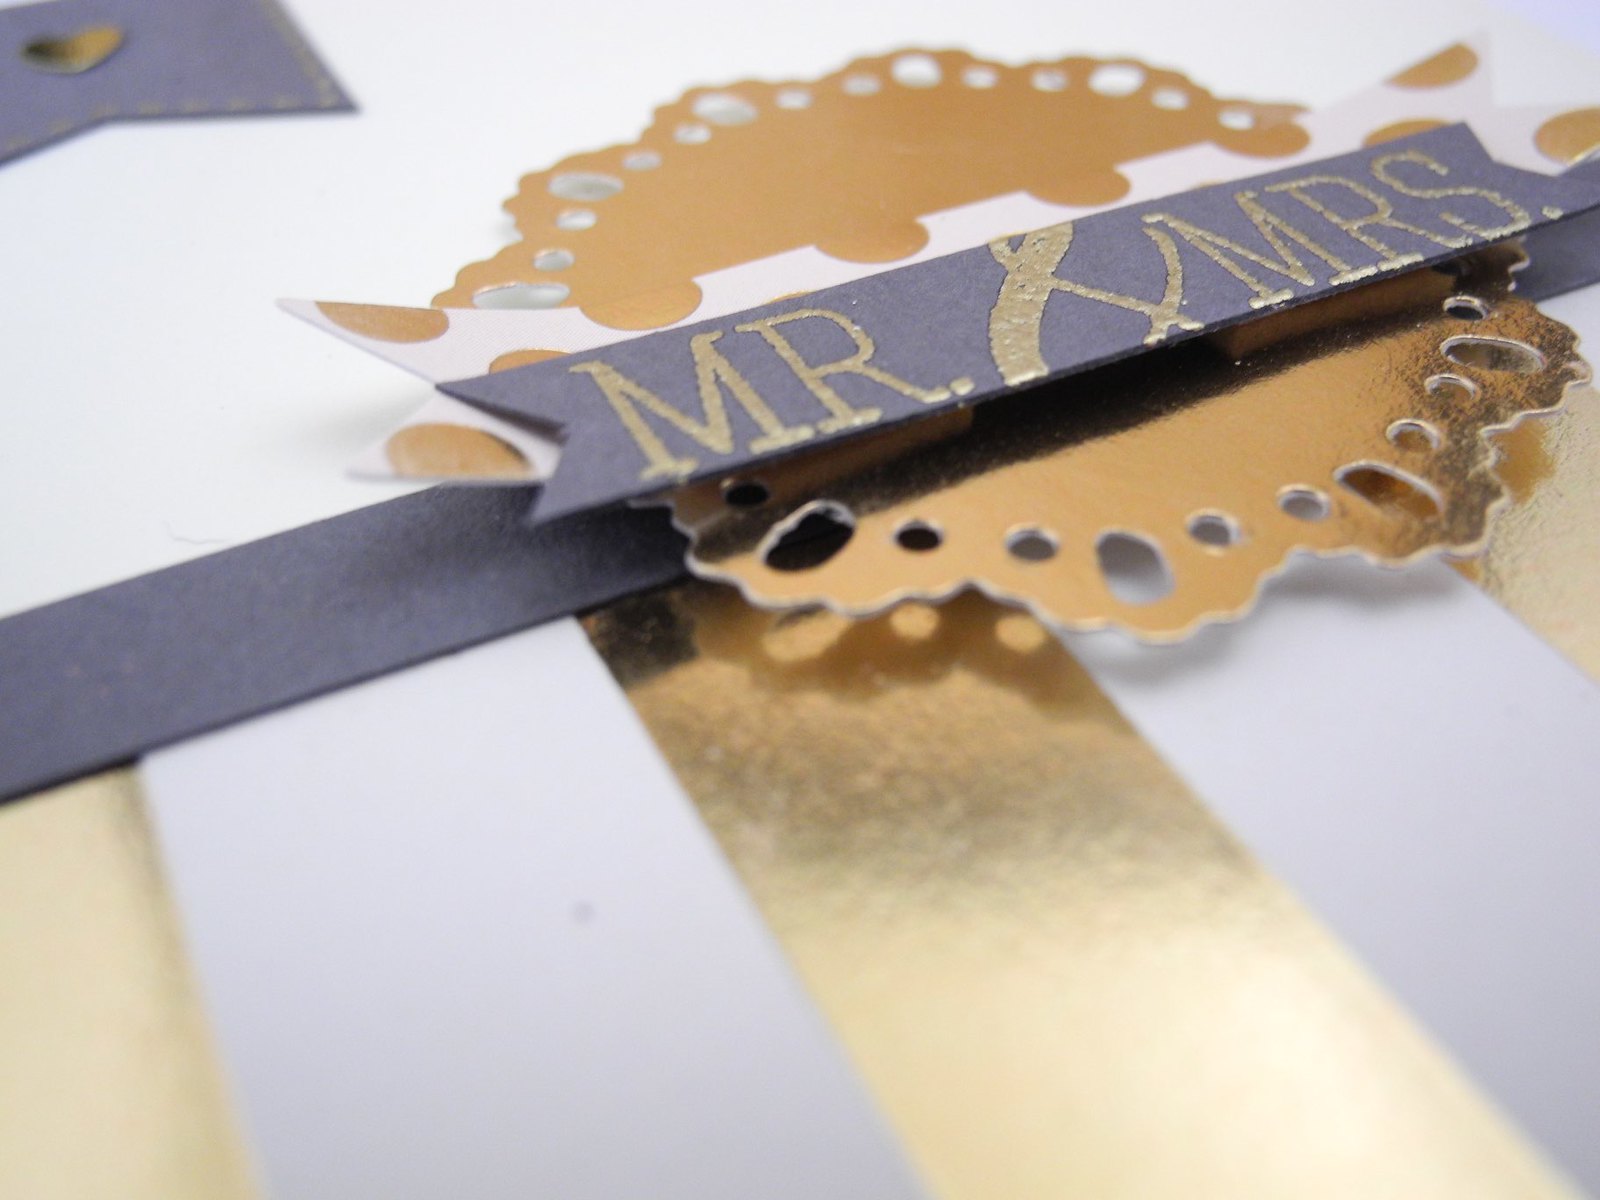
Mr. & Mrs. by Jennifer Ingle #simonsaysstamp @simonsaysck #cardkit #diy #wedding #gold


The only things I pulled from my studio were the VersaMark and the gold embossing powder and the tiny heart sequin. Because tiny gold heart sequin. LOVE THAT!

I am linking this one up to the Virginia's View Challenge because... layers and dimension, baby!

I am super tired because I got up at 4:50 this morning to go to my Butts&Guts class. I do this every Thursday. I was silly enough to think I would get  used to it. That's not happening. But at least my thighs are beginning to show some sense of shape, so, I guess it's worth it. I have to admit, though... My Zumba and Rythm & Motion classes are much more fun. And don't involve crunches.

For reals, though.

Anyway, that being said, that's a wrap for today.

Have a Happy! (I'm going to have a COFFEE!)

5.11.2015

Easy Chalkboard Place Cards with Spellbinders

Hello, friends! I hope you had a wonderful weekend and I hope those of you in the US enjoyed your Mother's Day weekend! It was a gorgeous weekend here and I was lucky enough to spend LOTS of time outside! Love that!

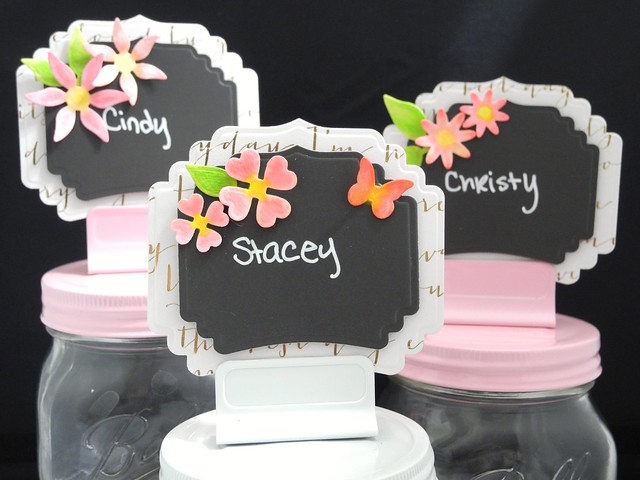
I have a super fun tutorial over on the Spellbinders® blog to share with you today! I created these fun place cards using a couple of die sets and the popular chalkboard look!

Wedding Placecards


Seriously, you guys. These are SO MUCH FUN to create and they would be perfect for a garden party, wedding, shower, and so much more! Head on over to check them out and let me know what you think!

Have a Happy!

4.29.2015

Shake, Shake, Shake...

***This is my SECOND post of the day! Be sure to check out my CAS-ual Fridays Stamps release post below with a GIVEAWAY!!!***


Hello, friends! It's ANYTHING GOES week on the Simon Says Stamp Wednesday Challenge blog! Yup! It's your favorite! The Design Team is showcasing Prima products this week. I chose some fun beads to work with and I kind of love them!

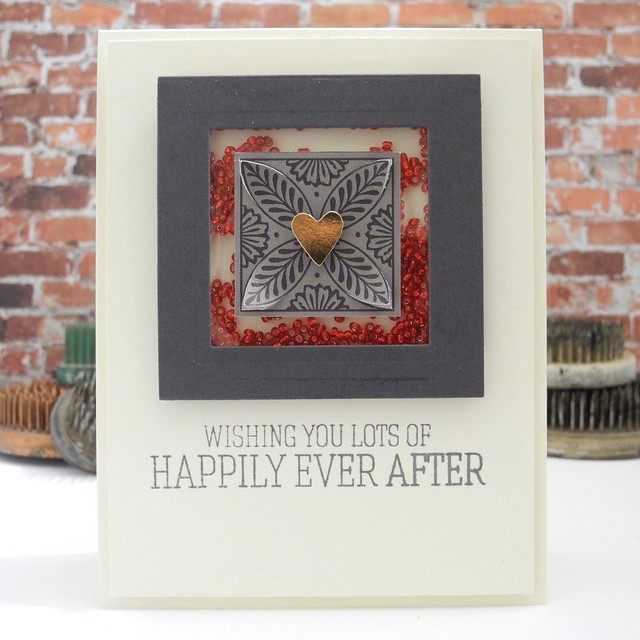
Happily Ever After


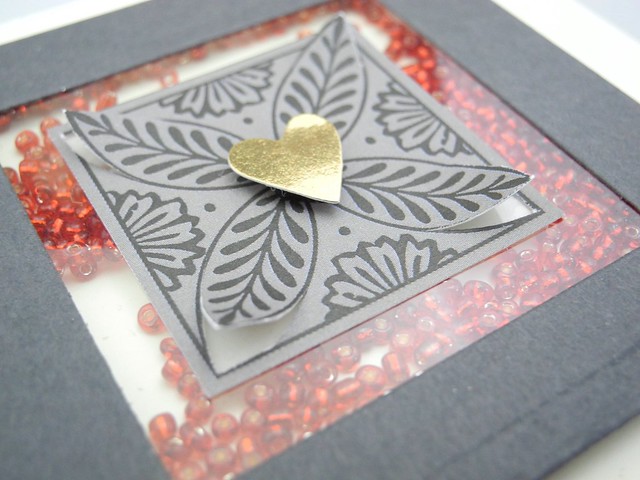
I combined the beads with the GORGEOUS April Card Kit from Simon Says Stamp. You guys, for REALS, this kit is amazeballs! I love it! Gorgeous papers, perfect cardstock colors, and that gold heart? Totally a sticker. LOVE. IT.

Happily Ever After (detail)


I made the shaker double width (two layers of foam tape) to be sure the beads could move around freely, but I also put LOTS of beads in there. It's a happy shaker!


Now it's YOUR turn! One lucky participant is going to win a $50 Voucher to the Simon Says Stamp Store! Simple create something NEW and link it up for your chance to win! You can enter up to five times! Woot! Woot!


1.30.2015

Love You More

Have you SEEN the most recent embellishment kit from Pinkfresh Studio? You guys, I love this kit so much! I have a post up over on the Pinkfresh Studio blog showcasing TWO cards using this kit. I will show you one here, but you are just gonna have to venture on over there to check out the other one! (I'm mean like that. HA!)

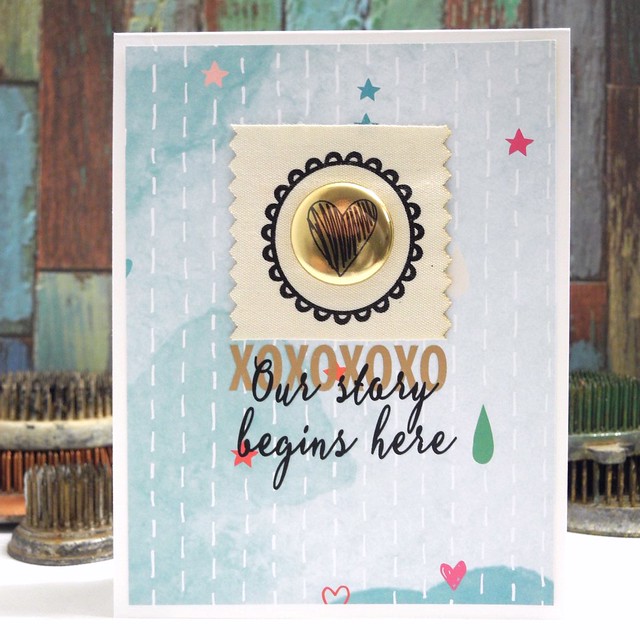
Our Story


I used a patterned paper from the Up in the Clouds collection for the background and then used the rub-ons directly over the pattern for the sentiment. I absolutely LOVE that you can so seamlessly overlap rub-ons to create your own sentiment! For REALS, you guys!

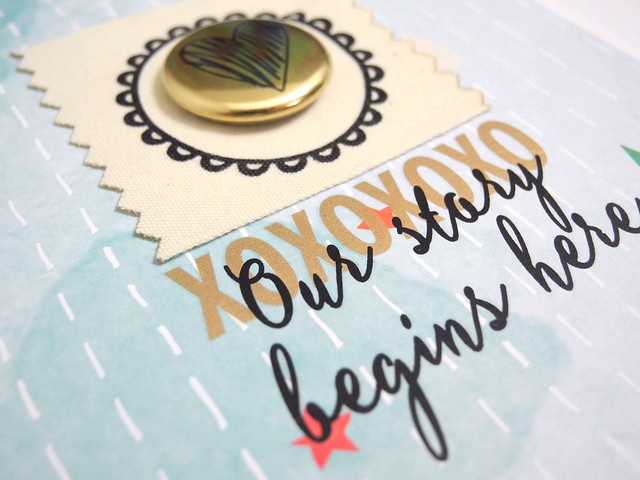
DSCN6692


I love all of the texture this brings, too! The canvas tag combined with the shiny gold flair is just so much fun! LOVE THAT!

AND... Pinkfresh Studio is GIVING AWAY a one year subscription to the kit! WHAT?! Yup! This is an Instagram Giveaway so, yes, you have to have IG in order to enter. Be sure to check out Pinkfresh on Instagram for your chance to win!


This is the current kit. You guys!!! Are you seeing all of that goodness? tons of embellishments, stamps, dies, stencils.... *sigh* It's a very good thing.

Have a Happy!

12.08.2014

Happy Wedding Day!

So, you know how I said something about all holiday all the time around here? Yeah, I lied. As it turns out, there are apparently other events in December and my card making efforts must also go towards those. Figures. HA! BUT, what that means is that today we get a small break from the Christmas card insanity and we take a look at a pretty winter wedding card that I created for a wedding I went to yesterday! YAY!

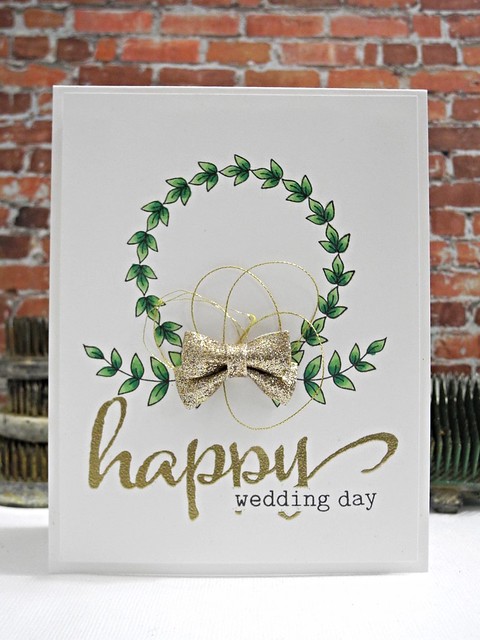
Happy Wedding Day


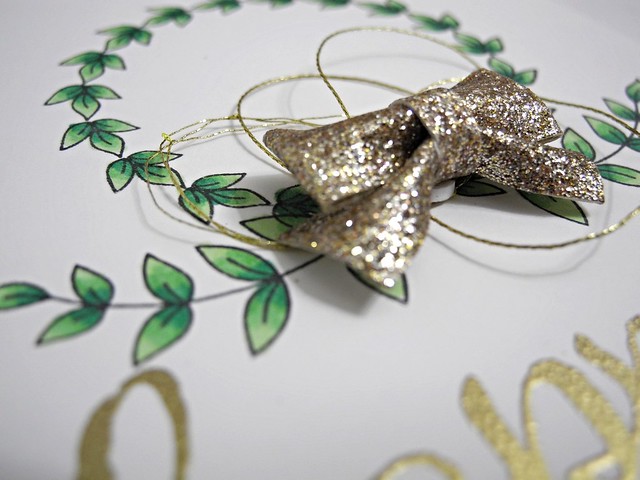
I created this one using some awesome Winnie & Walter stamp sets! I so love these! I stamped and colored the wreath and the laurels with Spectrum Noir markers and then added the gold thread and a fun, sparkly bow.

Happy Wedding Day (detail)


A bit of masking allowed for the overlapping embossed sentiment. I like how this makes two stamps feel like one complete sentiment.

I hope you have a super fantastic week this week, folks! Also, don't forget to check out my Spellbinders die giveaway if you haven't already!

Have a Happy!

10.21.2014

Soy Happy For You!

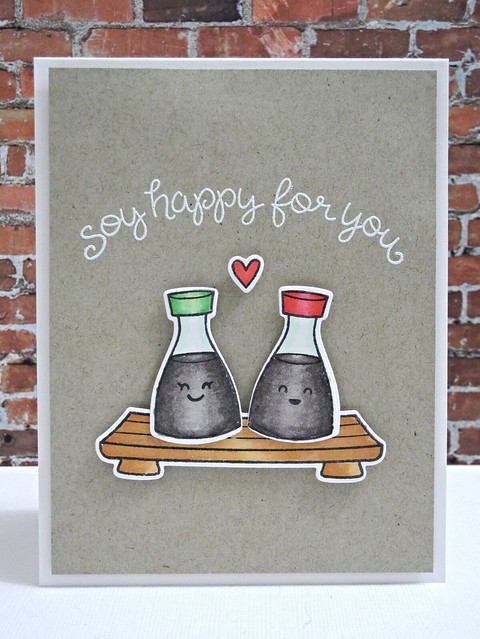
Nope. Not a typo. Not even a little bit. Just a post title STUFFED to the BRIM with punny goodness! You know I'm a fan of a hilarious pun, right? If not, you have now officially been warned. Err.... I mean, informed, yeah.... that's it.

Soy Happy For You


ACK! So fun! I actually won this stamp set quite awhile ago and being that I'm pretty much the only person in the entire world that doesn't love sushi (I have tried, folks, I really have...I WANT to be a cool kid and like sushi, but it's just not my thing. I have failed at being a proper hipster, I am aware), SO...that made this set trickier for me to use for some reason. I know... that doesn't make much sense, but just go with it, K? K. Thanks. Glad you've got my back on this. AND THEN... we got invited to an engagement celebration. I don't often have opportunity to create engagement cards so I had to be a bit creative and I KNEW this couple would totally appreciate a good solid (and obviously hilarious) pun. I did it. And I love it. And it makes me happy.

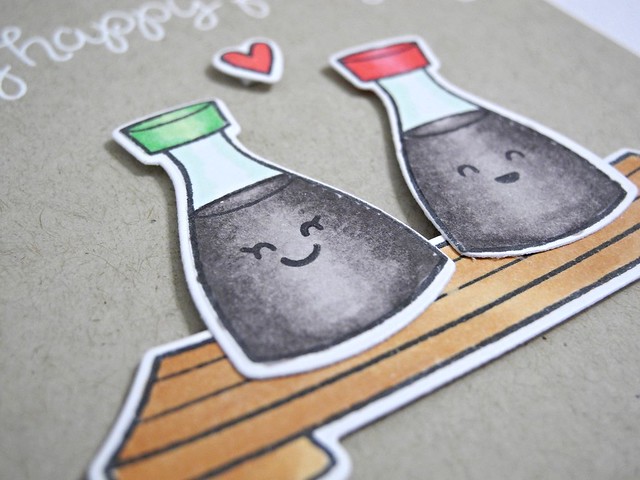
Soy Happy (detail)


I colored the images with Spectrum Noir pens and die cut them. There is a cute piece of sushi INSIDE the card, along with a simple 'congratulations' from another Lawn Fawn stamp set, but, alas, I forgot to photograph it and I actually gave this card to someone, sooo.. ooopsies! For reals, though. It's cute on the inside. I promise.

Have a Happy!

Supplies:
(These links are all affiliate links. Thanks for your support! :) )

Stamps: Lawn Fawn Let's Roll
Dies: Lawn Fawn Let's Roll
Markers: Spectrum Noir
Ink: My Favorite Things Hybrid Black Licorice, VersaMark
Cardstock: Crafter's Companion Ultra Smooth White, Neenah Kraft
Embossing Powder, Heat Gun, Stamp Press, Double-Sided Foam Tape


2.19.2014

Made With Love


Happy Wednesday!  Hey!  Guess what?  It's NOT snowing!!!  It's a MIRACLE!  LOL!  I am excited to share a card with you for our Simon Says Stamp Wednesday Challenge!  The challenge is to create cards with a Wedding or Anniversary theme.  This week the Design Team is using some Prima goodies!  They have such a wide range of pretty things!  I wanted to find something a bit different that not everyone might think of when they think Prima, so I went with this great pocket pad!  I also pulled out some of the Lizzie Anne Designs stamps and dies that are exclusive to Simon Says Stamp for my card!

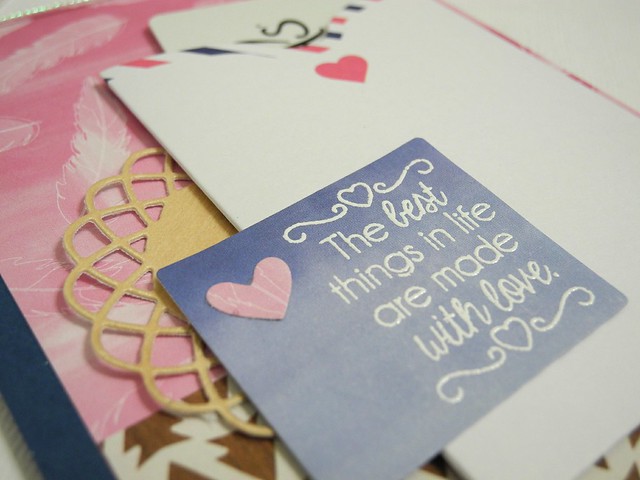
The Best Things


If a marriage isn't made with love, well, than I would say there isn't much hope.  My sentiment isn't necessarily the first one considers when creating a wedding or anniversary card, but I think it works so beautifully!  And...if you look closely, you will see that the gift card tucked into the pocket is for Michael's!  I know if MY husband gave me this anniversary card I'd be a pretty happy girl!  :)  For reals, though.

Made With Love (detail)


I used some fun stuff on this card!  Dies, wood veneer, AWESOME papers, and, like I said, some super cute stamps and dies!  You can find them all in the inlinkz at the bottom of this post!


And now it's YOUR turn!  Create a NEW Wedding or Anniversary themed card and link it up over at the Simon Says Stamp Wednesday Challenge Blog for your chance to win a $50 Gift Voucher to the Simon Says Stamp Store!  DUDE!  If you need help spending that, just give me a heads up.  *wink*  *wink*


Have a Happy, folks!  I certainly plan to do so!


8.05.2013

Taking the Plunge

So...today's card is a little different from my norm, but the tongue-in-cheek nature of it was simply too perfect for the recipients!  Don't worry...I made them another, very pretty card to include, as well.  HA!

Congrats on Taking the Plunge


I chose a purple base as this was one of their wedding colors.  I stamped the toilet in grey and then added some shading with colored pencils.  I wish you could see the shading better!  Before stamping, I wiped the grey ink off the heart and added red ink with a Momento Marker.  I love how easy it is to do little details like that with markers!

I did use a little trick for the striped paper on the side.  It is from the Basic Grey What's Up! Collection, but it only had a couple of purple stripes, and I cut off one of them when trimming it to size!  I wanted a bit more of the purple to coordinate with my card base, so I added a few purple stripes over the lighter areas with a marker.  It worked so well!

Congrats on Taking the Plunge (detail)


A bit of American Crafts glitter tape added just a bit of sparkle!  This was SUCH a fun card to make!  The stamp set is from Unity Stamp Co. - go ahead... you know you want it.  HA!  It's called AH Crap!  HAHAHA!  Too funny!

Anyway...there you go.  Somehow it seemed an appropriate card for a  Monday.

Have a Happy, folks!

4.29.2013

For A Happy Couple of Couples!

Happy Monday, folks!  If you are a week-day-only kind of visitor, I want to let you know that I posted two fun cards over the weekend!  One for the Moxie Fab World Tuesday Trigger and the other for the Avery Elle Challenge.  Don't forget to check them out!


Today, however, I have two cards that are great for an Anniversary!  Actually...one is good for an anniversary OR even a wedding card.  Over the weekend I pulled out my April Simon Says Stamp Card Kit and some super fabulous Simon Says Stamp exclusive dies and went to TOWN!  I had SO much fun playing with these goodies! While the April Card Kit is sold out, you can still order any of the individual items, including the stamps!

Happy Anniversary

For this one I used the gorgeous Danville Wreath Die. I love the detail in this wreath! It is just SO pretty! I decided to cut the wreath into two pieces and use it in a slightly less traditional manner. It brings to mind the feeling of two becoming one, as they are two halves of the same circle. I love that! The stamps on this card are from the Beautiful Words set and the Happy Every Day set.

Happy Anniversary (detail)

For my second card I used the super pretty Ariana Wreath Craft Die. I used both the actual wreath portion, and the inner portion that is cut as a result of cutting the wreath. I love how this creates a 'framed sign' sort of look with the wreath die. SO FUN!

So Happy Together

I also made good use of the Fancy Pants Park Bench 6x6 papers, by trimming a piece for the sentiment on my card. I LOVE papers that are super useful. For reals. Just sayin'.

I have a little tip to offer you today, as well. When using intricate dies have your favorite glue stick handy! You don't want to make a mess, so press the stick against the die, blotting instead of rubbing it over the surface. This will give you a good adhesive coverage. Glue pens are also a good option for intricate die cuts.

ALSO...if you happen to have the Simon Says Stamp April Card Kit there is an opportunity for you to WIN a $25 E-card to Simon Says Stamp! All you have to do is upload your cards, using the kit, to Splitcoast Stampers and use keyword: APRIL2013CK by 30 April! Yup! That's it! Just use your kit and upload your cards! DO IT!

If you would like to check out the goodies I've used on these two cards, click on the links below! Nice and easy, folks. Keepin' it real.


ShareThis