Showing posts with label Doodlebug Designs. Show all posts

7.20.2016


Hello, folks! It's time for a fun new Simon Says Stamp Wednesday Challenge! This week we want to see Things with Wings! Incorporate something with wings into your design for this week to play along! The Design Team is using Doodlebug Design products this week. You don't have to use them to play along, but if you have some, we'd love to see how you rock that cuteness!
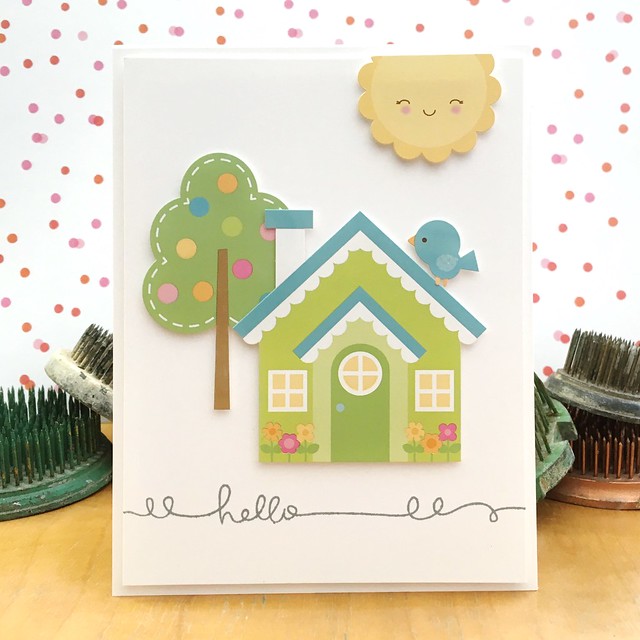
Hello by Jennifer Ingle #JustJingle #SimonSaysStamp #DoodlebugDesigns

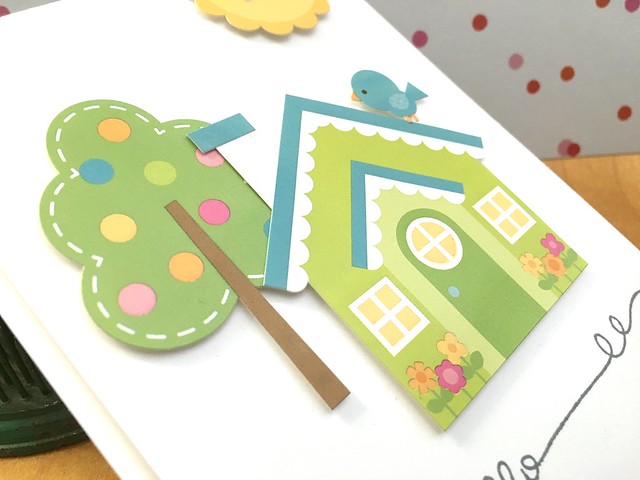
So, you know that sticker stash you have? Did you know you can create complete adorable card designs using it? 'Cause you totally can! And I had SO much fun challenging myself to do just that with these Doodlebug Design stickers! I added a fabulous little sentiment from the Simon Says Stamp Handwritten Sentiments stamp set to finish off my design! 

Pro-tip: If you want to use foam tape to adhere your stickers, adding dimension and offering more layering options, simply brush the back with your EK Success Powder Tool to remove the sticky from the back!
Untitled>

And now it's YOUR turn! Create something inspired by our Things With Wings challenge theme and link it up over on the Simon Says Stamp Wednesday Challenge blog for your chance to win a $50 Gift Certificate to the Simon Says Stamp Store! WOOT! WOOT!!!


Have a Happy!!!


5.21.2015

My Only Sunshine

I have another bright, and cheerful card using the Simon Says Stamp June Card Kit. I haven't actually decided if I like this one or not, hence the wait to share it, but, alas, I don't hate it, so here goes nothing. HA!

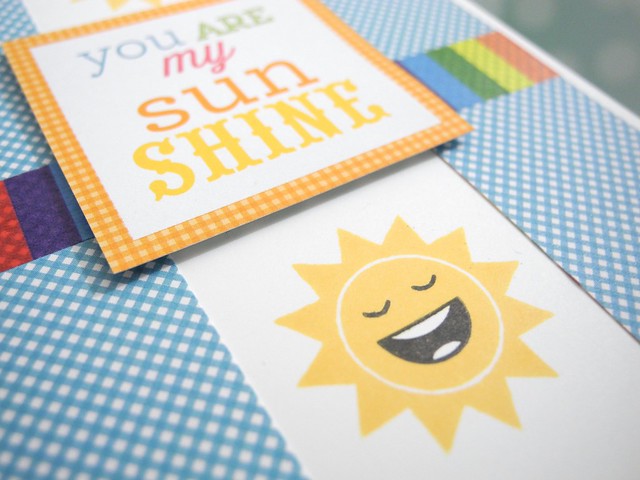
You Are My Sunshine by Jennifer Ingle #justjingle #simonsaysstamp #simonsaysck #diy #cards


I used the adorable stamp set to stamp the suns and gave each of them a slightly different face. I love that fun rainbow washi tape! SO MANY COLORS OF HAPPY! YAY! I then used a sentiment cut from one of the sheets of patterned paper in the kit. Super easy!

You Are My Sunshine by Jennifer Ingle #justjingle #simonsaysstamp #simonsaysck #diy #cards


Two strips of a fun polka dot patterned paper create the borders. This one really did come together quite quickly and is a very fun card. I think it may be well suited to give to a little. Littles like fun colors. Actually, bigs like fun colors, too, I guess, so you could give it to just about anyone. I'm rambling, aren't I? It happens. Lots.

I hope you have a super fantabulous day, my friends!

Have a Happy!

5.19.2015

Smile!

I have another card for you today using the Simon Says Stamp June Card Kit. I told you I love this kit, right? 'Cause, you guys...I love this kit. For reals.

Is this card flawless? Nope. Is that okay? Yup. PLUS...the techniques I used actually worked, so I had to share it! HAD TO, my friends.

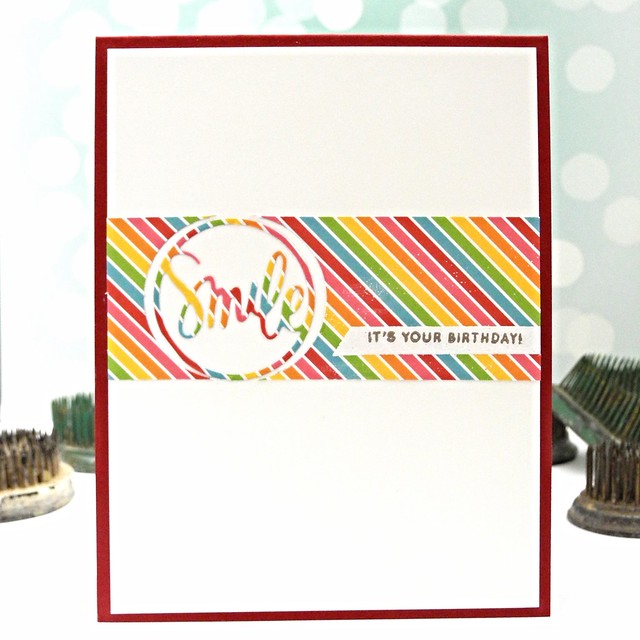
Smile! It's Your Birthday! by Jennifer Ingle using the Simon Says Stamp June Card Kit #birthday #justjingle #simonsaysstamp #sssck #cards #diy


I used the awesome Smile circle die in the June Card Kit with the super fun striped patterned paper. LOVE the bright colors on this so much! I allowed it to cut through the edges and reassembled the pieces on my card front. I wanted the sentiment on that same strip, but due to the busy background, I felt a bit limited. That's when I had a brilliant idea!

Smile! It's Your Birthday! by Jennifer Ingle using the Simon Says Stamp June Card Kit #birthday #justjingle #simonsaysstamp #sssck #cards #diy


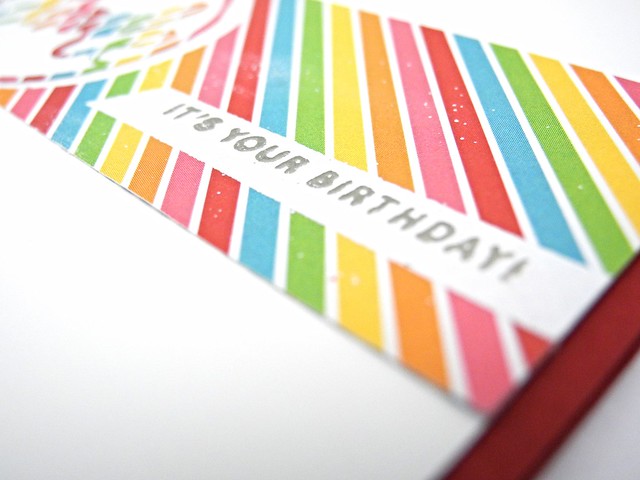
I stamped one of the solid banners from the stamp set in the kit with VersaMark and heat embossed it with white embossing powder. This gave me a solid, neutral surface, without adding any layers or bulk to my card. I then stamped the sentiment over that, again with VersaMark, and heat embossed it with Liquid Platinum embossing powder. The sentiment melted into the original powder, creating an awesome sentiment banner! I was so excited to try this technique that I forgot to treat my surface first, hence the imperfection. But you know what? I love it, nonetheless. Plus, that was my last strip of that paper, so it is what it is. Just keepin' it real here, folks!

Seriously, though... two things I'd like you to take away from this card today. 1. Try new things! You never know...they just may actually WORK! 2. Imperfection is totally okay. For reals. They are handmade cards. And it's just paper and glue. Don't stress.

Have a Happy!

3.04.2015

A Little Girly


We are going GIRLY over on the Simon Says Stamp Wednesday Challenge blog this week! We want to see you create a card or project with a feminine flair! The design team is using Doodlebug Designs products this week. If you love enamel shapes, you should totally check them out! You don't have to use them to play along, but we would love to see what you do with them if you have some!

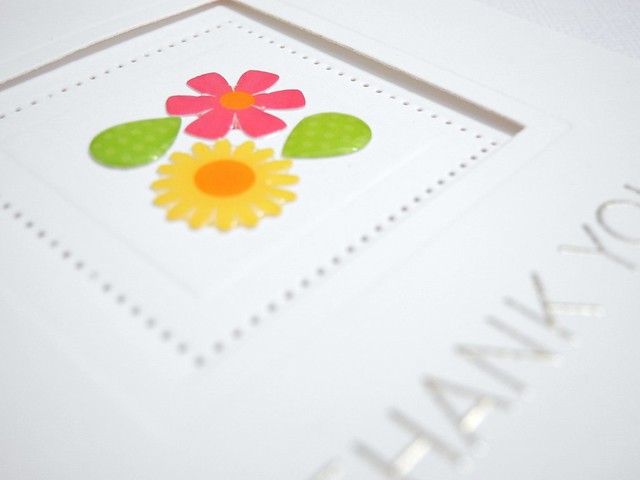
Thank You


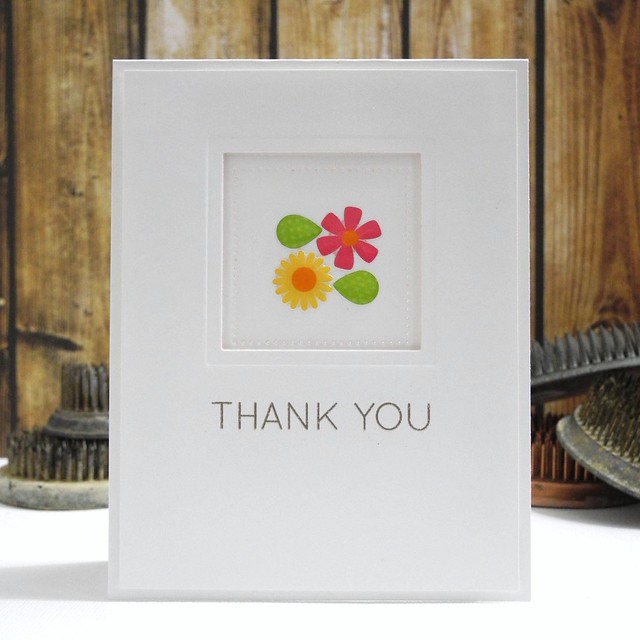
I decided to create a clean and simple girly design. I cut and embossed the window using Spellbinders Pierced Squares. I used the piercing die on the inside to add some visual interest and texture to the window. A few enamel shapes from Doodlebug Design add a pop of color from inside the window.

Thank You (detail)


One lucky participant is going to win a $50 Voucher to the Simon Says Stamp Store! You can enter up to five NEW designs! I can't wait to see your girly creations!

Supplies:

Enamel Shapes: Doodlebug Designs
Embossing Powder: Ranger Liquid Platinum
Heat Gun: Milwaukee

Have a Happy!


12.13.2014

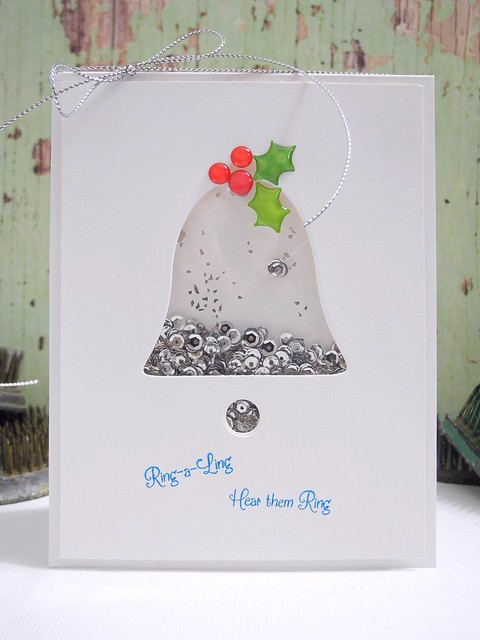
Ring-A-Ling Hear Them Ring

I am up over on the CAS-ual Fridays Stamps blog today with this fun holiday shaker card! I LOVE how adorable this bell looks as a shaker! LOVE IT, I tell you! Love. For reals, though.

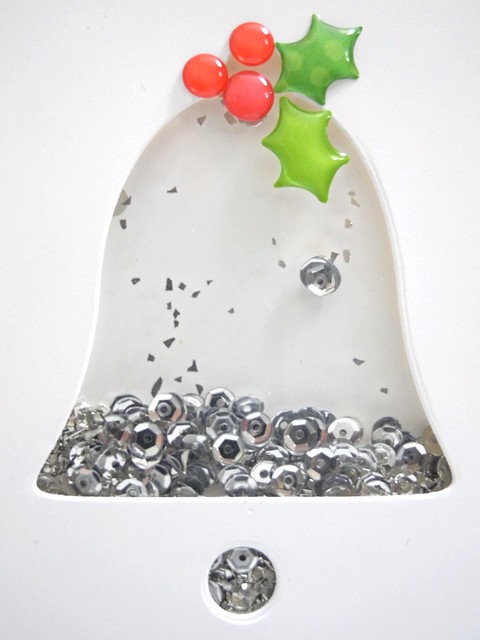
Silver Bells


I filled it with silver glass glitter and silver sequins to keep a LOT of sparkle in there! I topped it off with some adorable holly stickers and kept the card simple. This one is super fun and I may or may not have randomly shaken it several times since I made it last week. Maybe. Just puttin' that out there.

DSCN6532


Head on over to the CAS-ual Fridays Stamps blog for more inspiration! There is LOTS to be had, folks. I promise.

Have a Happy!

12.04.2014

Warning: Christmas Card Overload is On The Way

It's true. You will be seeing a LOT of Christmas cards around here this month. The simple fact is, I need to make them FOR people and I need blog content and I have limited time to play, therefore, you get to see ALL OF THE CHRISTMAS CARDS! You are cool with that, right? Right. Good. 'Cause it's TOTALLY happening.

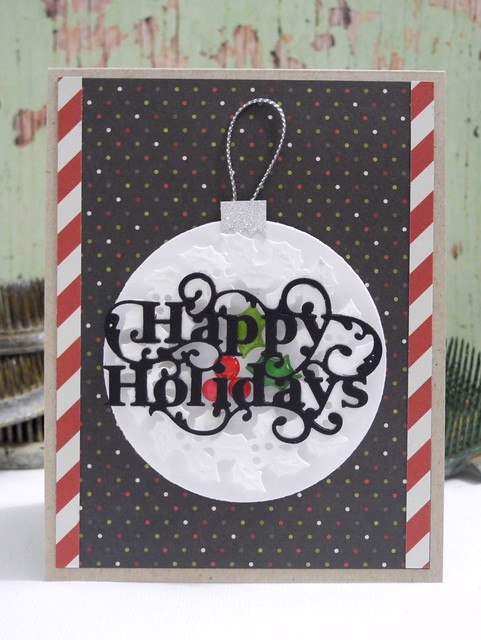
Happy Holidays


I've had this Simple Stories DIY Christmas paper pad hanging about for a bit now and I hadn't cracked it open yet, so I decided I needed to fix that problem! I pulled out some fun dies and these fun holly shaped Doodlebug Sprinkles to create this layered bit of insanity. HA! It's no really insane...it just has a lot of layers and actually required me to think about the final design before adhering stuff and, well, quite frankly, that's not something I often do. I just start tossing bits and bobs together until a finished card appears. HA! No, for reals, though.... that is basically my process, so pre-planning....that's kind of HUGE for me.

Happy Holidays


So, let's chat about these dies for a minute. I used three different dies and layered them to get this cool looking ornament. I started with a basic circle die in white. I then stuck the enamel shapes down and layered the Holly Wreath over the circle. The white on white adds dimension and texture without making it too busy. Finally, I cut the Happy Holidays from black cardstock and layered it over the wreath. I love how the colors on this card worked out. They just make me happy. And there is just SO much dimension!!! LOVE it! I cut the silver ornament topper from DCWV glitter paper and then added a bit of May Arts silver string to finish it off. This card actually came together very quickly and it so doesn't look that way! It was really a fun one to create!

That, my friends, is what I have for you today! I hope you have a wonderful day!

Have a Happy!

12.18.2013

BLING it On!

***This is my SECOND post of the day!  Be sure to click HERE to check out my Lil' Inker Designs DAY 1 Guest Post!***


It's time for a brand new challenge over at the Simon Says Stamp Wednesday Challenge blog and we have a fun one for you today!  BLING it on!!!  That's right, we want to see your SPARKLE and SHINE!  Create a NEW super fun project showcasing some sparkle and link it up!  The design team is ROCKING the Simon Says Stamp exclusives this week!

Holiday Greetings


For my card, I pulled out the awesome Layered Holiday Tree Stamp and Die set along with some fabulous papers from the December Card kit!  I used Glitzy Glitter Paper from DCWV to create my ornaments and add that sparkle!  I am pretty much addicted to that stuff!  I die cut the circles, adhered them, and then covered them with glossy accents before dropping a tiny sequin on each one for some extra shine!

Holiday Greetings (detail)


Of course, the star needed some sparkle, too, so I stamped it with gold Delicata after die cutting and then filled it in with my clear Wink of Stella, aka:  My best friend.  HA!


So, here's the deal... someone is going to win a $50 gift voucher to the Simon Says Stamp store, sooooo....  MAKE SOMETHING!  LOL!  Link it up and rock it!  This one will go an extra week due to that whole Christmas thing, so make it happen, folks!

Have a Happy!!!


ShareThis