Showing posts with label winnie and walter. Show all posts

10.21.2015

Wrap It Up!

Hello, folks! It is TIME for a BRAND NEW CHALLENGE on the Simon Says Stamp Wednesday Challenge blog! This week we want to see you WRAP IT UP! We want to see you use ribbon, twine, and/or string on your projects this week. The Design Team is featuring May Arts products. You don't have to use them to play along, but we'd love to see them on your projects if you have some around!

I decided to do something other than a card this week, which is pretty odd for me, but you know how it goes... sometimes you just go WILD AND CRAZY folks! Wild. And Crazy.
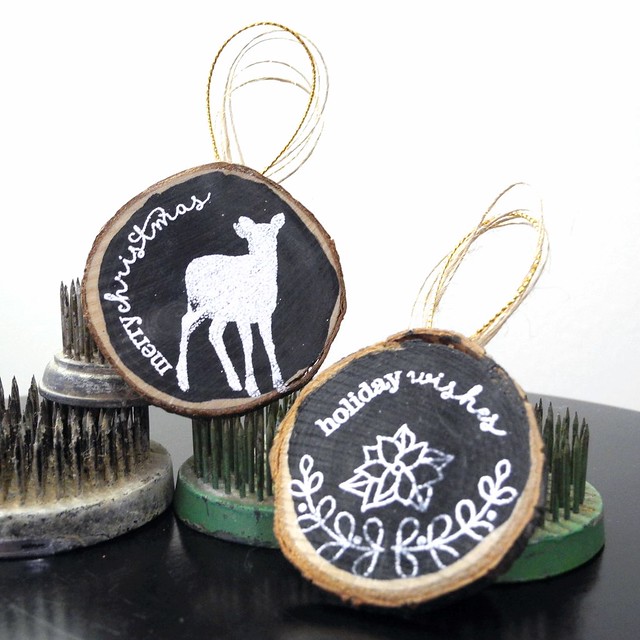
Wood Slice Gift Tags by Jennifer ingle #JustJingle #SimonSaysStamp #WinnieAndWalter #MayArts #christmas #diy/center>


These wood tags, THOUGH!!! For reals. I absolutely love these things. They are from the Amy Tangerine Finders Keepers collection and you can't buy any because I want them all. Wait... not, that's not what I'm supposed to say... well... fine. I'll share, then. You can find them here. Hmph.

I colored them with a chalkboard marker, but you could also use Chalkboard Paint to create the black chalkboard surface. I then stamped and embossed them with the Winnie & Walter Happy Christmas stamp set images. This stamp set was a perfect one for these fun tags! Finally, I stapled May Arts gold string and burlap string to the back of the wood slice with my Tim Holtz Tiny Attacher to finish off my tags. I seriously want to make lots of these. LOTS, I tell you!
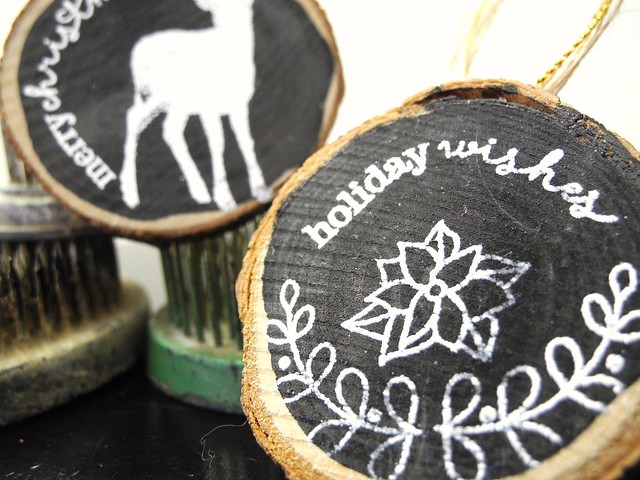
Wood Slice Gift Tags by Jennifer ingle #JustJingle #SimonSaysStamp #WinnieAndWalter #MayArts #christmas #diy


Now it's YOUR turn! Create something fabulous inspired by the WRAP IT UP! Challenge theme and link it up over on the Simon Says Stamp Wednesday Challenge blog for your chance to win a $50 Gift Voucher to the Simon Says Stamp Store! WOOT! WOOT!

All of the links found in this post are affiliate links and supplies are noted and linked throughout the text. Thank you so much for your support!


Have a Happy!


6.09.2015

My Precious

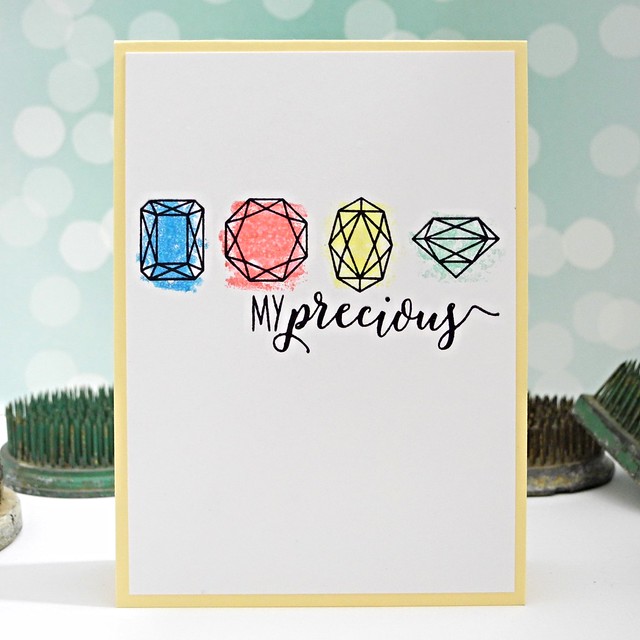
Yes, I will openly admit that the primary reason I bought this adorable Winnie & Walter stamp set was because of the name. I mean, for reals, you guys! It's called MY PRECIOUS!!! And, yes, for the record, I do say it in my best Gollum voice. Every.single.time.

My Precious by Jennifer Ingle #justjingle #myprecious #winnieandwalter #cards


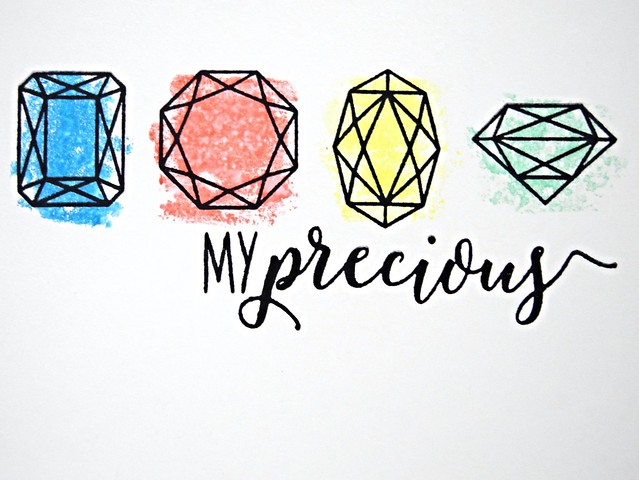
I stuck with a very simple design for this card. To add the color, in the spirit of the 30 Day Coloring Challenge, I tried something I hadn't done before. I placed a sheet of acetate over the image and then used distress markers to scribble color over each gem stone. I then spritzed the acetate with water to activate the inks, flipped it over, and pressed the color onto the paper. I kind of love how it turned out!

My Precious by Jennifer Ingle #justjingle #myprecious #winnieandwalter #cards


I will be honest, while I love the color technique and how that worked out, I do wish I had come up with a better way to place my sentiment on this one. It is just not feeling right. Even now. However, the truth is, I'm okay with that. I tried something new and it worked and that makes me happy!

Have a Happy, folks!

5.12.2015

Inspired by Adam Lippes Fall 2015

YOU GUYS! I made a card for a challenge. I haven't wanted and/nor had time to do a card for a challenge in a long time. It feels good. I like it better when I feel like me. Anyway, I checked out a few challenges last night as I was about to create and decided on this great inspiration from the Runway Inspired Challenge blog, always one of my favorites!


There were a couple of things in the photo that really caught my eye. First, her belt. Yup. She is wearing a belt. It is the same fabric as the dress, only SHINY! I like shiny. That is likely why it caught my eye. Second, I loved the smooth, seamless white behind her. It really allows her dress to pop! (Dude, I totally just typed poop instead of pop. I caught it, but it was TOO funny to not mention it. For reals, though. HA! I'm five.)

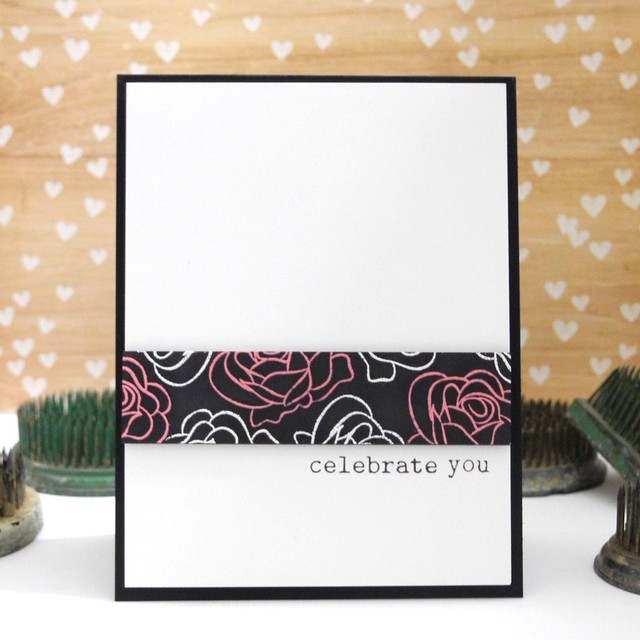
Celebrate You by Jennifer Ingle #runwayinspired #winnieandwalter #diy #cardmaking #papercrafting


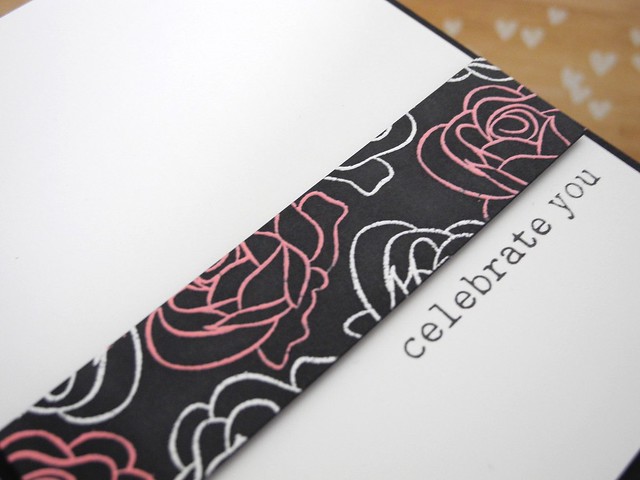
Since I was sort of stuck on the belt, I designed my card based on that. I created a 'belt' on my card! I simply trimmed some black cardstock and then stamped the rose from Winnie & Walter's The Big, The Bold, and The Extras with Versamark. I heat embossed some in pink and some in white (I did that in two steps so I wouldn't contaminate the colors), and then adhered it to my white background with foam tape. The sentiment comes from both the same stamp set and Winnie &Walter's The Big, The Bold, and You set and is stamped in black VersaFine ink for a nice, crisp finish.

Celebrate You by Jennifer Ingle #winnieandwalter #diy #cardmaking #papercrafts


I mounted the panel on a black card base for a nice finish. I have to say, this is why I love Runway Inspired challenges. For some reason the collections chosen REALLY inspire me and I always love the results when I play along!

Folks, have a happy!


1.26.2015

A Primary Rotation


It's a chilly Monday morning and it looks like we may be getting one heck of a blizzard tonight and tomorrow! That means extra time at home and THAT means extra crafting time! (This is me attempting to see the bright side of over two feet of snow coming this way. *sigh* LOL!) Today I have another fun card for the Winnie & Walter Birthday Bash to share with you. This one was challenging, but turned into something I really enjoyed working through! I was inspired by the In Rotation challenge.

Primary Hello


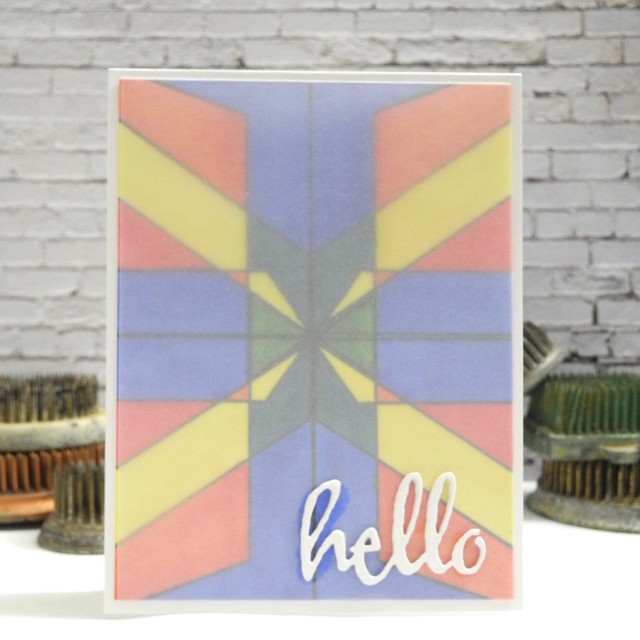
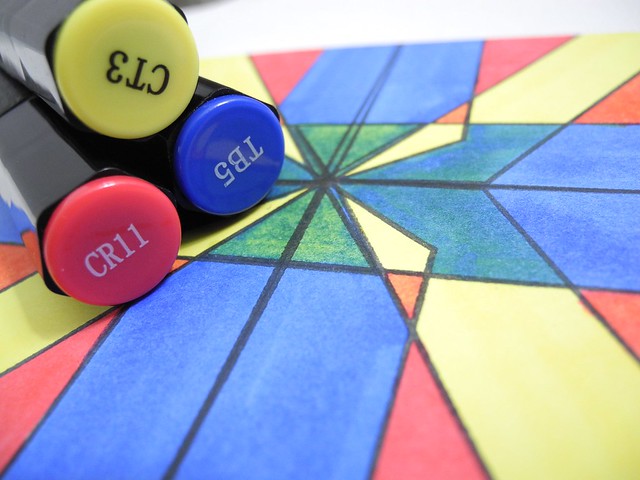
Let me begin by saying that this card is not perfect. And I debated sharing it. BUT... you know what? I'm proud of it anyway, so I AM sharing it. Because it's kind of cool, you guys! For reals, though! Instead of basing my rotation on the center of the card I actually used the giant chevron from the Winnie & Walter V is for Chevron set to create a rotation in each quadrant of the card. I then colored them with THREE Spectrum Noir pens. Just three. I allowed the coloring to overlap to create new colors. LOVE!!!

Primary Hello Process


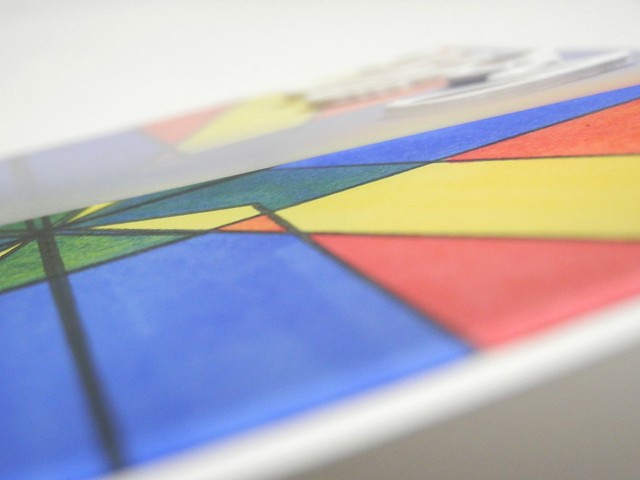
As you can see, the coloring was SUPER bright and bold. Which was awesome, but also a bit strong. I layered a sheet of vellum over it and then die cut the Hello cutaway several times to create the sentiment over the vellum. It's simple, but I like it. I tried several things without the vellum and the background was just too strong. I haven't decided if I am glad I went with it or not yet. HA!

Primary Hello (detail)


That design, though, you guys. That's why I shared it, despite the imperfection. That design is just plain COOL! And it was fairly simple to do... just a hollow chevron stamp. And a few pencil guidelines. LOL! Don't forget to try fun new things with your stamps! Pretty awesome stuff can come from it!

Have a Happy!


1.22.2015

Happy Retirement


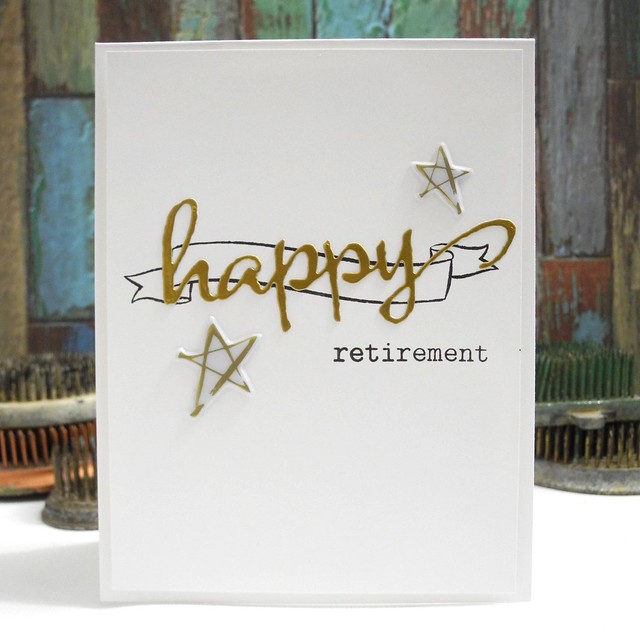
Yup. I have another Winnie & Walter Birthday Bash Challenge card to share today! This time I was inspired by Shay's ONE Challenge. And by 'inspired', I mean it was kind of freaking HARD, you guys! For reals, though. For some reason, I was struggling, but then I just decided to DO IT and I made it happen!

Happy Retirement


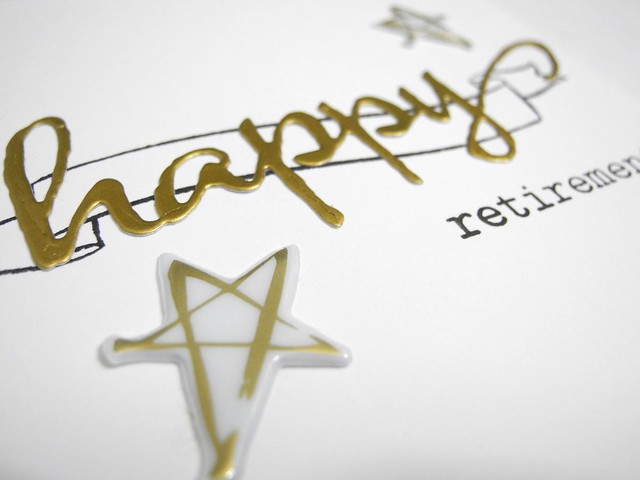
I used ONE die, ONE stamp set, and ONE color along with neutrals. I also used ONE large star and ONE small star (or ONE sticker sheet, if you prefer. *wink*) and less than ONE hour to complete my card. Yup. I totally counted that.

Happy Retirement (detail)


And now I am going to share ONE of my favorite things about Winnie & Walter stamps. If you collect the The Big, The Bold sets (and that's easy to do, as they release a couple here and there), you will find that you have a sentiment for ANY occasion. For REALS, you guys. It is actually hard to find an occasion for which these stamps will not provide exactly what you need. I mean, no...there's no HAPPY DONUT DAY or whatever, but - seriously - talk to Julie and Shay. They may just make it happen if you really want it. (P.S. Donuts are obviously on my mind this morning and that is sad, as I don't have any donuts.)

You can find links to the supplies I used on this card below. The links to Simon Says Stamp are affiliate links and your support is, as always, appreciated.

White Cardstock: Crafter's Companion Ultra Smooth White
Gold Cardstock: Bazzill Gold Metallic Cardstock (TOTALLY WORTH IT, YOU GUYS!!!)
Die: Winnie & Walter The Big, The Bold and the Happy Cutaway Dies
Stamps: Winnie & Walter The Big, The Bold and the Extras
Ink: Versafine Onyx Black
Puffy Stickers: Pinkfresh Studio Up In the Clouds Collection

Have a Happy!!!


1.16.2015

Birthday Wishes

Did you SEE the incredible inspiration photo for the Cure for the Monday Blues challenge this week? Oh, for the love of all things gold and shiny! I HAD to play along this time around. I simply HAD to do it.


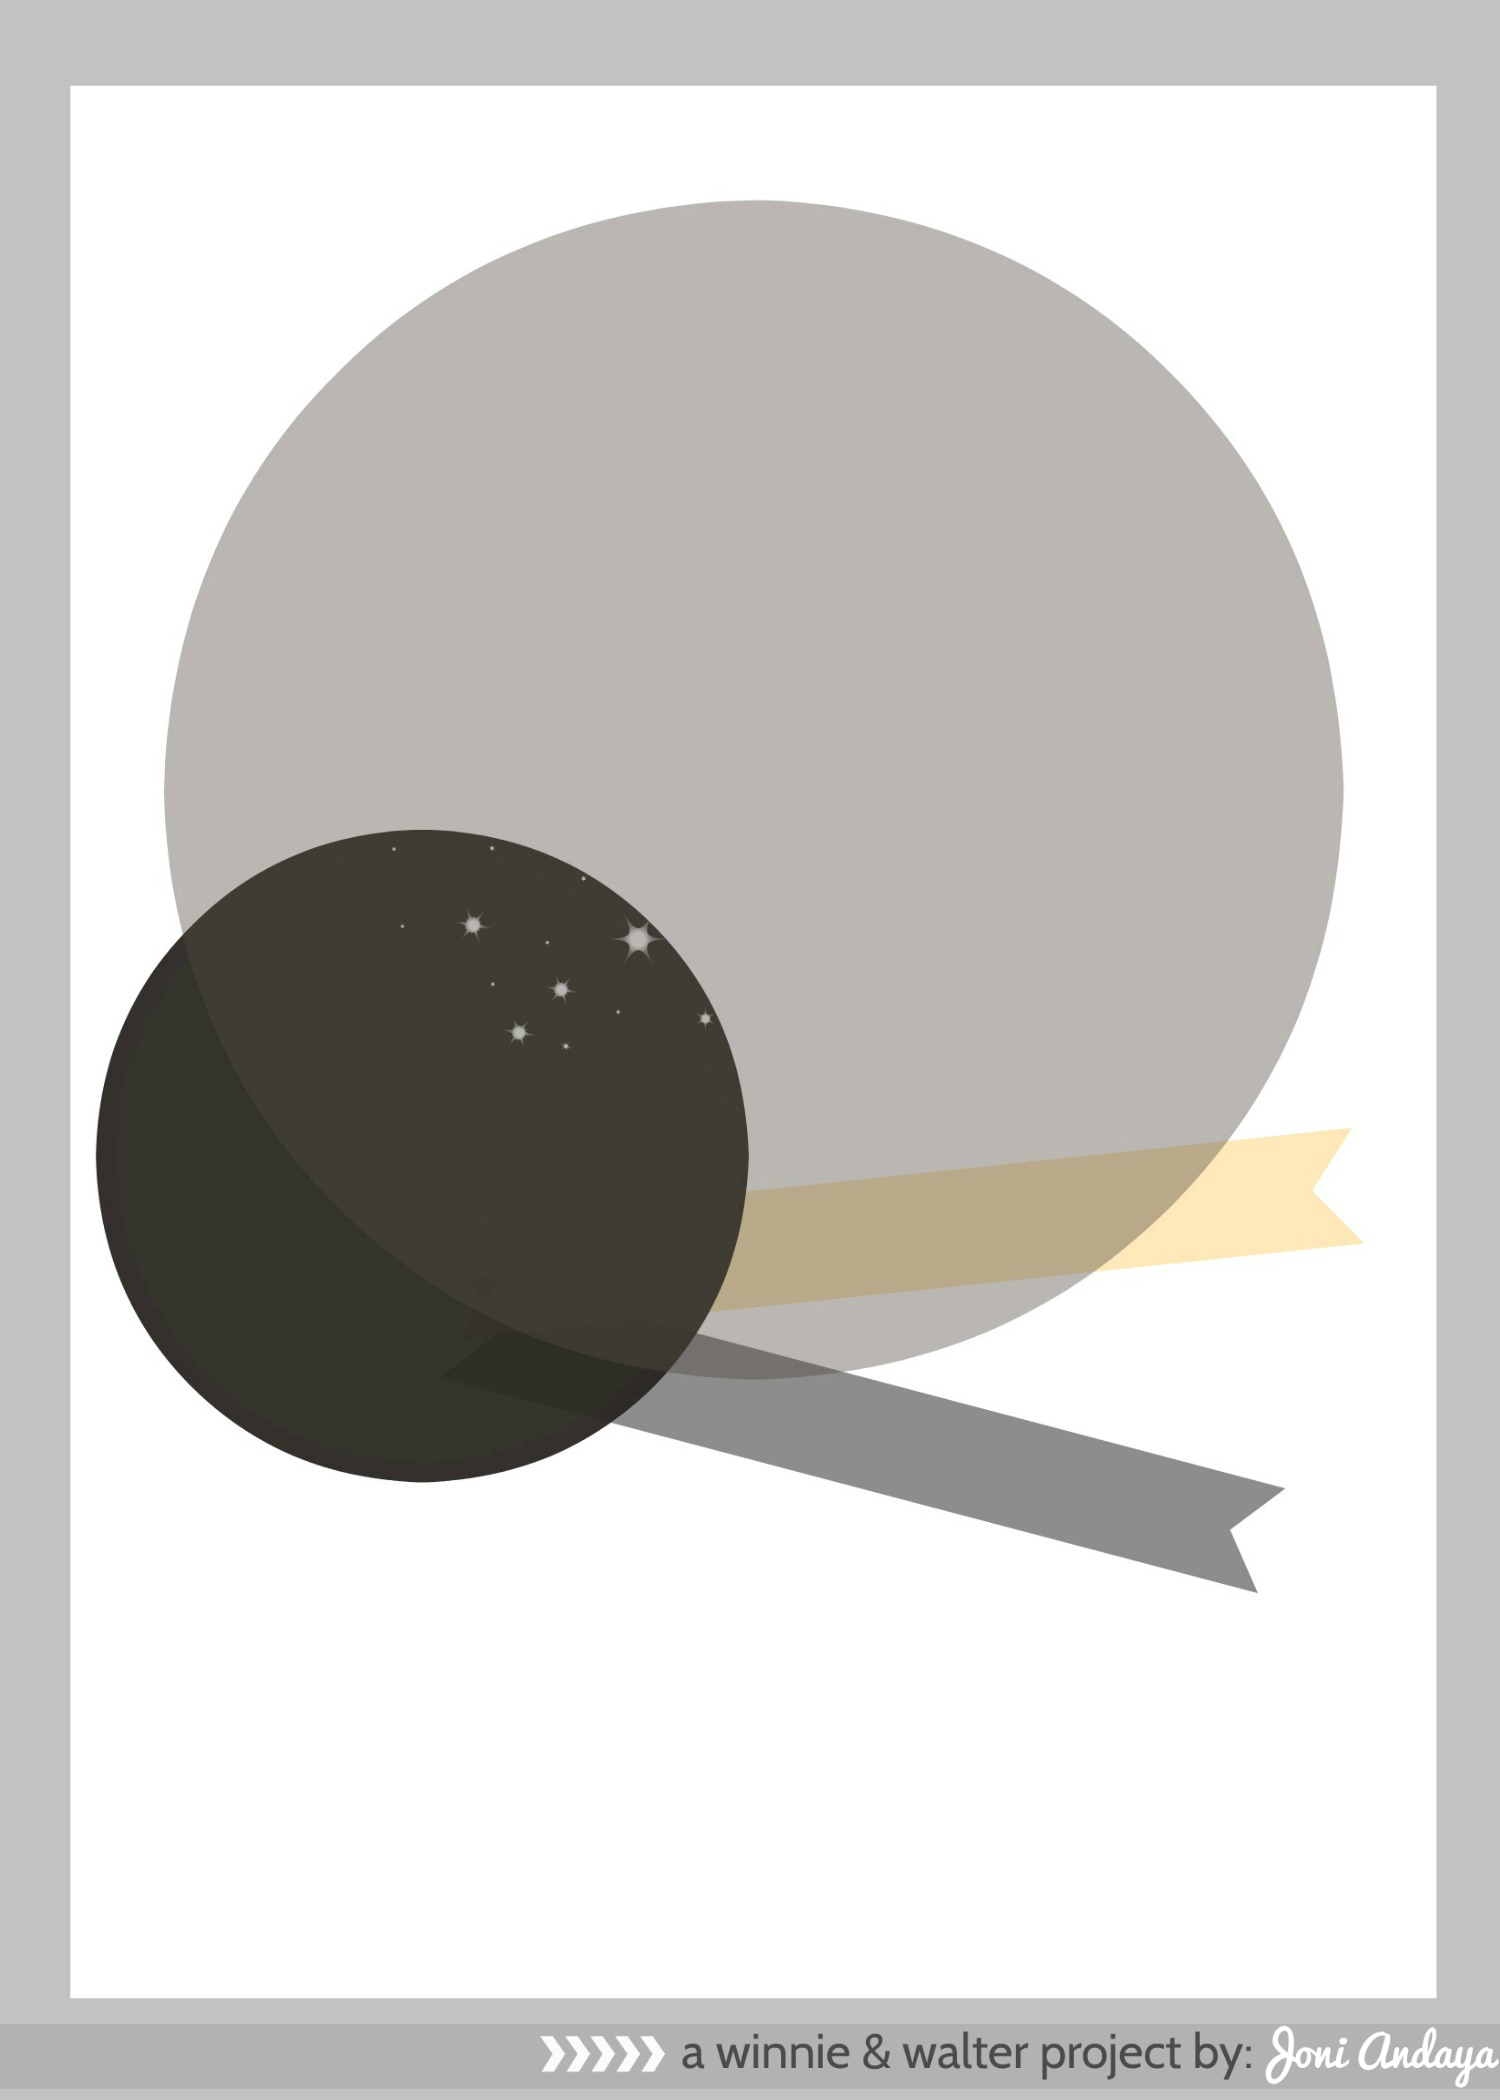
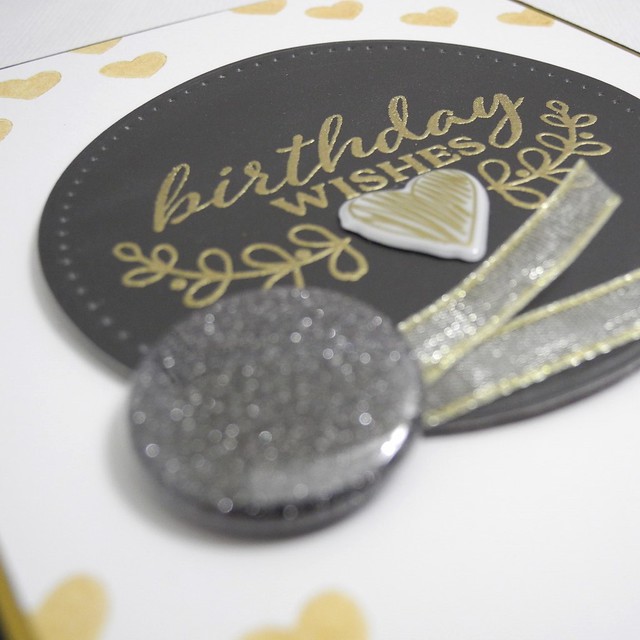
And when I saw that, I also thought of the fabulous Sketch Challenge over on the Winnie & Walter Birthday Bash festivities, and well, my friends, it was just meant to be. I pulled these two bits of inspiration together to create a super fun card that I love super lots and uses a whole bunch of my favorite companies! WHAT?! Yup. Totally.

Birthday Wishes in Gold


I die cut some DCWV chalkboard cardstock (yes, they make that, yes, it's awesome, yes, you need some) using the pierced circle dies from Spellbinders which I have raved about so many times now, that I'm just assuming you own them, and then heat embossed some gorgeous Winnie & Walter stamps in GOLD! Because...gold. I stamped a simple heart with Gold Delicata ink to create that polka dot feel from the inspiration photo. LOVE!!! A bit of Bossy Joscie flair and May Arts ribbon add just the right finishing touch along with a puffy heart sticker from Pinkfresh Studio. (All supplies will be linked at the bottom of this post. That was a lot, I'm aware. HA)

Birthday Wishes in Gold (detail)


Oh...and gold cardstock. I seriously love that gold cardstock. I will be honest, it wasn't the cheapest stuff in the world, but I invested in a pack and I am using every SCRAP of that stuff! For reals, though. It's gorgeous.

Here is that supply list I mentioned (Links to Simon Says Stamp are affiliate links. Your support is always appreciated.)

Cardstock: Crafter's Companion Ultra Smooth White, DCWV Chalkboard Cardstock, Simon Says Stamp black
Stamps: Winnie & Walter Happy Christmas, Winnie & Walter a Tree for All Seasons, Winnie & Walter Picture Perfect
Dies: Pierced Circles by Spellbinders
Ink: VersaMark, Gold Delicata by Imagine Crafts/Tsukineko
Sticker: Up in the Clouds Collection by Pinkfresh Studio
Flair: Bossy Joscie
Ribbon: May Arts
Embossing Powder: Stampendous! Gold Detail
Tools: Grand Calibur Die Cut Machine, Milwaukee Heat Tool, Fiskars Stamp Press

Have a Happy!


1.08.2015

A Birthday Shaker


I have a quick post for you today with another fun card for the Winnie & Walter Birthday Challenges! Today I am playing along with the Shaker Card Challenge. I LOVE shakers! I wasn't going to miss this one!

Happy Birthday Shaker


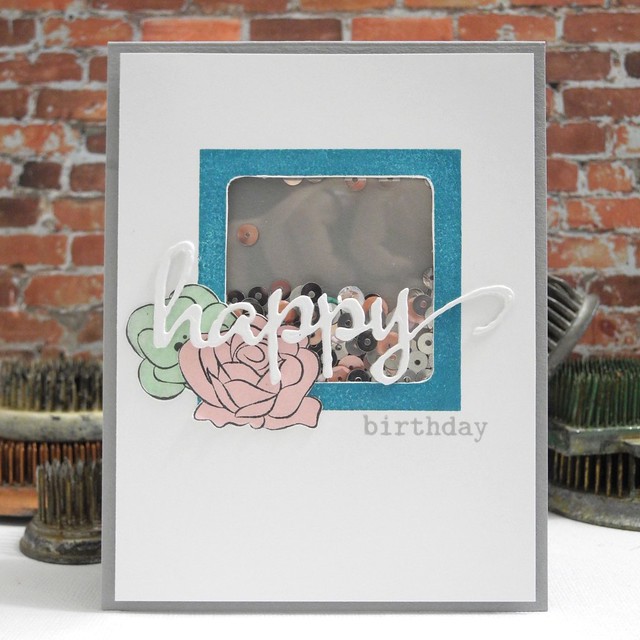
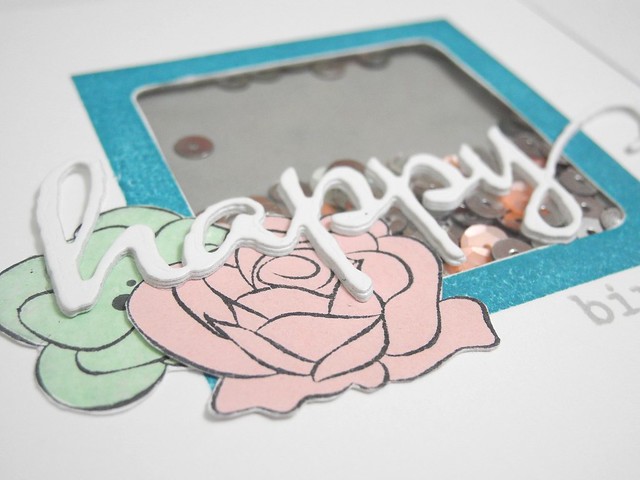
I used the frame from the Picture Perfect set and then hand cut the window for my shaker. I grabbed the flowers from the The Big, The Bold, and Extras set. I cut those out and simply adhered them near the shaker, layering the 'happy' die (layered, for depth) over the entire window.

DSCN6670


I filled the shaker with mostly flat silver sequins (LOTS of them) and added just a few colored sequins for some pop. I really like the mix a lot!

And that's all for today!

Have a Happy!
1.06.2015

Seeing Stars


Hello, friends! I am back today with another card for the Winnie &Walter Birthday Bash Challenges. This time I was inspired by Laura's gorgeous inspiration collage!


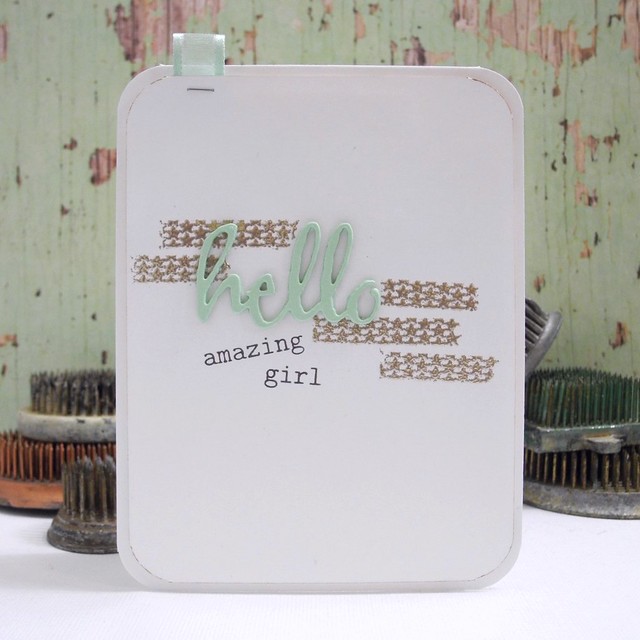
When I saw those stars I knew INSTANTLY what tool I wanted to pull out! I recently got this cool Scotch Stars Patterned Adhesive Roller  in a box of goodies I was sent and it was just too cool, so I had to use it! The adhesive it puts down is actually in star shapes! I rolled that onto my background and then sprinkled embossing powder over it to create a cool heat embossed background.

DSCN6710

I die cut the happy from The Big, The Bold, and the Happy Cutaways set several times and layered them for a nice thick accent over the embossed background and then stamped the words beneath it mimicking the type set in the inspiration photo. I kinda love it. After rounding the corners, I brushed a gold wink of stella just around the edges to make the panel pop just a bit.

Hello Amazing Girl (detail)

This was a fun one for me. the inspiration photo did exactly what was intended. It inspired! 

Have a Happy!
1.05.2015

A Freestyle Thank You


Winnie & Walter is having a HUGE birthday bash with a bunch of awesome challenges! I have some cards I will be sharing this week as I play along with a few of the challenges. I am a HUGE fan of Winnie & Walter (no, I don't design for them... just absolutely love them), and I am excited to play along! You can find the full list of challenges for the birthday bash HERE.

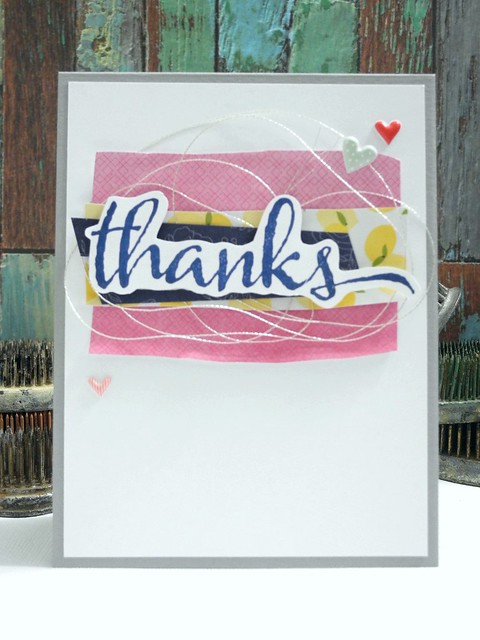
Thanks


I created this card with Gayatri's CAS + Freestyle Collage challenge in mind. I love this style and like to play with it now and then. I used the 'Thanks' sentiment from The Big, The Bold and You set. I fussy cut it freehand to add more to the collage feel. I used papers from the Serendipity 6x6 paper pad, with which I am, naturally, in love. For reals, though. It's AWESOME!

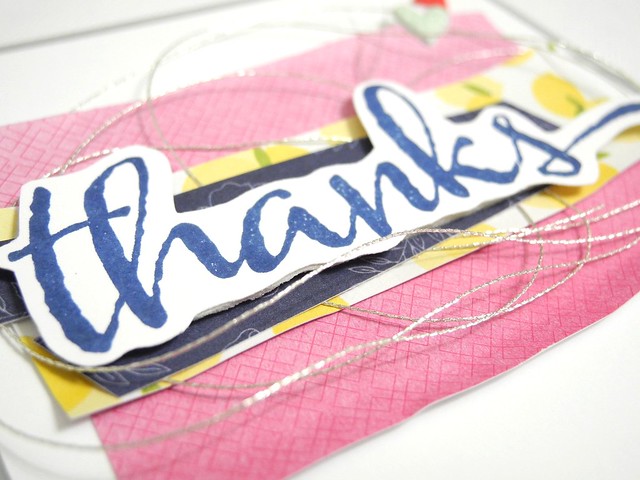
Thanks (detail)


I added a bit of DMC silver thread with the layers of paper pieces for some texture and a bit of sparkle. If you don't have these metallic threads in your stash, I STRONGLY urge you to buy a set! Seriously... they are totally a staple in my life now. I love them. Lots. The puffy heart stickers are from a great pack I picked up at Target from K&Company. I LOVE THEM!

It's good to be back to a traditional schedule after the holidays! I am looking forward to a fun year ahead!

Have a Happy!
12.08.2014

Happy Wedding Day!

So, you know how I said something about all holiday all the time around here? Yeah, I lied. As it turns out, there are apparently other events in December and my card making efforts must also go towards those. Figures. HA! BUT, what that means is that today we get a small break from the Christmas card insanity and we take a look at a pretty winter wedding card that I created for a wedding I went to yesterday! YAY!

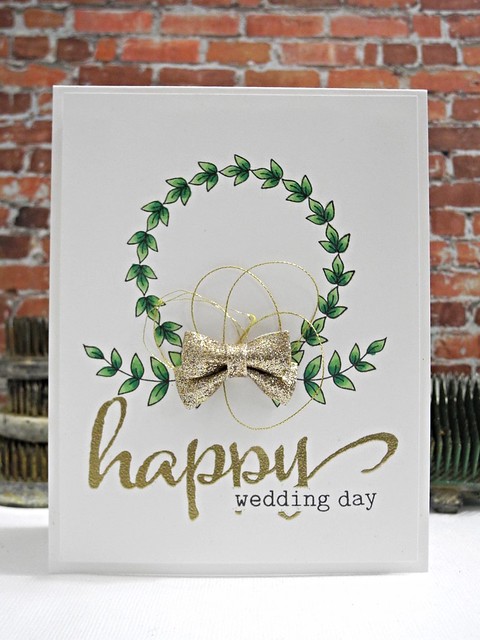
Happy Wedding Day


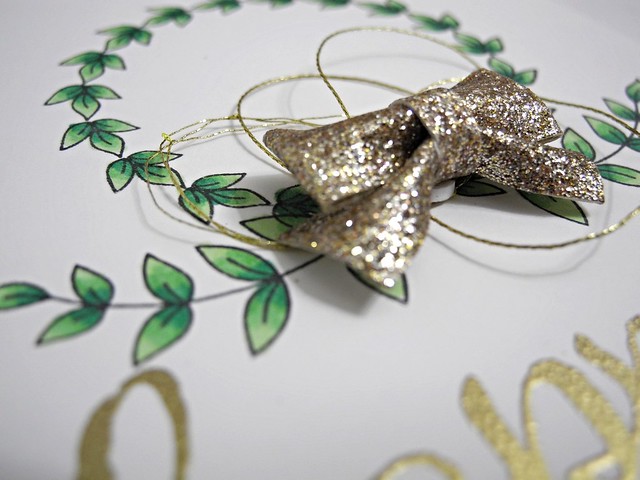
I created this one using some awesome Winnie & Walter stamp sets! I so love these! I stamped and colored the wreath and the laurels with Spectrum Noir markers and then added the gold thread and a fun, sparkly bow.

Happy Wedding Day (detail)


A bit of masking allowed for the overlapping embossed sentiment. I like how this makes two stamps feel like one complete sentiment.

I hope you have a super fantastic week this week, folks! Also, don't forget to check out my Spellbinders die giveaway if you haven't already!

Have a Happy!
11.21.2014

Paper Piecing Really is Fun

I have a secret. I really love fussy cutting. No... for reals, though. I mean, I am ALL about the dies. (Go ahead...take a moment to turn 'All About the Bass' into All About the Dies in your head...I'll grant you that moment....   Done? K. Good. Fussy cutting....), but sometimes it is just plain FUN to do some good old fashioned machine-free fussy cutting. And that, my friends, is what I had in mind when I created this card.

Hello Neighbor


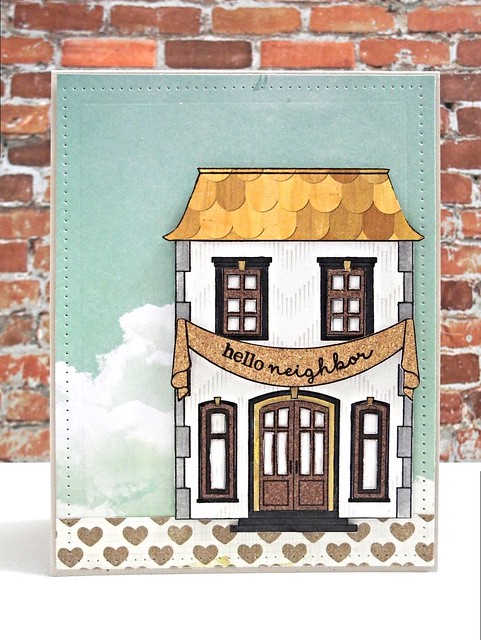
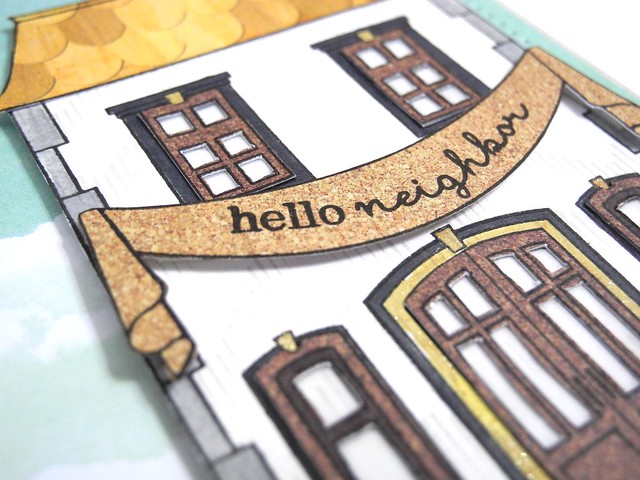
I used the amazing sThis Awesome House stamp set from Winnie and Walter along with a bunch of different Crate Paper papers to bring this all together. I love how the patterns all come together and create this adorable little house! I also made sure to keep the colors neutral so this card could easily be used for anyone!

Hello Neighbor (detail)


I placed bits of vellum behind each of the window panes to give them a more glass like look and to prevent the house pattern from showing through. I also used a gold Wink of Stella to add some gold in some areas and Copics to add the grey toned stones. The background was created by first layering the patterned papers and then cutting them with the Spellbinders Pierced Rectangle dies to get that great pierced and embossed border. I love how that finishes it off so fabulously and gives definition to the patterned paper edges.

And that's all for today, folks!

Have a Happy!
11.06.2014

A Bit of Ornamental Joy

***Don't forget to enter this fabulous BOOK GIVEAWAY! Trust me... it's a super fun read!***

Today I have another card inspired by the Online Card Classes Holiday Card Workshop. I seriously love these classes! They just motivate me to PLAY and THAT, my friends, is an awesome thing! No pressure, no deadline, no requirements... just PLAY WITH ALL OF THE THINGS!!!!

Whoa. Got a little excited there. Okay. I've got it together now. Moving on....

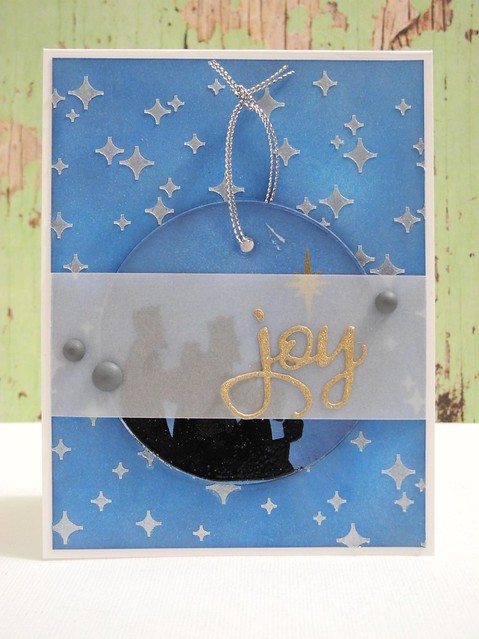
So, anyway, today's card was inspired by the embedded ornament card that Jennifer McGuire created for the class. I loved the idea of an ornament that could be pulled from the card. My execution didn't work as well as I had hoped, but I think if I create a second one I can correct some of the issues. Another option with this card would be to use a bit of magnet tape on the back of the pull-out piece and create a magnet instead of an ornament, which would be great for cards for all occasions!

Joy Ornament card


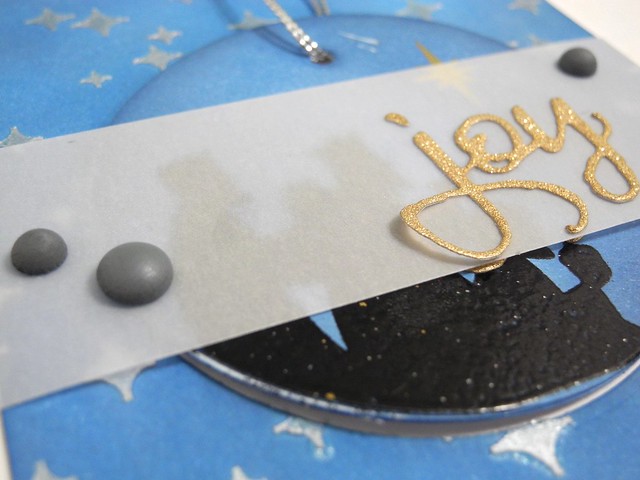
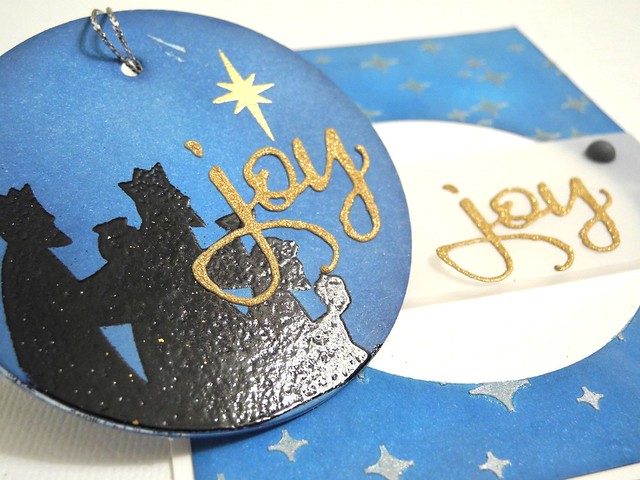
I inked both the die cut circle ornament (layered three times to give it some Ooomph!) and the background piece individually. I then stamped and embossed the wisemen and the star from the Blessed Christmas set from Paper Smooches onto the ornament. On the background, I used the Sci-Fi Star Creative Screenings stencil from Winnie & Walter with some pearlescent embossing paste to create a shimmering, starry background.

DSCN5772


The sentiment is from the Winnie & Walter The Big, The Bold, and the Merry Cutaways set. Which I love. With all of my heart. And all of my soul. And all of my inner most being. (Wait..that might be your soul... hmmm... I suppose that's a philosophical discussion for later....) I cut it twice, so it is on the ornament and on the vellum, leaving the card looking halfway decent even after the ornament is removed. But only half way. HA!

DSCN5773


Here you can see a bit what the ornament looks like outside of the card. I like this idea and I want to play with it a bit more. It is certainly a fun way to include a small gift with your card AND encourage people to keep your art.

I am also entering this card in the Paper Smooches Sparks Anything Goes Challenge.


Have a Happy!
10.31.2014

Winnie & Walter: Premiere of Stampets: Penguin + Stampets: The Gift + Stampets: Turkey

Wow! This has been an awesome Premiere week with Winnie & Walter, hasn't it? Today we have three stamp sets to show off! They are super fun!

Blessings


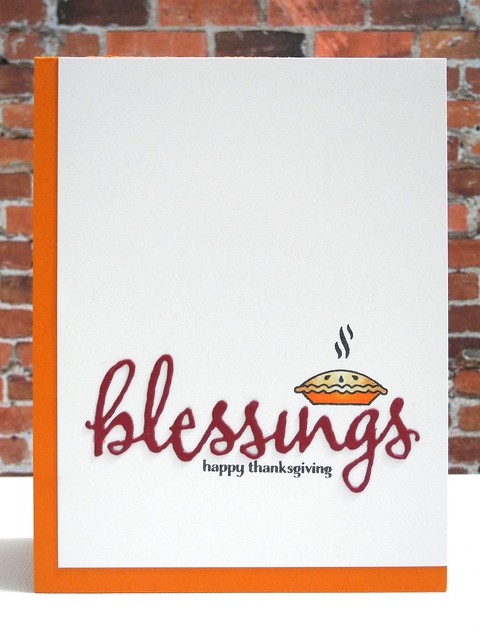
I used the Stampets: Turkey set for this card. The turkey is SUPER cute, but I wanted to showcase one of the awesome little stamps, so I choose this super cute pie. I combined it with one of the new cutaways for a fun Thanksgiving card!

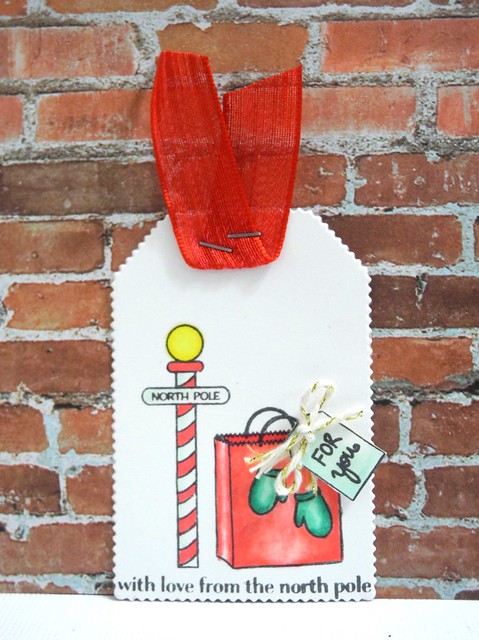
With Love North Pole tag


I used the Stampets: Penguin and the Stampets: The Gift sets together to create the little mini scene on this tag. It's a fun little holiday tag, I think.

Be sure to head over to the Winnie & Walter blog for LOTS of inspiration AND a chance to win these great sets! You won't want to miss out on the cuteness you will see! These sets have LOTS of images, so there will be some variety for SURE! Also, the products go live tonight around 8pm Eastern, so keep an eye on the Winnie and Walter store to fulfill that wish list!

Happy Halloween!!!!

10.30.2014

Winnie & Walter: Premiere of Happy Christmas + The Big, the Bold and the Merry + Cutaways

Welcome to Day 3 of the Winnie & Walter Premiere! I am excited to be showing of two awesome new stamp sets and CUTAWAYS!!! Yes, that's right, folks, Winnie & Walter now has steel cut dies. I may have screamed a little when I found out. You are welcome to do the same. For reals, though. Go ahead...I'll wait.

Now THAT was a great happy dance. Well done, my friend. And now I am excited to share a couple of cards I created using these fabulous new stamps and dies!

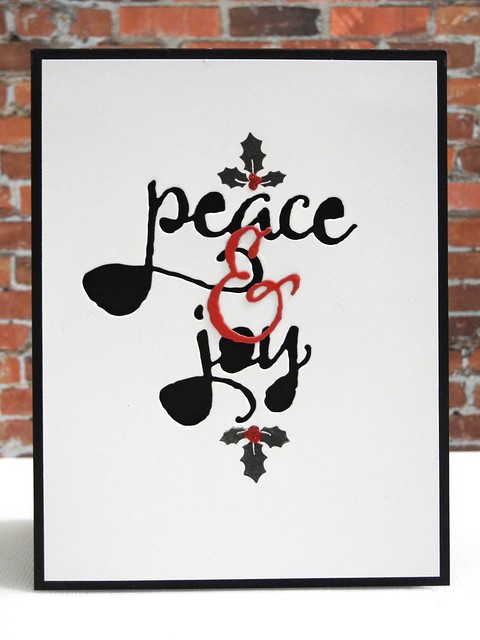
Peace & Joy


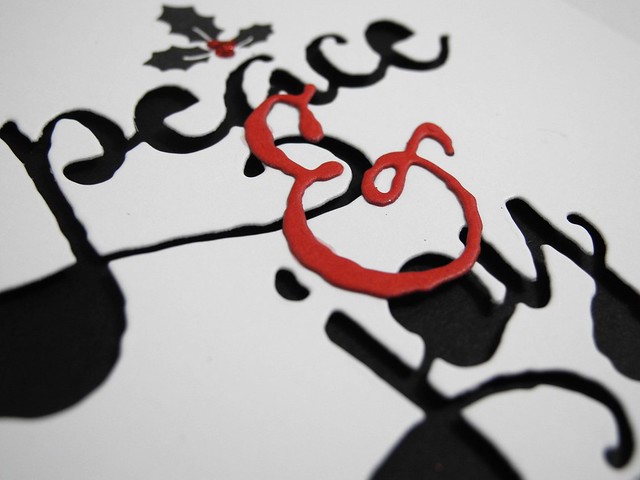
For this card I went with a classic color scheme and kept the design simple. I love how the negative die cuts look on this one! I popped up the white panel to add dimension and adhered the red ampersand directly to the panel. I am so in love with these dies it is not even funny. For reals, though.

Peace & Joy (detail)


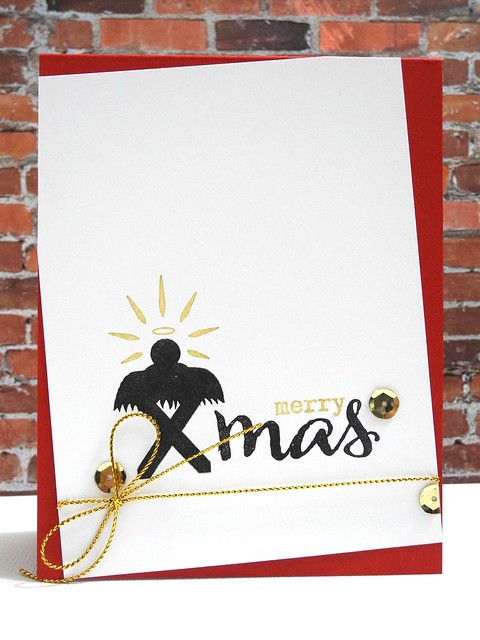
For my second card today I combined The Big The Bold, and The Merry with Happy Christmas. I love how perfectly this image worked with the end of the Christmas stamp!

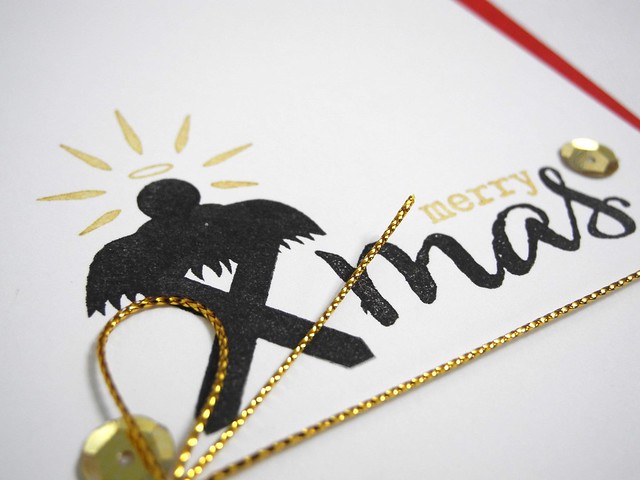
Happy Xmas


I used the same basic color scheme for this card (It is my favorite for Christmas, after all. LOL!), only this time I added a touch of gold by stamping some areas in gold Delicata ink and adding a few sequins. SHINY!

Merry Xmas (detail)


Be sure to head on over to the Winnie & Walter blog for a TON of inspiration and for your chance to win these AMAZING stamps and dies. For REALS...if you enter no other giveaways this week, please just enter this one. You want them. Trust me on this. No... but really... do it. K. Glad we had this talk.

Have a Happy!!!

10.29.2014

Winnie & Walter: Premiere of Mini Scenery: Into the Woods + Scenery: Big Bang Flurries + Winter Woodland

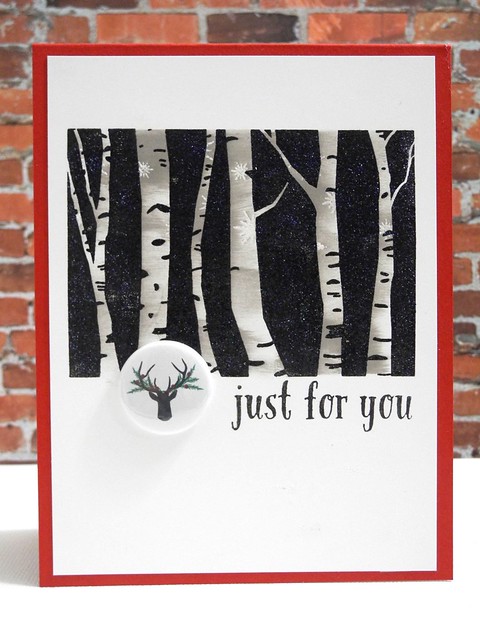
Thank you all for joining me on day 1 of the Winnie and Walter release! Today we have some more great stamp sets to share with you! I super love today's sets! I really do! For my first card I used both the Mini Scenery: Into the Woods stamp and the Big Bang Flurries WITH a sentiment from Winter Wonderland. WHOA! Three sets in one card. Yup. Totally did that.

Just For You Woodland


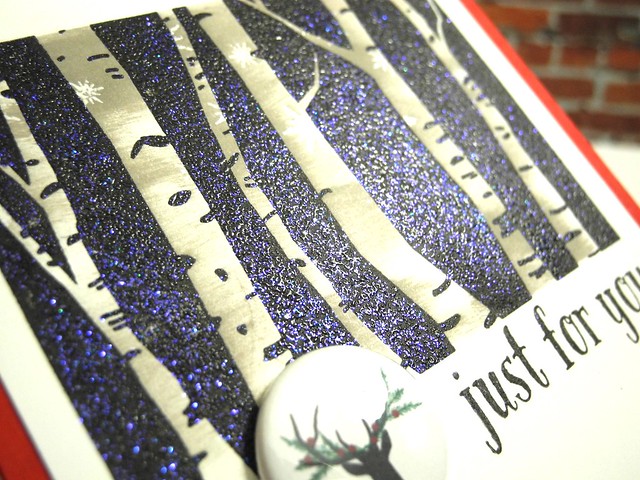
I stamped the background in black VersaFine ink and then stamped some snowflakes over it with VersaMark. I heat embossed the entire thing using a sparkle embossing powder from Stampendous. I just love how shiny and sparkly it is! I used Distress inks, brushed across the card, to get the look of real birch trees. Finally, I added a Bossy Joscie flair piece as embellishment on the card. YAY!

Just for You Holiday (detail)


You can really see the shine in this shot. It looks so pretty in person! I promise!

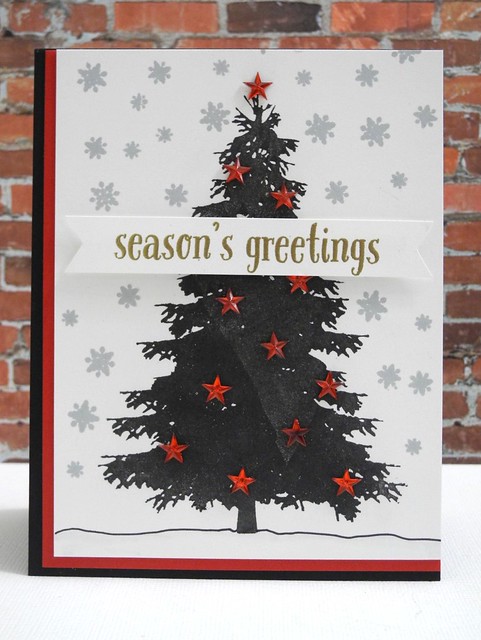
Season's Greetings


For my second card today, I wanted to use that gorgeous and HUGE tree stamp, but I also wanted to do something less traditional, so I opted to stamp the image in black ink and I used red stars to decorate the tree. The snowflakes from Big Bang Flurries made a great background for this one!

Be sure to head on over to the Winnie & Walter blog for more inspiration and to enter to WIN!!!

Have a Happy!


10.28.2014

Winnie & Walter Premier: Eat Drink Gingerbread Man + Mini Scenery: The Peppermint Zone + Creative Screenings

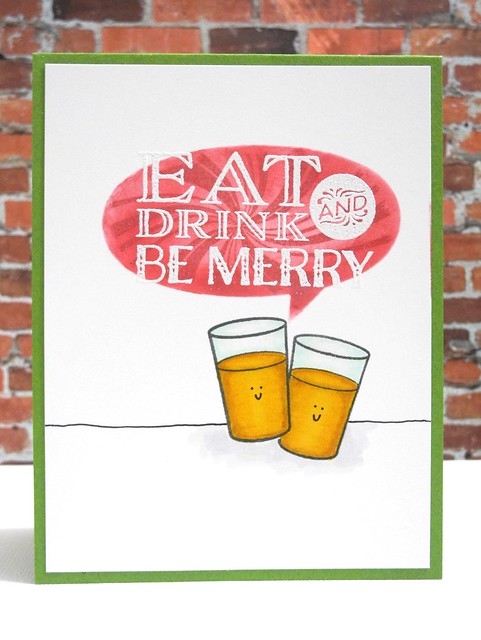
It's release time with Winnie & Walter and it is a good one, folks! Today we are showing off THREE awesome new products! The Eat, Drink Gingerbread Man stamp set, the Mini Scenery: The Peppermint Zone (awesome!!!) stamp, and...wait for it... the ALL NEW Creative Screenings line! Yup, folks, we've got stencils. And they are awesome.
DSCN5665


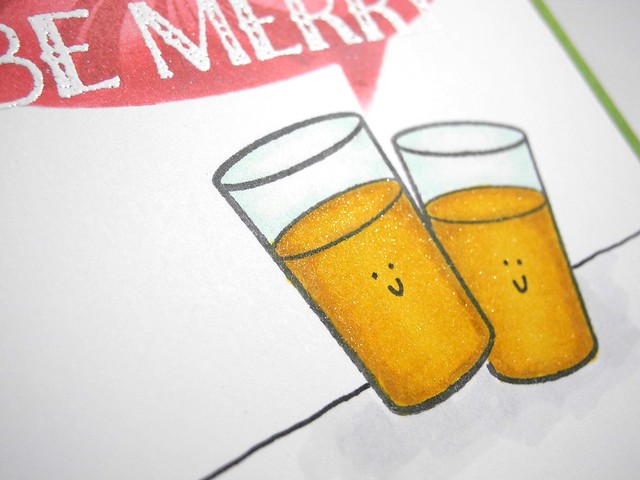
For this card I used the Speech Bubbles Creative Screening stencil with the Peppermint Zone stamped over it. I then inked in the bubble for a more solid look so I could stamp and emboss that wicked cute sentiment over it. I stamped the 'milk' glass twice, masking one, then colored them to look like beer...happy beer. 'Cause, apparently beer is happy now.

DSCN5667


A bit of Wink of Stella makes it sparkle. I like sparkle. Lots.

Joy


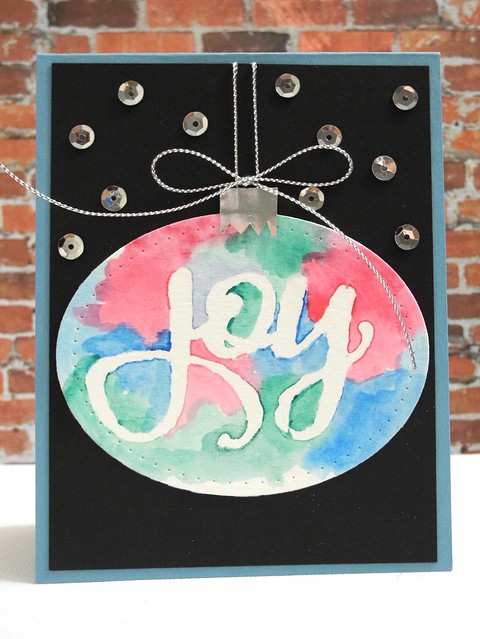
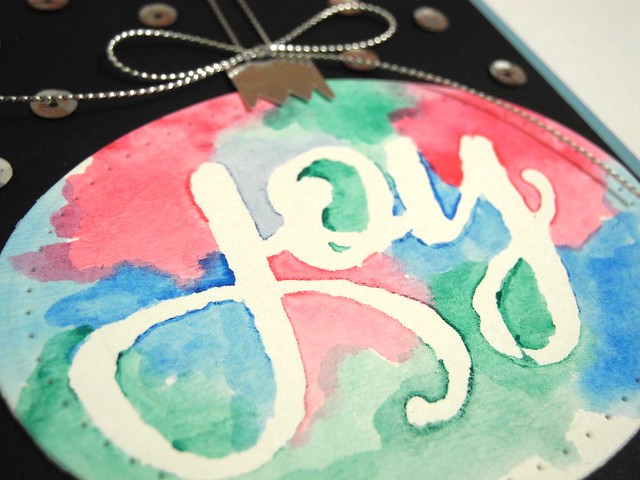
In addition to the stencil portion, some of the Creative Screenings also have the fabulous positive screen, as well! I created this neat ornament by temporarily adhering the screen and then watercoloring around it. I die cut the oval (Spellbinders Pierced Ovals) and free hand cut the little silver thingy (yup...that's totally what they are called) from silver paper to create the ornament. SO MUCH FUN!

DSCN5698


Makes sure you RUN (don't walk... seriously... run...) over to the Winnie & Walter blog for more inspiration!!! Seriously. Lots. Go.

Have a Happy!!!

Why are you still HEEEERE? GO! NOW!

For reals, though.


ShareThis