Showing posts with label stencils. Show all posts

11.30.2021

Falalalala

 So, this stencil thing is pretty real. And pretty awesome. This entire image was colored using, you guessed it... STENCILS and INK! I know, right? I used the Under the Christmas tree stamps, dies, and stencils from Pinkfresh Studio to create the image and then simply stamped and embossed the sentiment on a strip of cardstock to finish the look.


These layering stencils are seriously just amazing. I had so much fun creating this tree! I used a bit of gold ink to add some shine and sparkle to the decorations, too! 


If you haven't jumped onto the current stencil trend, I highly recommend giving it a shot! It is so easy to do and the results can be absolutely amazing! 

Heads up: The links in this post are affiliate links. It doesn't cost you anything extra, but if you choose to purchase from that link, I do get a share of the sale. 

Thanks for stopping by and have a wonderful day!

11.10.2021

We Need a Little Christmas, Right this Very Minute

 We need a little Christmas NOW!

Okay, so I know some of you would prefer to wait a bit, and that's cool, but I had to start on Christmas cards, at least. 

Also, now that song is in your head and that's fun, sooo......


I did lots of things on this card. I don't often do lots of things, but for this one, I did lots of things. I started by stamping and embossing this wicked cool Simon Says Stamp Star to Star background in gold. I kind of love it. I then used the Simon Says Stamp Peace Hope Love Stencil and did some blending with Hero Arts bubblegum ink. That gorgeous medallion is die cut twice, once in black for the 'underneath' part (that's the technical term, naturally), and once from gold cardstock. A bit of foam tape raises the gold over the black.
Finally, the sentiment is an older Simon Says Stamp Joyeux Noel die cut from a nice bright pink cardstock.


I love that this card mixes fun stuff from several collections. I always appreciate when I can use supplies I've had around for awhile along with some of the newer stuff to create new looks.

And thus, we begin with the holiday cards of 2021. Yes, my friends, it has begun. Don't worry too much, though...I will have some others mixed in there, too. I promise.

Have a wonderful day! 

10.25.2021

Because RAINBOWS!

Yup. I yelled rainbows. I'm gonna do it again. RAINBOWS!!! You guys, for reals, though. This awesome Build a Rainbow stencil and the accompanying die from Simon Says Stamp is freaking awesome. 


I used the SSS Rainbow Ink Cubes and blending brushes along with the stencil to create the rainbow itself. Then I die cut the bottom panel and inked the cloud edge to create the cloud look. LOVE IT. The sentiment is the You Are Enough die from Simon, too. Finally, I went a little old school and pulled out an old wood starburst embellishment, used a paint pen to make it white and then covered it with... you guessed it... STICKLES! I think Sterling (my toddler) is bringing back my love of glitter glue. Mostly because he puts it on everything he possibly can. 


Stenciling is super popular right now and it has never been a big thing for me, so I am trying to give it a shot here and there. I think I may end up loving it. This was certainly a TON of fun to create and not a SINGLE stamp was used to create it. WHAT?! That's craziness. Absolute craziness. I do adore how vibrant the colors are, though! That's pretty awesome! And the cool variation you get from using the blending brushes with ink... yeah, I'm liking that, too.

What technique have you been trying out recently? I'd love hear about it! 


4.23.2015

All My Love


I'm sending it to you. Well, maybe not all of my love, but I AM sending you my love of this new AWESOME collection from Simon Says Stamp! WHAT?! Yup. Totally, you guys!

Seriously. Just LOOK at that cuteness!!! The folks over at Simon Says Stamp were kind enough to send me a couple of the goodies from this new collection and I am LOVING them!

Sending My Love by @Jennifer Ingle #simonsaysstamp #fallingforyou #sssfallingforyou #diy #cards #spectrumnoir


Exhibit A: That ADORABLE little girl! Oh, my  CUTE!!! I colored her with Spectrum Noir pens and did a bit of fussy cutting and layering to add depth. I sort of love her. And that bokeh background? Yup, that is TOTALLY done with a  new stencil set from Simon Says Stamp. And that may be my FAVORITE stencil set EVER. Maybe. For reals, though. Just sayin'.

Sending My Love by @Jennifer Ingle #simonsaysstamp #fallingforyou #sssfallingforyou #diy #cards #spectrumnoir


So, here's the deal. My instructions for you are quite simple. GO! NOW! Check out the new stuff, you GUYS! For reals, you don't want to miss out on this one! Head on over to Simon Says Stamp and check it all out!

Happy Shopping! 

11.06.2014

A Bit of Ornamental Joy

***Don't forget to enter this fabulous BOOK GIVEAWAY! Trust me... it's a super fun read!***

Today I have another card inspired by the Online Card Classes Holiday Card Workshop. I seriously love these classes! They just motivate me to PLAY and THAT, my friends, is an awesome thing! No pressure, no deadline, no requirements... just PLAY WITH ALL OF THE THINGS!!!!

Whoa. Got a little excited there. Okay. I've got it together now. Moving on....

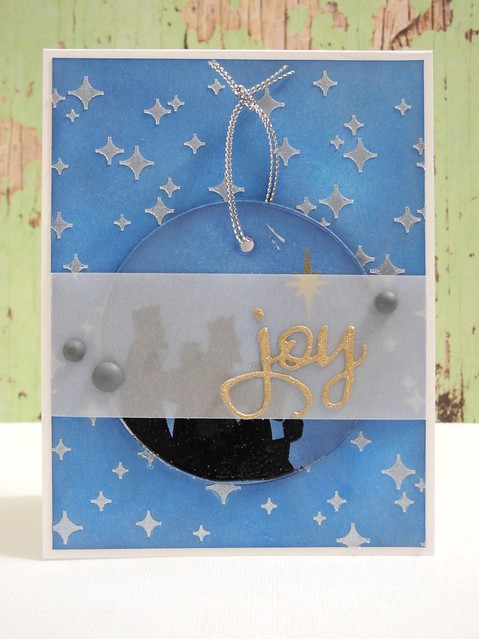
So, anyway, today's card was inspired by the embedded ornament card that Jennifer McGuire created for the class. I loved the idea of an ornament that could be pulled from the card. My execution didn't work as well as I had hoped, but I think if I create a second one I can correct some of the issues. Another option with this card would be to use a bit of magnet tape on the back of the pull-out piece and create a magnet instead of an ornament, which would be great for cards for all occasions!

Joy Ornament card


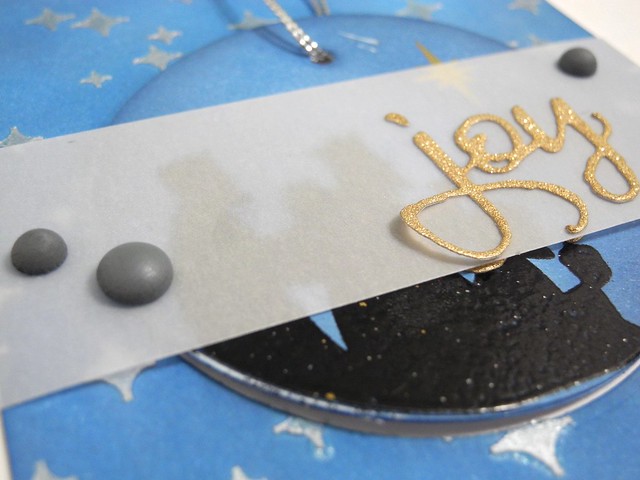
I inked both the die cut circle ornament (layered three times to give it some Ooomph!) and the background piece individually. I then stamped and embossed the wisemen and the star from the Blessed Christmas set from Paper Smooches onto the ornament. On the background, I used the Sci-Fi Star Creative Screenings stencil from Winnie & Walter with some pearlescent embossing paste to create a shimmering, starry background.

DSCN5772


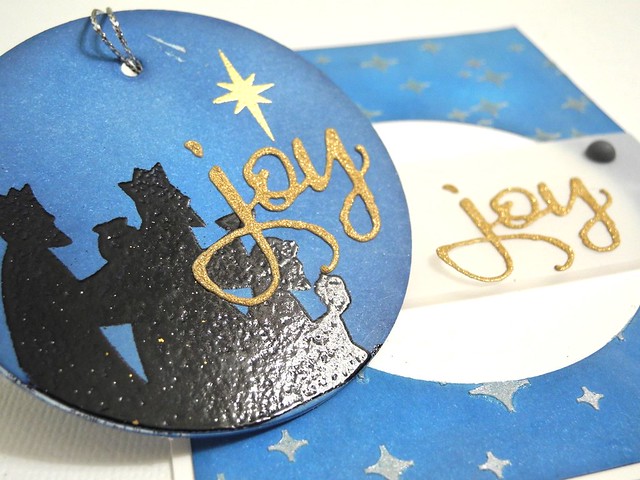
The sentiment is from the Winnie & Walter The Big, The Bold, and the Merry Cutaways set. Which I love. With all of my heart. And all of my soul. And all of my inner most being. (Wait..that might be your soul... hmmm... I suppose that's a philosophical discussion for later....) I cut it twice, so it is on the ornament and on the vellum, leaving the card looking halfway decent even after the ornament is removed. But only half way. HA!

DSCN5773


Here you can see a bit what the ornament looks like outside of the card. I like this idea and I want to play with it a bit more. It is certainly a fun way to include a small gift with your card AND encourage people to keep your art.

I am also entering this card in the Paper Smooches Sparks Anything Goes Challenge.


Have a Happy!

10.28.2014

Winnie & Walter Premier: Eat Drink Gingerbread Man + Mini Scenery: The Peppermint Zone + Creative Screenings

It's release time with Winnie & Walter and it is a good one, folks! Today we are showing off THREE awesome new products! The Eat, Drink Gingerbread Man stamp set, the Mini Scenery: The Peppermint Zone (awesome!!!) stamp, and...wait for it... the ALL NEW Creative Screenings line! Yup, folks, we've got stencils. And they are awesome.

DSCN5665


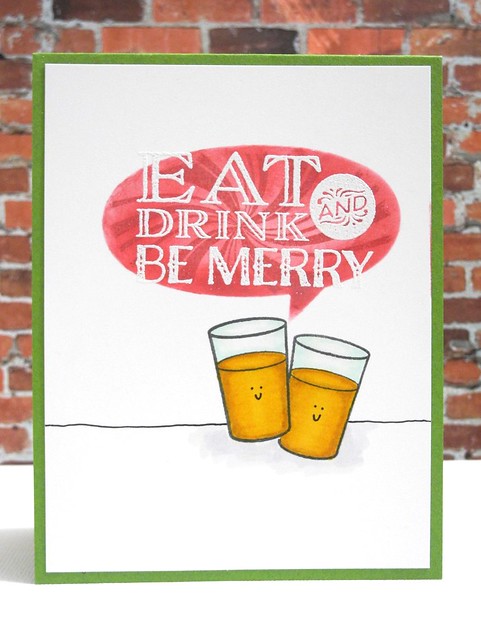
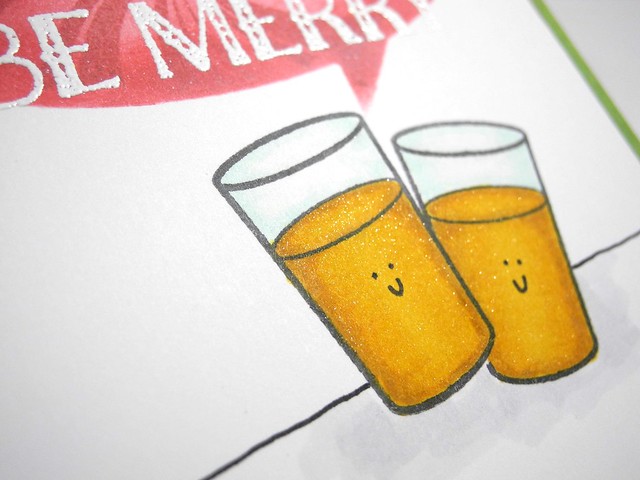
For this card I used the Speech Bubbles Creative Screening stencil with the Peppermint Zone stamped over it. I then inked in the bubble for a more solid look so I could stamp and emboss that wicked cute sentiment over it. I stamped the 'milk' glass twice, masking one, then colored them to look like beer...happy beer. 'Cause, apparently beer is happy now.

DSCN5667


A bit of Wink of Stella makes it sparkle. I like sparkle. Lots.

Joy


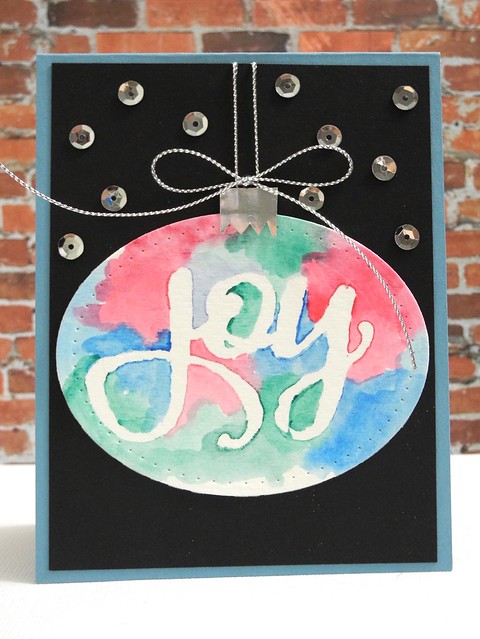
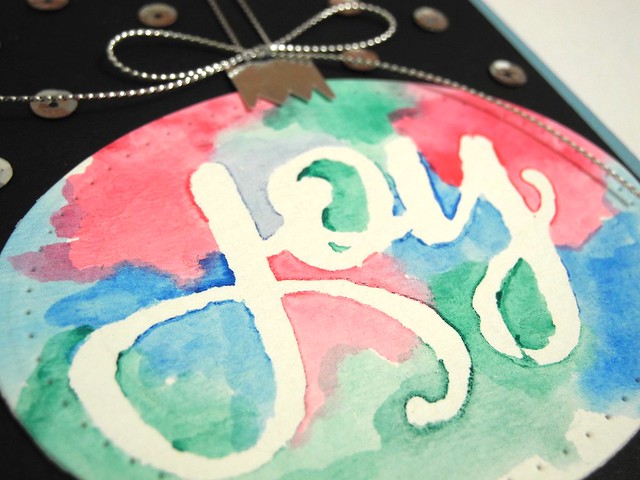
In addition to the stencil portion, some of the Creative Screenings also have the fabulous positive screen, as well! I created this neat ornament by temporarily adhering the screen and then watercoloring around it. I die cut the oval (Spellbinders Pierced Ovals) and free hand cut the little silver thingy (yup...that's totally what they are called) from silver paper to create the ornament. SO MUCH FUN!

DSCN5698


Makes sure you RUN (don't walk... seriously... run...) over to the Winnie & Walter blog for more inspiration!!! Seriously. Lots. Go.

Have a Happy!!!

Why are you still HEEEERE? GO! NOW!

For reals, though.


10.04.2014

I am a Leading Lady!


Happy World Card Making Day, folks!!! I have some VERY exciting news to share with you today! I am the Leading Lady over at Winnie & Walter for the month of October!!! I could not be more thrilled! I absolutely LOVE Winnie & Walter stamps, cut files, and, well, just about everything they make! LOVE! And Julie and Shay are pretty spectacular, too, so it's just a total package kind of deal, folks. Total. Package.

For my first week I wanted to have some fun with some of my FAVORITE Winnie & Walter stamps, so I decided on WORD UP! theme for this week. Yup. It's all about the words for this one, folks!

Happy Hello


For my first card, I used words as my absolute focal point. This one is ALL about the words. I stamped Happy from The Big, The Bold, and The Happy three times in different colors and then added the Hello, taking it off to the other edge to draw the eye to it. I love how words are the star of the show for this fun card!

Thankful for You


Another great thing about the word stamps from Winnie & Walter is that you can totally use them in the background, as well. For this fall card I stamped the word 'autumn' in the background repeatedly in a very pale ink to add visual interest and texture to the design. I then stamped my tree and the sentiment right on top! I love how the background adds so much to this card.

Black and White Thanks


For my final card, I actually didn't use any stamps at all?! WHAT?! I know, right? I cut the 'thanks' using the The Big, The Bold, and You cut files and used the negative as a stencil to trace my sentiment onto the card. I then used one of the BRAND NEW stencils from Winnie & Walter to add some bold, black embossing paste stripes across my card panel. I am LOVING these stencils!!! This card shows how words can be used in, perhaps the most traditional method, as a fabulous, standout sentiment!

And there you go, my friends! I hope you have enjoyed our little Word Play today! Go grab some of your The Big, The Bold stamp sets and make some magic happen!!!


Shay and Julie have GENEROUSLY provided a $30 Gift Card to one of my readers! To enter, simply comment on my Leading Lady posts here on the blog throughout this month. I will be choosing a winner at the end of the month from ALL of my Leading Lady posts, so you have a few chances to enter!

Have a Happy!

P.S. Winnie and Walter are also having some FABULOUSLY fun things going on for World Card Making Day, so be sure to check them out today!!!

6.11.2014

You've Got This!


Simon Says Stamp Wednesday Challenge Blog

We have a new challenge for you over at the Simon Says Stamp Wednesday Challenge blog! This week it's all about the STENCILS! We want to see you pull out your stencils and show us how you use them! The Design Team is using products from The Crafter's Workshop this week, you don't have to use them to participate, but we would love to see what you do with them if you have some!

You've Got This


I used a couple of different stencils along with gelatos to create my watercolor background. To use the gelatos, I just rub them onto my Ranger craft mat and then use the pigment with some water and a paint brush. I love the gold metallic pigment!!!

You've Got This (detail)


I used an awesome sentiment from Avery Elle and a few woodgrain enamel dots to finish off my card! Now it's YOUR turn! Create a NEW project using stencils in a fun and creative way and link it up to our challenge! One lucky winner will receive a $50 Gift Certificate to the Simon Says Stamp store! Woot! Woot!


Have a Happy!


4.07.2014

Stencils and Custom Coloured Embossing Paste

Yes. Both of those things.  They are awesome. Super duper awesome. And I used both on this fun card...AND some watercoloring, too, just for grins and giggles.  WHAT?!!! Yup. Totes, peeps.  Totes.

I was feeling a strong urge to use some stencils based on the inspiration from both the Virginia's View Challenge and Moxie Fab World Styling With Stencils Challenge. Yup. Two challenges. It had to happen, folks. The Universe said so.

Blue Feather On Watercolor


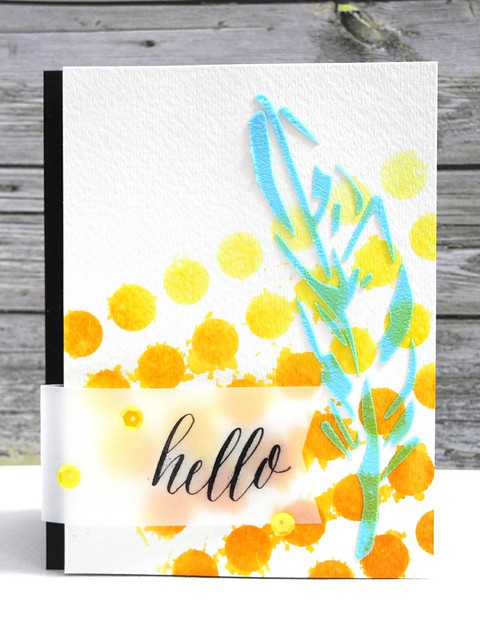
Yup.  Blue embossing paste.  How did this come to be, you ask?  Well, let me tell you!  Take your Ranger craft mat... hit it a few times with your distress ink color of choice... fold just a *bit* of embossing paste right in that spot with a little spatula thingy (of COURSE that's the technical term) or an old gift card until the color has mixed in well.... smile because you totes just made your own custom embossing paste, YO!

Custom colored embossing paste?  Yup.  Loving this!


The background is done with watercolors through a stencil and then, after that dried I did the feather and finally stamped the hello, a fabulous Bossy Joscie stamp onto the vellum and attached that with foam pieces under the letters to hide them.  And sequins.  Always with the sequins.

Feather on Watercolor (detail)


You can check out my complete supply list in the links below.

Have a HAPPY!!!!!

An extra one, actually.  K?  K.  Thanks.  Happy.  Do it.


ShareThis