Showing posts with label Online Card Classes. Show all posts

2.05.2015

Because They Don't All Work

Okay, so, here's the deal. I love this card. I seriously do. BUT, it is not what I set out for it to be. You see, I attempted to use a super fun technique that Jennifer McGuire taught in the Online Card Classes Clean and Simple 4 class, however, that technique refused to work for me. I plan to try it again, but I was bound and determined to finish this card, so I did, nonetheless. I did incorporate a lot of inking on this one to create my own colored backgrounds, and I sort of love it.
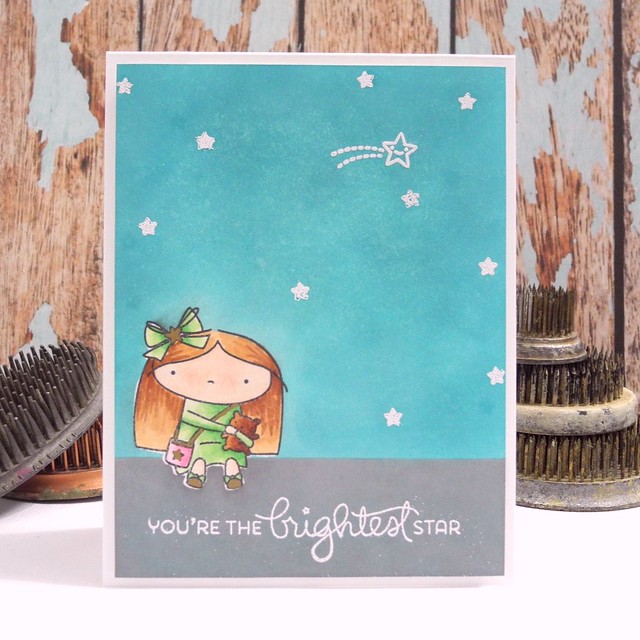
Brightest Star


First of all, HOW CUTE IS SHE?! Seriously. I am in love with this adorable Shooting Star stamp set from Mama Elephant! It makes me smile! YAY! I stamped her first, and then colored with Spectrum Noir pens. I then stamped her on some Post-it tape and masked  her off to do the inking. I used Simon Says Stamp inks on Crafter's Companion Ultra Smooth cardstock. I LOVE how the inking blended so beautifully and that this is essentially all one layer!

Brightest Star (detail)


I attempted to use VersaMark over the inked background to have the ink create a cool shadow look for the stars. That's the part that didn't work. BUT, I decided to simply stamp and heat emboss the stars with white powder and I think it looks awesome, so I am happy with it. YAY!

I hope you like her!

Have a Happy!

11.18.2014

Wishing You Joy

Wow! So, I apologize for the few days I took off. I was in Phoenix at the Spellbinders Design Team Retreat and it was AMAZEBALLS, you guys. For reals. I can't even BEGIN to tell you just how amazing this trip was! I am so inspired to start creating!!!

I know several of you have been waiting for me to announce some winners! I have two to announce, so let's get right to it!

The winner of the Winnie and Walter $30 Gift Certificate is....  DEEPTI! Congratulations, Deepti! I will pass your name and email address on to Winnie & Walter so they can send you your prize!

The winner of the copy of Gossamer Ghost by Laura Childs is.... Kelly Latevola! Congratulations, Kelly! I will be emailing you for your mailing address so I can send this out to you!

Whew! That was fun! Now onto another card that was inspired by the Online Card Classes Holiday Card Workshop.

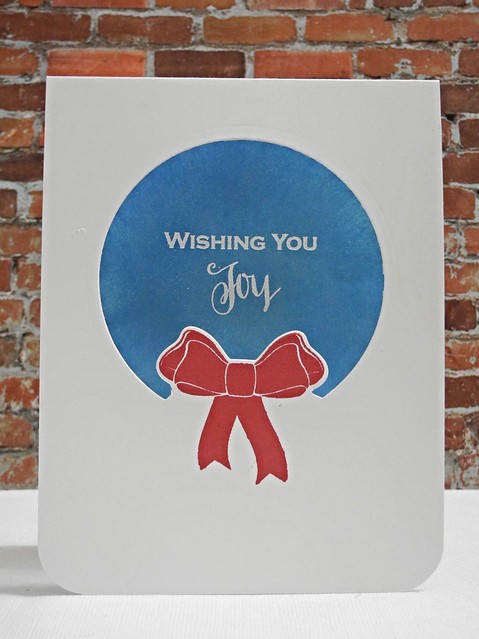
Wishing You Joy


One lesson focused entirely on one layer cards. This is generally a weakness of mine. While I do CAS, I usually have some layering of some kind on my cards, so I was excited to take this challenge. I loved the partial die cutting that Jennifer showcased, so I went ahead and tried it for this fun card! I used a Spellbinders® circle die along with a great matching stamp and die from Avery Elle to create my window. I inked inside the window and then heat embossed the sentiment.

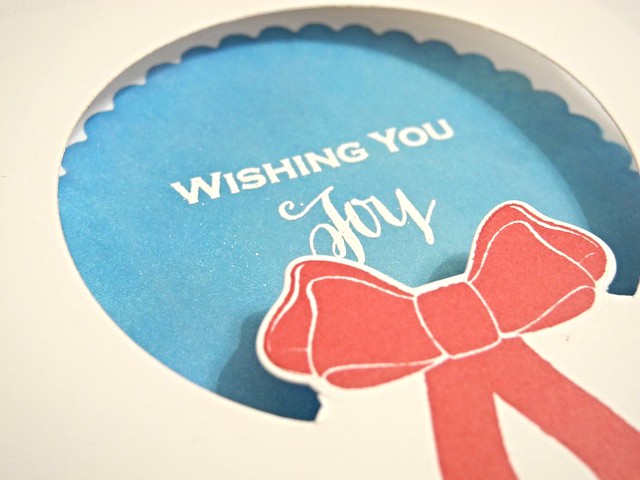
Wishing You Joy (detail)


I used a scalloped circle die from Spellbinders to create a mask to do the inking on the inside of the card. I love how this adds just a touch more style to the inside. I am kind of loving this whole partial die cutting thing, so... I am fairly certain you will be seeing more of it around here. Because it's awesome. For reals, though.

I am just getting all caught up and back into the swing of things, so I am hoping to have a full week of posts for you this week. Thanks for stopping by! And as always...

Have A Happy!!!

Supplies:
Spellbinders Pierced Circle Die
Avery Elle Simply Tags: Christmas Dies
Avery Elle Simply Tags: Christmas Stamp set
Ranger Distress Ink
Stampendous White Embossing Powder


11.11.2014

Glad Tidings and Watercolor

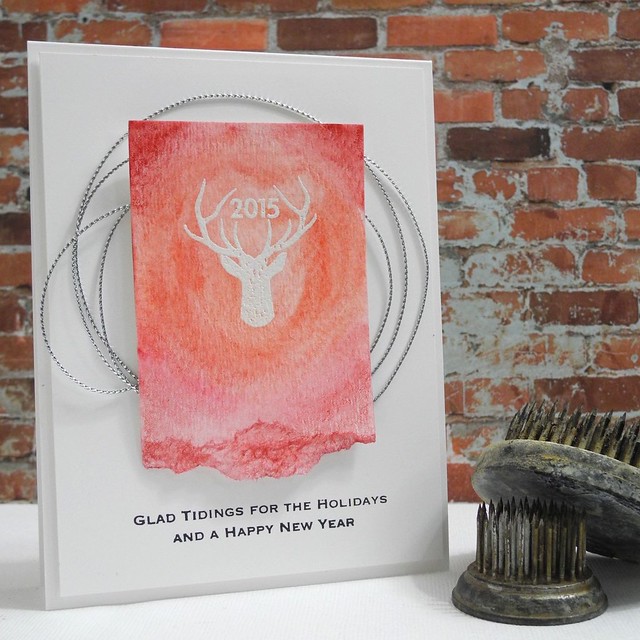
I have another card inspired by the Online Card Classes Holiday Card Workshop to share with you today! The Day 3 focus was watercolor and I decided to do a simple card (due to limited time) using the color blending techniques Kristina shared. I stamped and embossed a small, torn strip of watercolor paper with this awesome deer stamp from Bossy Joscie. I then watercolored over the image with various red tones.

Glad Tidings


I mounted the watercolored piece on a white panel with some silver metallic string behind it. The sentiment is from Simon Says Stamp Inside Holiday Greetings stamp set. Except I used it on the outside. Because I'm rebellious like that. For reals, though.

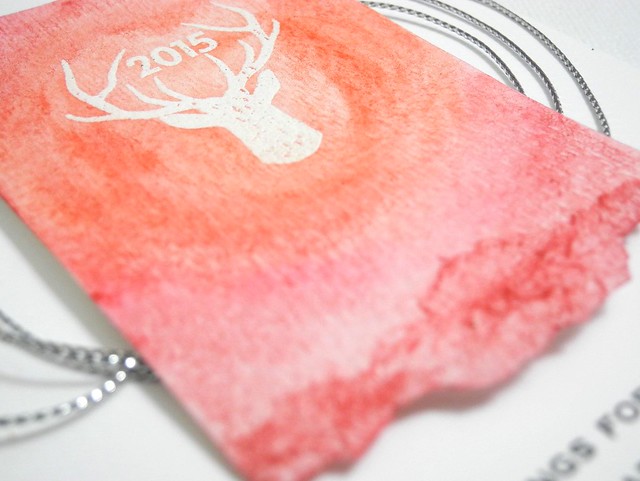
Glad Tidings (detail)


I kept this design simple and I kind of love it. This one would actually be really easy to do in multiples, which is always a plus for holiday cards. I am not usually a torn paper fan, but watercolor paper just tears SO beautifully and I love how it looks when you paint over the torn edge. It just adds so much texture! LOVE!

Have a Happy!

11.06.2014

A Bit of Ornamental Joy

***Don't forget to enter this fabulous BOOK GIVEAWAY! Trust me... it's a super fun read!***

Today I have another card inspired by the Online Card Classes Holiday Card Workshop. I seriously love these classes! They just motivate me to PLAY and THAT, my friends, is an awesome thing! No pressure, no deadline, no requirements... just PLAY WITH ALL OF THE THINGS!!!!

Whoa. Got a little excited there. Okay. I've got it together now. Moving on....

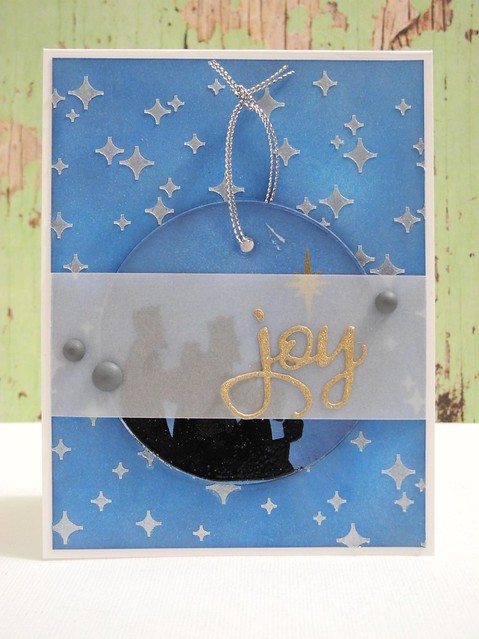
So, anyway, today's card was inspired by the embedded ornament card that Jennifer McGuire created for the class. I loved the idea of an ornament that could be pulled from the card. My execution didn't work as well as I had hoped, but I think if I create a second one I can correct some of the issues. Another option with this card would be to use a bit of magnet tape on the back of the pull-out piece and create a magnet instead of an ornament, which would be great for cards for all occasions!

Joy Ornament card


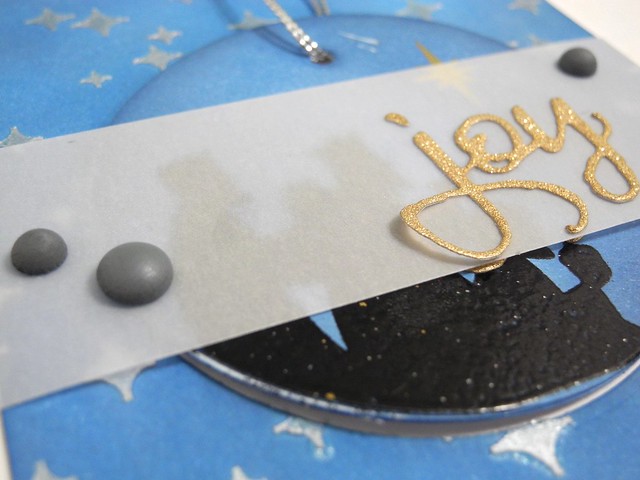
I inked both the die cut circle ornament (layered three times to give it some Ooomph!) and the background piece individually. I then stamped and embossed the wisemen and the star from the Blessed Christmas set from Paper Smooches onto the ornament. On the background, I used the Sci-Fi Star Creative Screenings stencil from Winnie & Walter with some pearlescent embossing paste to create a shimmering, starry background.

DSCN5772


The sentiment is from the Winnie & Walter The Big, The Bold, and the Merry Cutaways set. Which I love. With all of my heart. And all of my soul. And all of my inner most being. (Wait..that might be your soul... hmmm... I suppose that's a philosophical discussion for later....) I cut it twice, so it is on the ornament and on the vellum, leaving the card looking halfway decent even after the ornament is removed. But only half way. HA!

DSCN5773


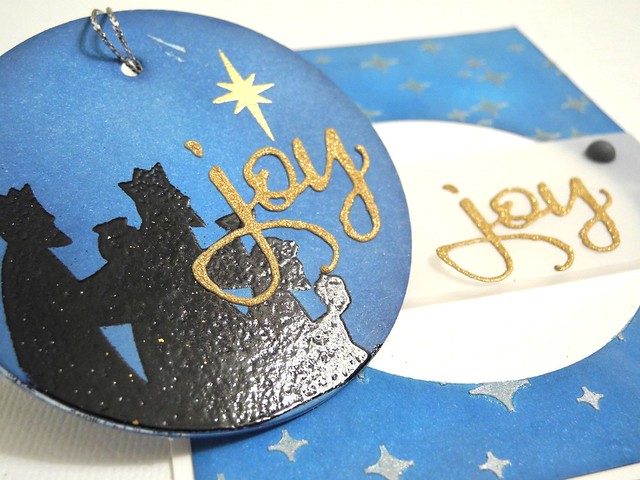
Here you can see a bit what the ornament looks like outside of the card. I like this idea and I want to play with it a bit more. It is certainly a fun way to include a small gift with your card AND encourage people to keep your art.

I am also entering this card in the Paper Smooches Sparks Anything Goes Challenge.


Have a Happy!

11.04.2014

Inspired by Debby Hughes

Don't forget to enter my current GIVEAWAY! Go to THIS POST for more information!


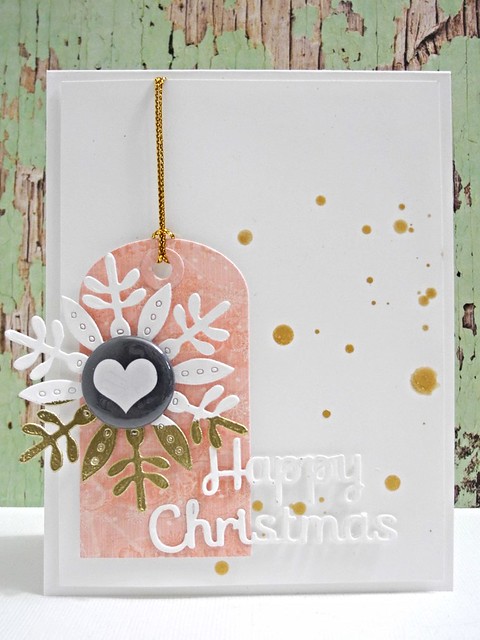
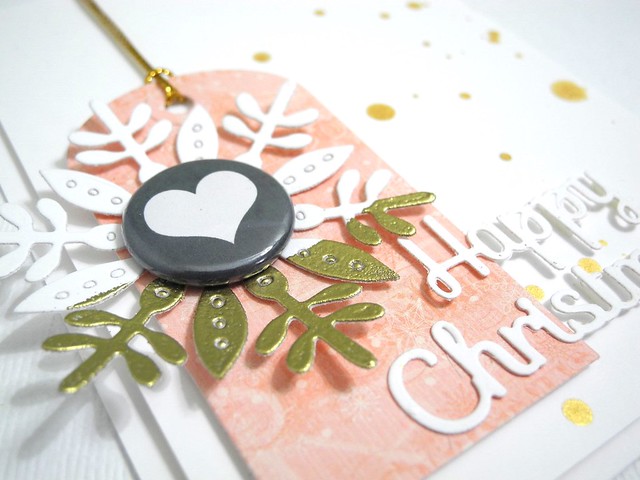
Wow! Day 1 of the Holiday Card Workshop over at Online Card Classes was AWESOME! I was super inspired by the designs, and made this fun card, inspired heavily by Debby Hughes, last night. The sketch/layout is all hers, as are many of the components. I switched up some of the colors and a created a 'dip dyed' look on my snowflake rather than on the tag like she did, but I am LOVING the look! I need to do that more often!

Happy Christmas


I used the snowflake dies from Avery Elle, with which I am IN LOVE, along with a great tag die from WPlus9. Debby used a cute stamped snowflake as the center of the die cut snowflake, but I chose to use a heart flair button from Bossy Joscie, instead.

Happy Christmas (detail)


For the sentiment, I wanted Happy Christmas, rather than Merry Christmas. Mostly because Happy Christmas just makes me happy. For reals, though. SO, I pulled out the Spellbinders® Holiday Sentiments dies (you have the 'merry' option, if you prefer that) and created the white on white look. I LOVE those dies so much!

You can find the links to the supplies I used below! These are affiliate links and your support is appreciated!

Have a Happy!

Supplies:

Cardstock: Crafter's Companion Ultra Smooth White
Patterned Paper: BoBunny Candy Cane Lane 6x6 Paper Pad
Dies: Avery Elle Noel and Spellbinders® Holiday Sentiments
String: May Arts Metallic String, Gold
Spray Ink: Heidi Swapp Gold Lame Color Shine (if you buy nothing else on this list, buy this stuff!!! It is AWESOME!)
Flair: Bossy Joscie

8.07.2014

Shiny Things

I like shiny things. I really and truly do. I mean, I don't go nuts with it or anything. You won't see me walking around in sequin pants. BUT, I do love shiny things. (And now I have a hilarious image of me in sequin pants. For reals, dude. That's amusing stuff.)

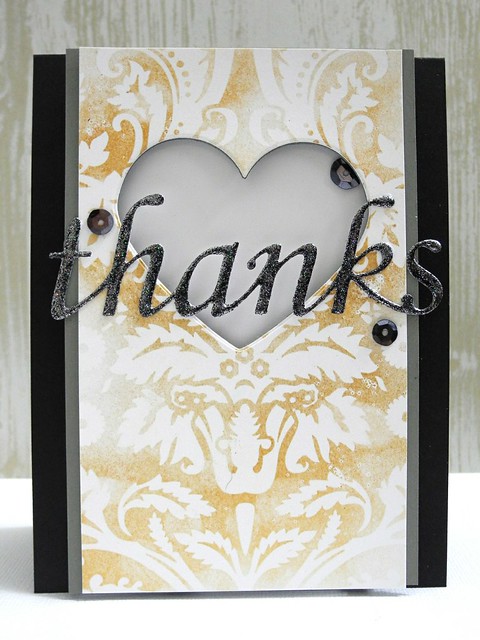
When Jennifer McGuire pulled out the Perfect Pearls and gave a few tips on setting them in one of the recent Online Card Classes lessons in Stretch Your Stamps 2 I knew that would be the first technique I would try from that day! I have had Perfect Pearls in my stash for a long time, but I rarely use them. This was a perfect chance to get those suckers out to play!

Elegant Thanks

I actually stuck surprisingly close to Jennifer's design, but I played with the colors a bit. I went with the Aztec Gold and the Pearl White powders. I tried using the water and heat gun setting method, but if I'm honest, that totally didn't work, so I ended up just spraying it with workable fixative. I use Krylon Workable Fixatif and I pretty much love that stuff! I die cut the sentiment and then heat embossed it repeatedly (three times) with a fabulously sparkly black powder from Stampendous! They have GREAT embossing powders for layering! They melt together so beautifully!


I chose a glossy white cardstock from Crafter's Companion for inside the heart window to add just a bit more shine. Because obviously the gold shimmer powder and the insanely sparkly embossing wasn't enough. Clearly. HA! A few black sequins ground out that large white space.

After creating this card I was left with the die cut hearts from creating the window. I decided to use mostly the same supplies to create a second card in a completely different style. While the first is an elegant look, the one is a modern, graphic design. I brought in some mint cardstock for this one in addition to the black, white, grey, and gold.


I had a lot of fun creating these cards using techniques I learned in class! You can find the supplies I used in the links below!

Have a Happy!


8.05.2014

Homework Time!

***This is my second post of the day! YAY! Please be sure to scroll down or CLICK HERE to check out two awesome gold and mint cards created with Winnie and Walter stamps!***

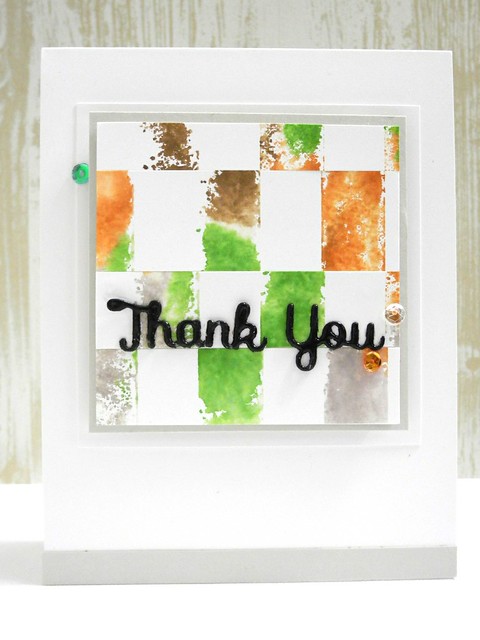
I am excited to be taking the Online Card Classes Stretch Your Stamps 2 class this week! So far I am seriously loving the lessons, although, to be honest, I always do. I created this card using techniques demonstrated in the first day of lessons.

Thank You


Following Shari Carroll's lead, I inked my craft mat with several Distress Inks and then pressed my Wide Stripes stamp into those to ink it up. I misted the stamp and pressed it onto my cardstock. After that dried, I cut the piece into strips and created a whole new pattern using the stamped strips.

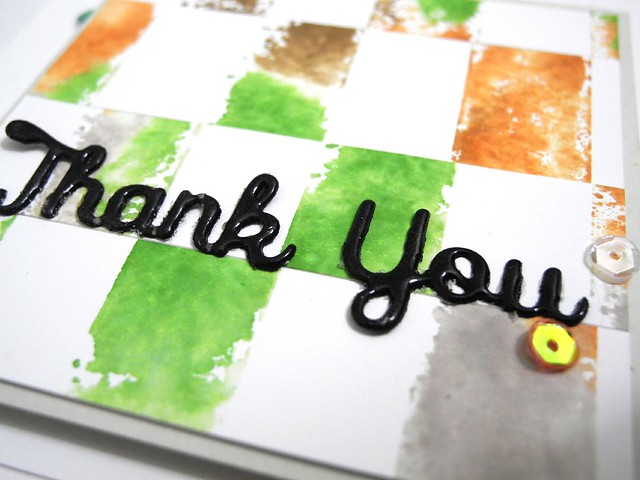
Thank You (detail)


I used the McGuire Method on my die cut sentiment (Spellbinder's Celebration Two from the in'spire line) LOL! I don't think Jennifer would call it that, but, nonetheless, that's where I picked it up and I tend to call all of her genius ideas McGuire Methods. HA! It's a good thing she won't likely read this, because that could be slightly embarrassing. For reals, though. The McGuire Method. It's a thing. Hence the capital letters and such. Anyway... moving on... I used clear embossing powder to create dimension and shine on the die cut sentiment by heat embossing it three times. I LOVE the strong presence this gives a die cut sentiment.

I will be sharing more cards with you as I create along with the class lessons! You can join in at any time! It's never too late to sign up! Head on over if you are interested! I LOVE Online Card Classes!

You can find links to the products I used below.

Have a Happy!


1.27.2014

You and Me Against the World

I have a couple more cards that I made on Friday after the first day of the Online Card Classes Stenciled class! I have to do some catch up for the weekend days, as things got a little busy, but I wanted to share these ones that I was able to get completed, as I kind of love them! YAY!

The first uses both stencils and the water flecks on distress inks technique. I've actually never tried this before and I am THRILLED with the results. Absolutely THRILLED!!!

You & Me Against the World

To create this card I began by using the two stencils to apply watermark ink and then I heat embossed with white embossing powder. I did the cityscape and then added the stars after embossing the first to avoid smuding things with the other stencil. I then applied three different Distress Inks to create the dusk sky. I used the wand of my spritz bottle to tap water over the ink and I love how that turned out! P.S. This is TOTALLY the card I am giving to the Hubbums for Valentine's Day. We don't really do Valentine's Day, but I love this card so much and it is perfect for him, so I'm doing it!!! HA!

You & Me Against the World (detail)

I also did another card attempting the gradient look with a single ink and a stencil. I kind of got it, but I can't say I love this card quite as much, if I'm honest. It was fun to create, but it just doesn't have the oomph! that the first one has. Oomph. Hmmm... apparently that is a real word. Good to know. HA!

You're Awesome

The vellum banner is popped up and that is kind of fun, but... just not loving it. It happens. What can I say? LOL! Anyway, I am really super enjoying the class and I can't wait to get caught up and create some cards based on the inspiration provided over the weekend!

Have a Happy!


ShareThis