2.03.2015

A Stitchy Hello

I have a quick post today sharing a card I created using another fun technique from Online Card Classes Clean and Simple 4. Jennifer McGuire shared some tips on stitching to add texture. She used stamps and dies as her guide, but I had a fun stitching guide on hand that I haven't used in awhile, so I pulled that out again to play!
DSCN7121


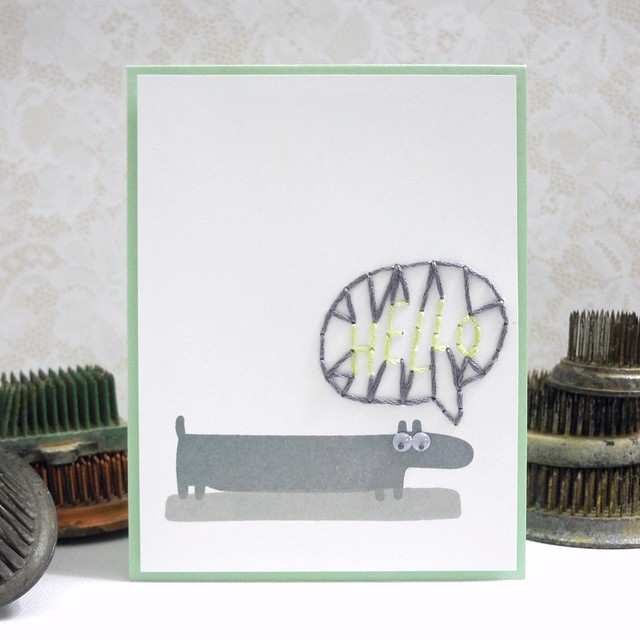
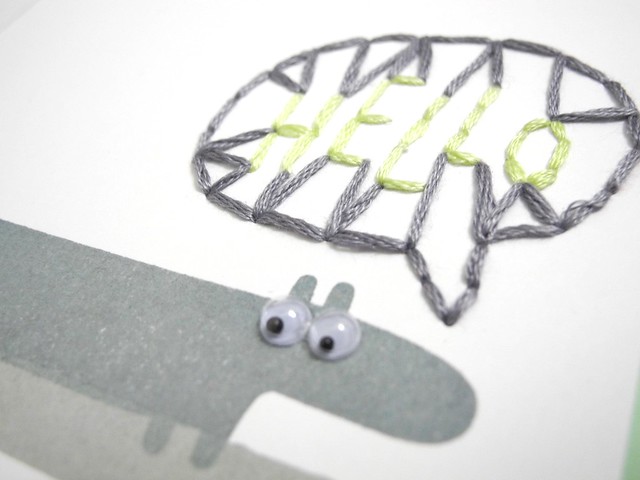
I stamped the critter from the new Waffle Flower Crafts On My Mark stamp set along with his shadow in grey toned inks from Simon Says Stamp. I then used the We R Memory Keepers stitch guide for the hello. Instead of following the simple outline, as suggested by the pattern, I created a unique design with the stitching and had some fun with it. I love how it turned out!
Hello (detail)


I added a couple of googly eyes for a playful feel and mounted the panel on a mint cardstock base to tie in the mint in the sentiment. This came together rather quickly and was a lot of fun to create!

Have a Happy!

2.02.2015

Go and Do

First, let me take a moment to say GO PATRIOTS!!!!!!! Whew! That was a crazy game. And an awesome game. Just awesome!

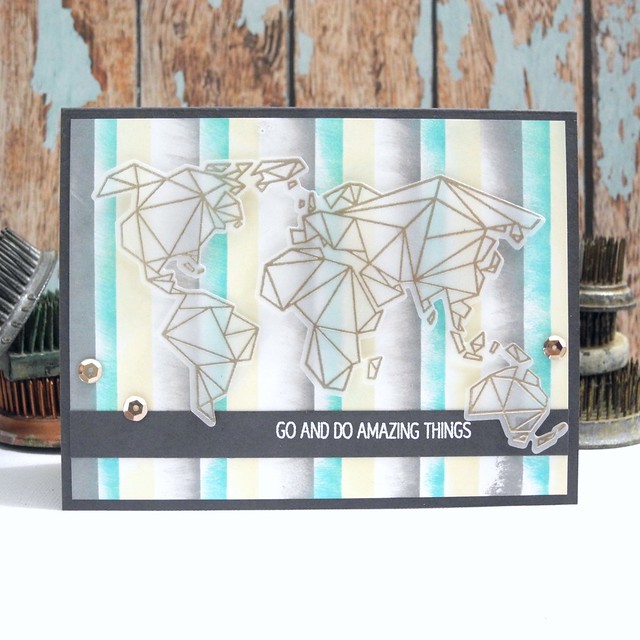
Okay, now let's chat about the card I am excited to share with you today! I picked up a simple background inking technique from Day 6 of Clean and Simple 4 over at Online Card Classes that I just loved and wanted to try out right away. Tasnim showcased it using one ink color, but I wanted to use a variety to create a unique background, so I pulled out my Hero Arts Soft Vanilla, Simon Says Stamp Slate, and Simon Says Stamp Audrey Blue and I got started!

Go and Do


I used a strip of post-it tape to mask as I inked and I just love how these colors worked so beautifully together! I then pulled out the Neat & Tangled Oragami Map stamp and the coordinating die for the focal point. I stamped the map on vellum and heat embossed and then die cut the entire thing and adhered it with Kool Tac Clear Foam Tape so the adhesive would raise the map, but not be visible. I seriously love that stuff, you guys. For reals.

Go and Do (detail)


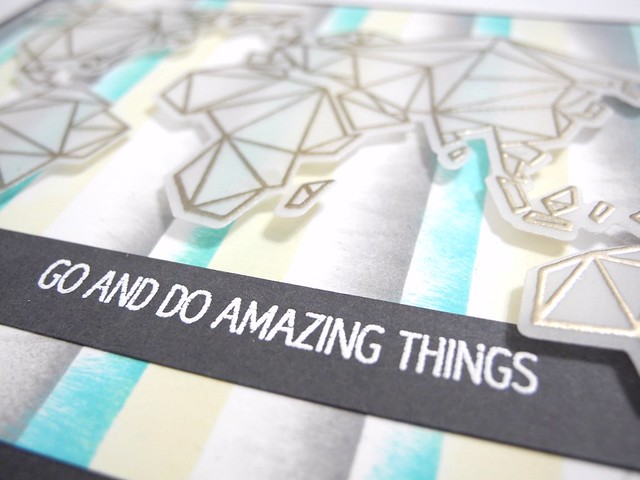
I trimmed a strip of cardstock the length of the card and heat embossed the sentiment on it before adhering it to the card. A few sequins finish it off with just a bit of sparkle.

You guys, I can't even pretend that I don't love this card. Because I do. Lots. For reals, though.

That's all for today! We are getting another foot of snow today, so... yeah. *sigh* HA! BUT, at least the PATRIOTS WON!!!!! YAY!!!!!

Have a Happy!

1.30.2015

Fun in the Rain with Chickaniddy Crafts

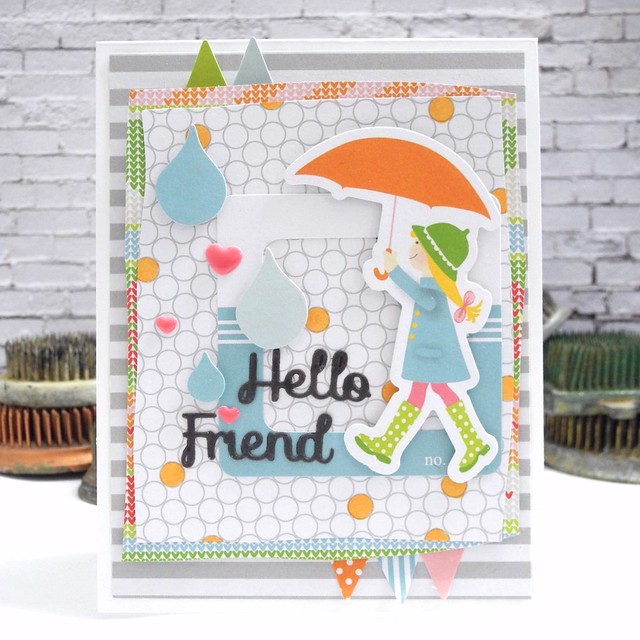
Today is my final post as Guest Designer on the Chickaniddy Crafts blog. I have absolutely LOVED working with Chickaniddy! Their collections are just so much fun! I have used the super fabulous Jolly Good collection, once again, showcasing the incredible versatility of this line. I love it. For reals, though.

Hello Friend


I pulled out not only the papers, but stickers and die cuts for this super fun rainy day hello card. I used simple techniques to add both color and dimension and you can read about those on the Chickaniddy blog! I just love how all of the elements come together so well!

Hello Friend (detail)


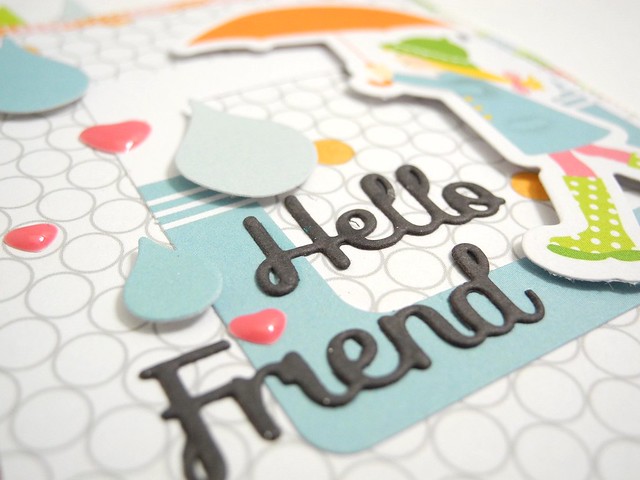
This Spellbinders® sentiment die was the perfect fit for this fun, rainy day hello! I sort of love it.

Be sure to head on over to the Chickniddy blog for details on the techniques I used and to check out the amazing inspiration provided by the Chickaniddy design team!

Have a Happy!

Love You More

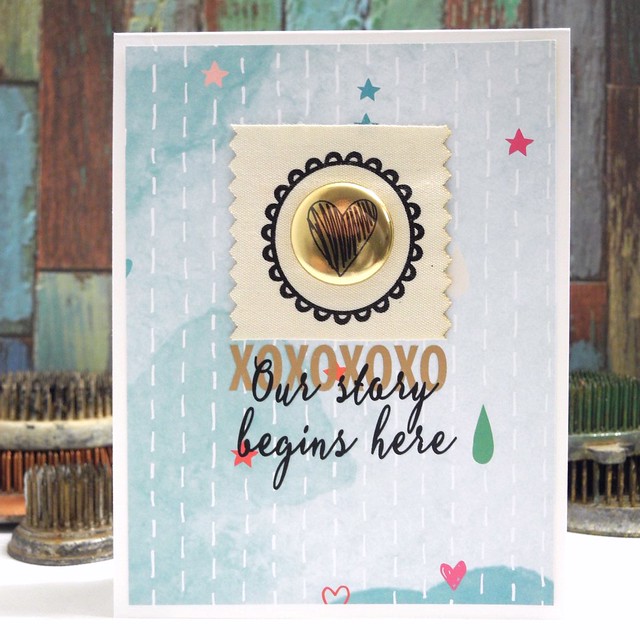
Have you SEEN the most recent embellishment kit from Pinkfresh Studio? You guys, I love this kit so much! I have a post up over on the Pinkfresh Studio blog showcasing TWO cards using this kit. I will show you one here, but you are just gonna have to venture on over there to check out the other one! (I'm mean like that. HA!)

Our Story


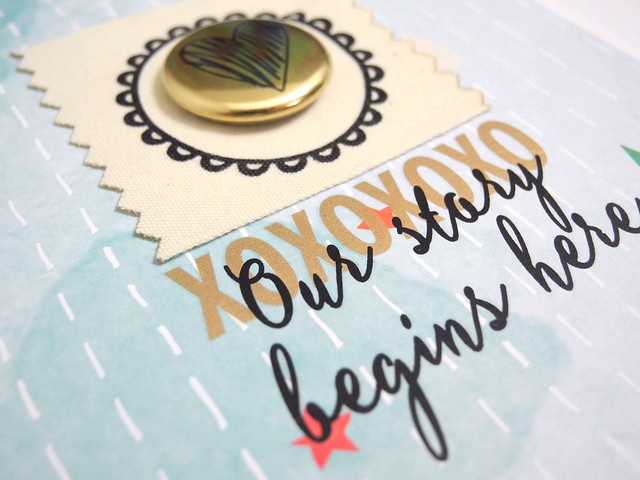
I used a patterned paper from the Up in the Clouds collection for the background and then used the rub-ons directly over the pattern for the sentiment. I absolutely LOVE that you can so seamlessly overlap rub-ons to create your own sentiment! For REALS, you guys!

DSCN6692


I love all of the texture this brings, too! The canvas tag combined with the shiny gold flair is just so much fun! LOVE THAT!

AND... Pinkfresh Studio is GIVING AWAY a one year subscription to the kit! WHAT?! Yup! This is an Instagram Giveaway so, yes, you have to have IG in order to enter. Be sure to check out Pinkfresh on Instagram for your chance to win!


This is the current kit. You guys!!! Are you seeing all of that goodness? tons of embellishments, stamps, dies, stencils.... *sigh* It's a very good thing.

Have a Happy!

1.29.2015

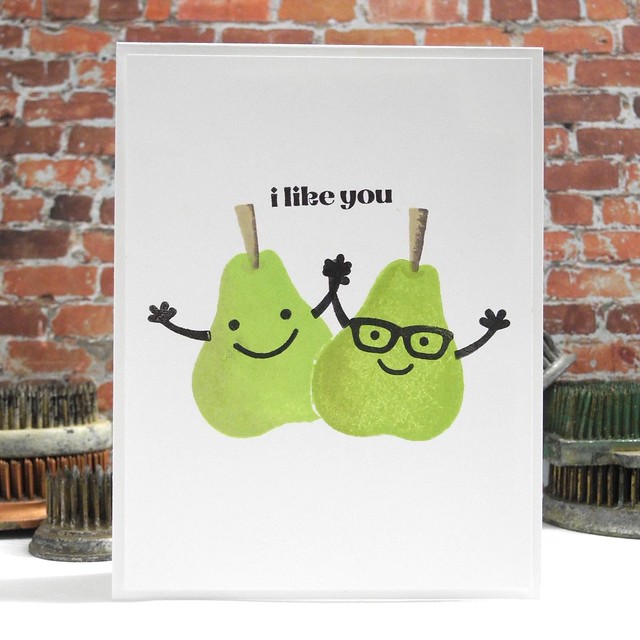
I Like You

No, for reals, though. I do. I like you.

I Like You


I have had these Cute Fruit stamps from Paper Smooches for too long considering their lack of ink, so I pulled them out to create this super fun little card. And it makes me happy. And I love it. Lots.

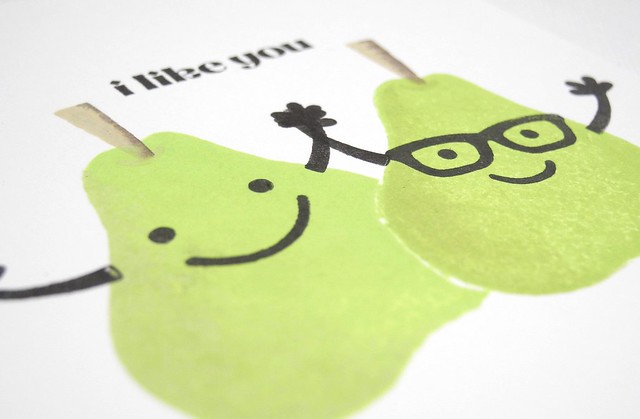
I like You (detail)


I used a couple of ink colors and a simple inking technique to add dimension and color to the pears.

In other news, I got to leave my house today, so that's a good thing. However, they are predicting more snow tomorrow and Saturday, so I may just punch the snow in the face at this point. And that's easy to do, seeing as it is at eye level in many places. HA! *sigh* Perhaps I will just enjoy my iced coffee and deal.

Have a Happy!

1.28.2015

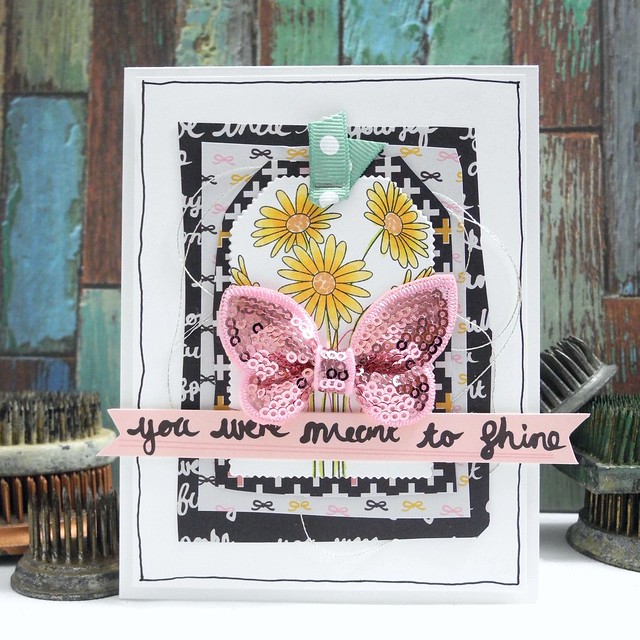
You Were Meant To SHINE!


It is ANYTHING GOES week this week on the Simon Says Stamp Wednesday Challenge Blog! This week the Design Team is using Clearly Besotted and/or Lil' Inker Designs products on our projects. You don't have to use them to play along, but if you've got some we'd love to see them! I chose a super pretty stamp set from Clearly Besotted that I had in my studio just WAITING to be inked. I love it!

You Were Meant to Shine


I combined the gorgeous flowers from the Celebrating You stamp set with the super cute Bella Rouge collection from Pink Paislee. This is one of my favorites right now! I absolutely LOVE it! Just look at that BOW!!! LOVE IT!

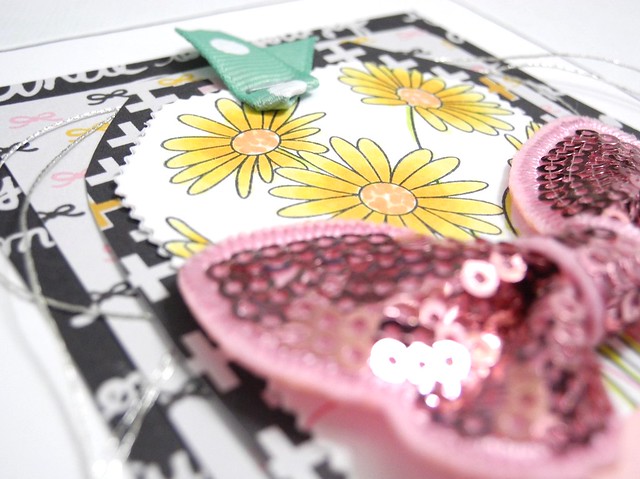
Shine (detail)


I colored the flowers with Spectrum Noir pens and die cut the Spellbinders tag to layer over free-hand cut papers. A bit of ribbon and string help to add accent color and then... THAT BOW! *sigh* I love that bow. You can find my complete supply list below.


Now it's YOUR TURN! Create a NEW project and link it up to the ANYTHING GOES challenge on the Simon Says Stamp Wednesday Challenge blog for your chance to win a $50 Gift Voucher to the Simon Says Stamp Store! WHAT?! Yup. Totally.

Supply List (Note that links are affiliate links. Your support is always appreciated!)

Markers: Spectrum Noir
Stapler/Staples: Tim Holtz Tiny Attacher

Have a Happy!!!


1.26.2015

A Primary Rotation


It's a chilly Monday morning and it looks like we may be getting one heck of a blizzard tonight and tomorrow! That means extra time at home and THAT means extra crafting time! (This is me attempting to see the bright side of over two feet of snow coming this way. *sigh* LOL!) Today I have another fun card for the Winnie & Walter Birthday Bash to share with you. This one was challenging, but turned into something I really enjoyed working through! I was inspired by the In Rotation challenge.

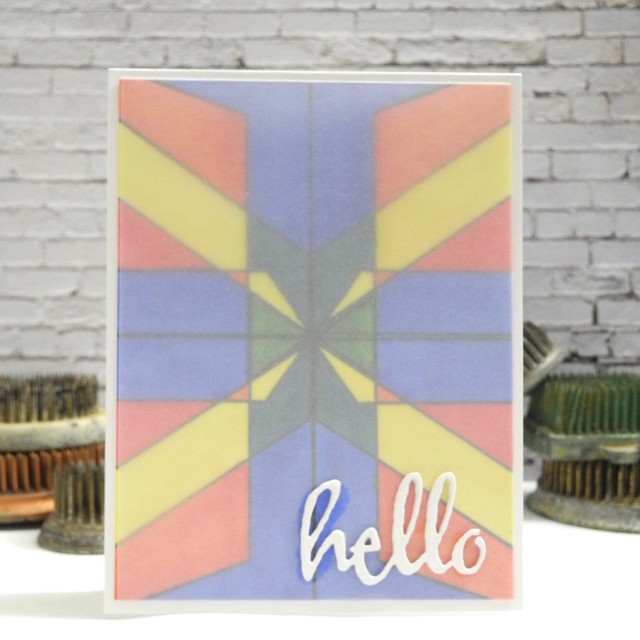
Primary Hello


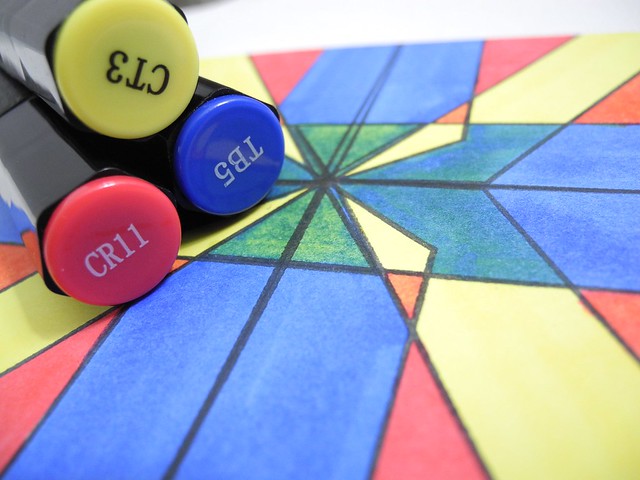
Let me begin by saying that this card is not perfect. And I debated sharing it. BUT... you know what? I'm proud of it anyway, so I AM sharing it. Because it's kind of cool, you guys! For reals, though! Instead of basing my rotation on the center of the card I actually used the giant chevron from the Winnie & Walter V is for Chevron set to create a rotation in each quadrant of the card. I then colored them with THREE Spectrum Noir pens. Just three. I allowed the coloring to overlap to create new colors. LOVE!!!

Primary Hello Process


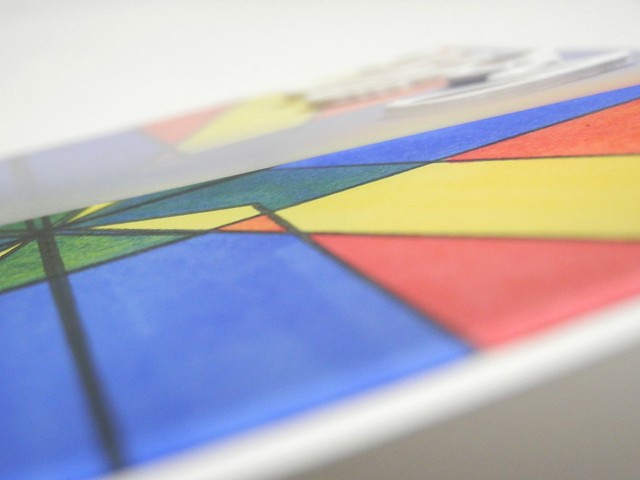
As you can see, the coloring was SUPER bright and bold. Which was awesome, but also a bit strong. I layered a sheet of vellum over it and then die cut the Hello cutaway several times to create the sentiment over the vellum. It's simple, but I like it. I tried several things without the vellum and the background was just too strong. I haven't decided if I am glad I went with it or not yet. HA!

Primary Hello (detail)


That design, though, you guys. That's why I shared it, despite the imperfection. That design is just plain COOL! And it was fairly simple to do... just a hollow chevron stamp. And a few pencil guidelines. LOL! Don't forget to try fun new things with your stamps! Pretty awesome stuff can come from it!

Have a Happy!


ShareThis