Showing posts with label enamel shapes. Show all posts

5.17.2015

Let the Good Times Roll!

Did you see Friday's Pinkfresh Studio Blog Hop post? Be sure to check it out! First of all because I love that card and I want you to see it, but also because there is a giveaway you will want to win, so....yeah, there's that. *wink*

Today I have another Pinkfresh card to share with you here and on the Pinkfresh Studio blog! I used the same kit I used yesterday to create a totally different design that was so fun to pull together.
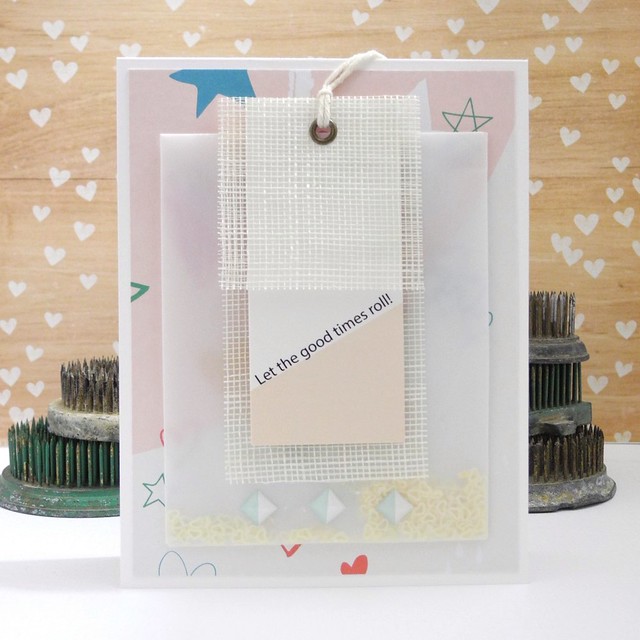
Let the Good Times Roll! by Jennifer Ingle #justjingle #pinkfreshstudio #diy #cards


My favorite part? That shaker! I created it using packaging from the kit. I mean, for reals, you guys... I HAD to use that awesome vellum envie for something other than storage. I just sprinkled in some of the sequins from the kit and, there you have it! Insta-shaker! Woot!
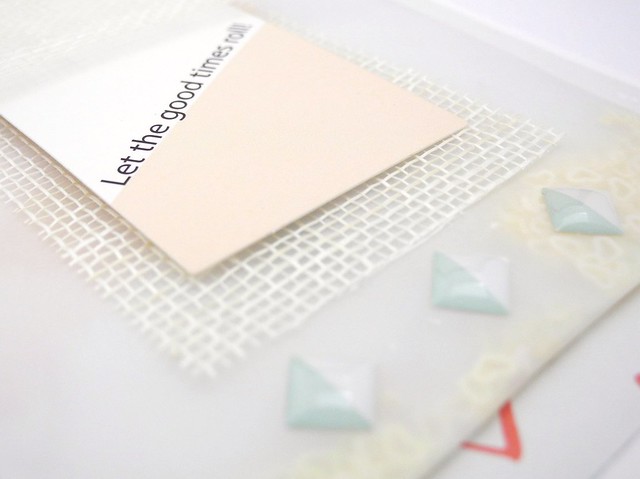
Let the Good Times Roll! by Jennifer Ingle #justjingle #pinkfreshstudio #diy #cards


I also super love these gorgeous layered tags in the kit! I may save one to just be a bookmark I love it so much! I chose to make this one both the sentiment and the focal point on my card. It's full of texture, but a great graphic design, as well. Basically, it's fabulous!

Be sure to check out the May Embellishment kit, you guys! It has awesome stamps designed by Winnie & Walter, a fantastic die designed by Spellbinders, super cute wood veneers, enamel shape and sentiment stickers, and more! You won't want to miss this one!

Have a Happy!

1.09.2015

A Wintry Hello with Chickaniddy Crafts

Today is my second day on the Chickaniddy Crafts blog as Guest Designer. Can I tell you how much I am LOVING this Jolly Good Collection SO MUCH! It was great for holiday cards, perfect for New Year cards, and now, I've used it for a pretty winter Hello card! And just wait... I have another great use for this collection coming later this month! Seriously...it does it all. And that, my friends, is the mark of an awesome collection, if you ask me!

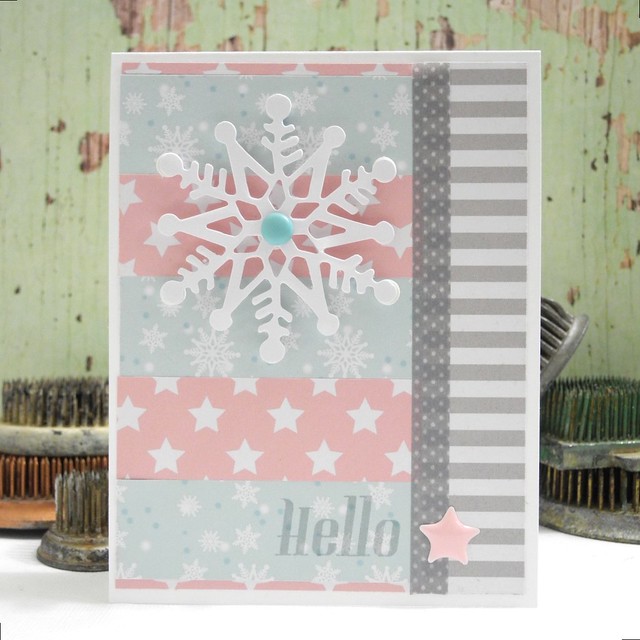
Winter Hello

For this card I used three different patterned papers and cut them into strips to create a unique and pretty background. I added a small strip of washi tape and then the rest of the card was easy peasy! EASY PEASY, you guys! For reals, though. 

Wintry Hello (detail)

I dusted the back of a snowflake sticker with my EK Success powder tool and used foam dots to attach it to the card. I used a mini brad from the Jolly Good collection in the center. I love the finish on these brads... not too shiny, but not dull, either. They have a great texture and the colors are gorgeous! I then grabbed a stamp from the Date Night collection to stamp the sentiment and added an enamel star to finish it off. 

Be sure to head on over to the Chickaniddy Crafts Blog for TONS of inspiration, you guys! Their team is really amazing! 

Have a Happy!

12.04.2014

Warning: Christmas Card Overload is On The Way

It's true. You will be seeing a LOT of Christmas cards around here this month. The simple fact is, I need to make them FOR people and I need blog content and I have limited time to play, therefore, you get to see ALL OF THE CHRISTMAS CARDS! You are cool with that, right? Right. Good. 'Cause it's TOTALLY happening.

Happy Holidays


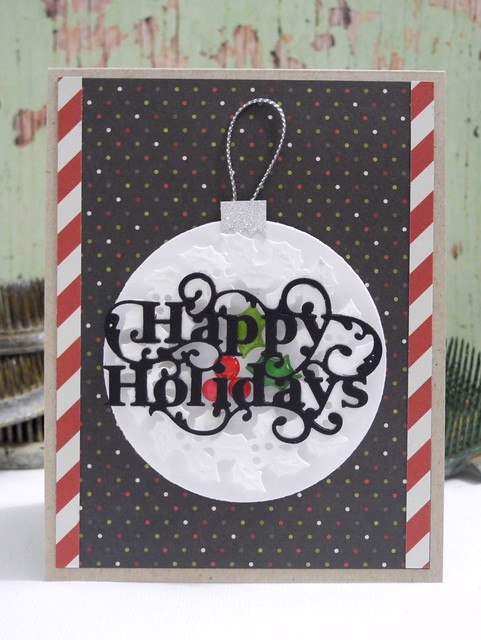
I've had this Simple Stories DIY Christmas paper pad hanging about for a bit now and I hadn't cracked it open yet, so I decided I needed to fix that problem! I pulled out some fun dies and these fun holly shaped Doodlebug Sprinkles to create this layered bit of insanity. HA! It's no really insane...it just has a lot of layers and actually required me to think about the final design before adhering stuff and, well, quite frankly, that's not something I often do. I just start tossing bits and bobs together until a finished card appears. HA! No, for reals, though.... that is basically my process, so pre-planning....that's kind of HUGE for me.

Happy Holidays


So, let's chat about these dies for a minute. I used three different dies and layered them to get this cool looking ornament. I started with a basic circle die in white. I then stuck the enamel shapes down and layered the Holly Wreath over the circle. The white on white adds dimension and texture without making it too busy. Finally, I cut the Happy Holidays from black cardstock and layered it over the wreath. I love how the colors on this card worked out. They just make me happy. And there is just SO much dimension!!! LOVE it! I cut the silver ornament topper from DCWV glitter paper and then added a bit of May Arts silver string to finish it off. This card actually came together very quickly and it so doesn't look that way! It was really a fun one to create!

That, my friends, is what I have for you today! I hope you have a wonderful day!

Have a Happy!

ShareThis