Showing posts with label perfect pearls. Show all posts

12.15.2014

Winter Wonderland


The January 2015 Simon Says Stamp Card Kit has been revealed and it is a good one, folks! First of all.. THAT INK PAD! Seriously. You want it. Trust me on this one. The stamps are absolutely fabulous and the papers? Yup. LOVE those! Seriously, this is such a great kit!
Snowy Thanks


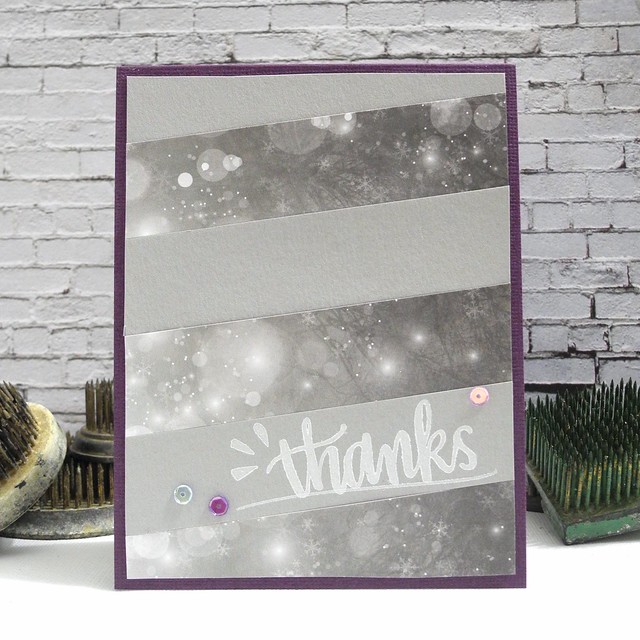
That gorgeous grey-toned snowy paper caught my eye right away! I used that along with the Simon Says Stamp Smoke cardstock to create this fun design. The white sentiment is stamped with that gorgeous white pigment ink. I LOVE how strong the white color is on the grey background! I mixed the Perfect Pearl Pigment with some water in the Mini Mister and added shimmer to the entire card with that! LOVE IT! For reals, though.
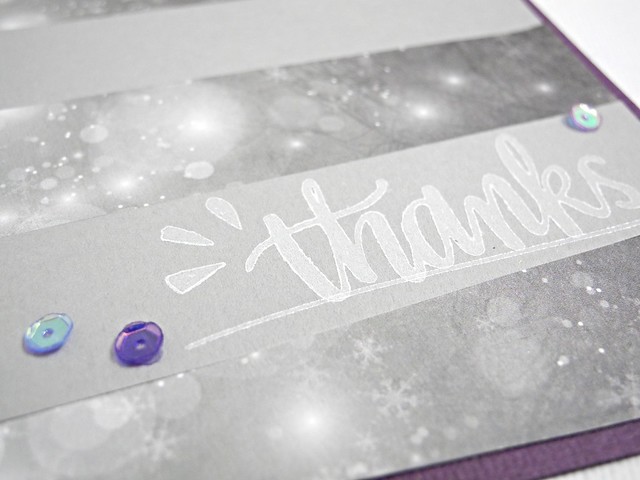
Snowy Thanks (detail)


You can *almost* see a hint of the shimmer on the patterned paper in this shot, but the truth is, I simply wasn't able to really capture that on camera and that makes me sad. BUT... I can see it in person and that makes me happy, so there's that.

Head on over to the Simon Says Stamp store to check out the kit, along with LOTS of other awesome new stuff!

Have a Happy!

9.15.2014

Introducing Snowflake Splendor


Today is Day 2 of the CAS-ual Fridays Stamps release and we have a very pretty wintry set to share with you today!

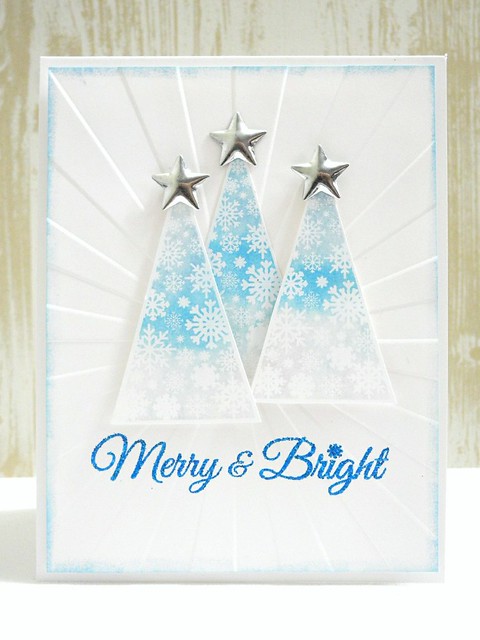
Merry & Bright


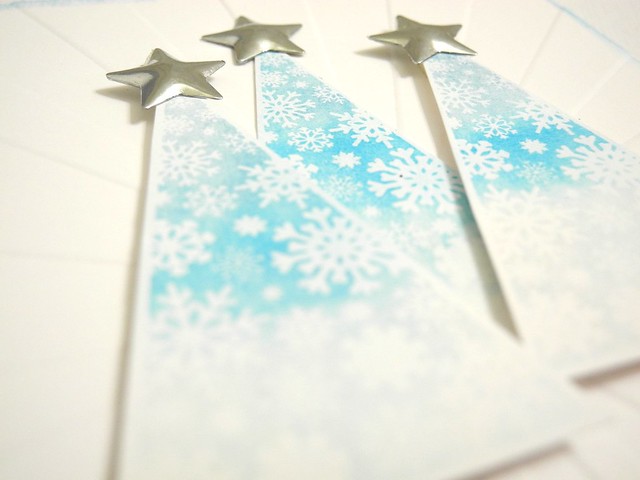
For my card, I stamped the trees in VersaMark ink and then brushed Perfect Pearls over them. This card has SO much shimmer! For reals! I love that! These trees really have so many possibilities!

DSCN5294


I added some metal stars from My Mind's Eye to the tops as a simple decoration that adds so much! You REALLY should check out what the rest of the team has done with this gorgeous stamp set! AND you could WIN this stamp set, too! Yup! Head on over to the CAS-ual Fridays Stamps Blog to check it out!

Have a Happy!

8.07.2014

Shiny Things

I like shiny things. I really and truly do. I mean, I don't go nuts with it or anything. You won't see me walking around in sequin pants. BUT, I do love shiny things. (And now I have a hilarious image of me in sequin pants. For reals, dude. That's amusing stuff.)

When Jennifer McGuire pulled out the Perfect Pearls and gave a few tips on setting them in one of the recent Online Card Classes lessons in Stretch Your Stamps 2 I knew that would be the first technique I would try from that day! I have had Perfect Pearls in my stash for a long time, but I rarely use them. This was a perfect chance to get those suckers out to play!

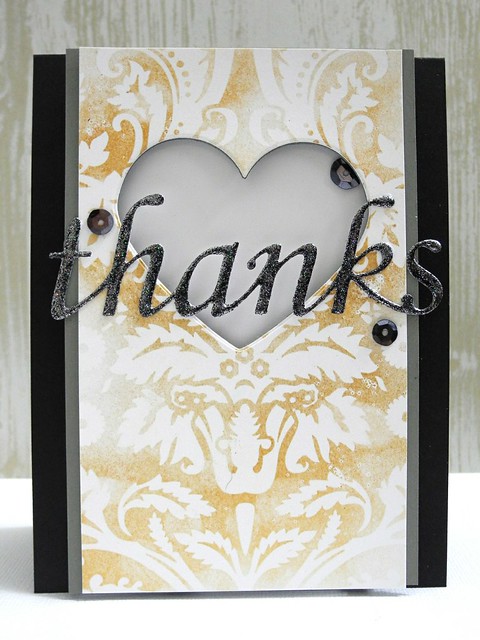
Elegant Thanks

I actually stuck surprisingly close to Jennifer's design, but I played with the colors a bit. I went with the Aztec Gold and the Pearl White powders. I tried using the water and heat gun setting method, but if I'm honest, that totally didn't work, so I ended up just spraying it with workable fixative. I use Krylon Workable Fixatif and I pretty much love that stuff! I die cut the sentiment and then heat embossed it repeatedly (three times) with a fabulously sparkly black powder from Stampendous! They have GREAT embossing powders for layering! They melt together so beautifully!


I chose a glossy white cardstock from Crafter's Companion for inside the heart window to add just a bit more shine. Because obviously the gold shimmer powder and the insanely sparkly embossing wasn't enough. Clearly. HA! A few black sequins ground out that large white space.

After creating this card I was left with the die cut hearts from creating the window. I decided to use mostly the same supplies to create a second card in a completely different style. While the first is an elegant look, the one is a modern, graphic design. I brought in some mint cardstock for this one in addition to the black, white, grey, and gold.


I had a lot of fun creating these cards using techniques I learned in class! You can find the supplies I used in the links below!

Have a Happy!


ShareThis