Showing posts with label Fiskars. Show all posts

4.02.2013

Let's Go Shopping!

No.  Like, for reals.  Wouldn't it just ROCK if we could all get together and do some crafty shopping together?  Totally, dudes.  Totally.

But, alas, I don't see that as actually being feasible, therefore, I am going to use today's post to give you a heads up on some great products I've come to love (and own) and maybe toss in a couple on my wish list, too.  Just sayin'.

1.  Milwaukee Precision Heat Embossing Tool - Hero Arts


You guys, for reals.  I just got this heat gun recently after using my CTMH one for years and years.  It is super hot and what I really love about it is that it heats exactly where you want it to.  I've used it on vellum and cardstock successfully and I really like the way it works.  Totally worth the investment.  Also, friends who have it have told me that it pretty much lasts forever and that's totally what I'm looking for in a good heat gun.  Just sayin'.


This is the tool I honestly thought was silly until I saw either Jennifer McGuire or Kristina Werner use it in a video.  Once I saw this sucker in action I KNEW I needed one.  It's the tool I never knew I needed and don't know how I ever lived without!  It allows for easy lining up of stamped images (see the zig zag card I posted yesterday, for example) and you can, if you so choose, put multiple stamps on it at once, too.  I have the compact one and I love it... if you use a lot of larger stamps, you may want the larger one.  I am always a little sad when I remember I can't use mine for background stamps.


I bought this set on a complete "OH, that's so cute I need it!" kind of whim and I am SO glad I did!  I use this die SO MUCH!  I am always hesitant with word dies because I am afraid I won't use them enough, but this one is a must have!  I love it!  It works for so many different types of cards and other projects, too!  Totally worth the whim purchase and it's super affordable, too!


Be still my paper loving heart.  I bought the 6x6 pad.  I might need the entire 12x12 collection.  It is SO gorgeous!  The cover samples don't even do it justice.  I am fighting off hoarding tendencies with this one!  It's so pretty I want to keep it forever!  HA!


Navy.  First of all...it's an awesome color.  Second of all... it's hard to find a true navy ink.  This one is true navy.  And it's stunning!  It sinks into the paper and evens out so beautifully!  I love it!  I have found myself replacing what might have been black sentiments with navy for just a *little* something different.  I love this ink pad.  Love it.  I think I said that already.  But I do.  I love it.

AND... as for my wish list, well, that's pretty much in a constant state of growth.  HA!  Here are a couple of things I have my eye on right now, however....


I never really considered purchasing distress stains until I saw the white wash technique done with this one.  I need it.  For reals.  
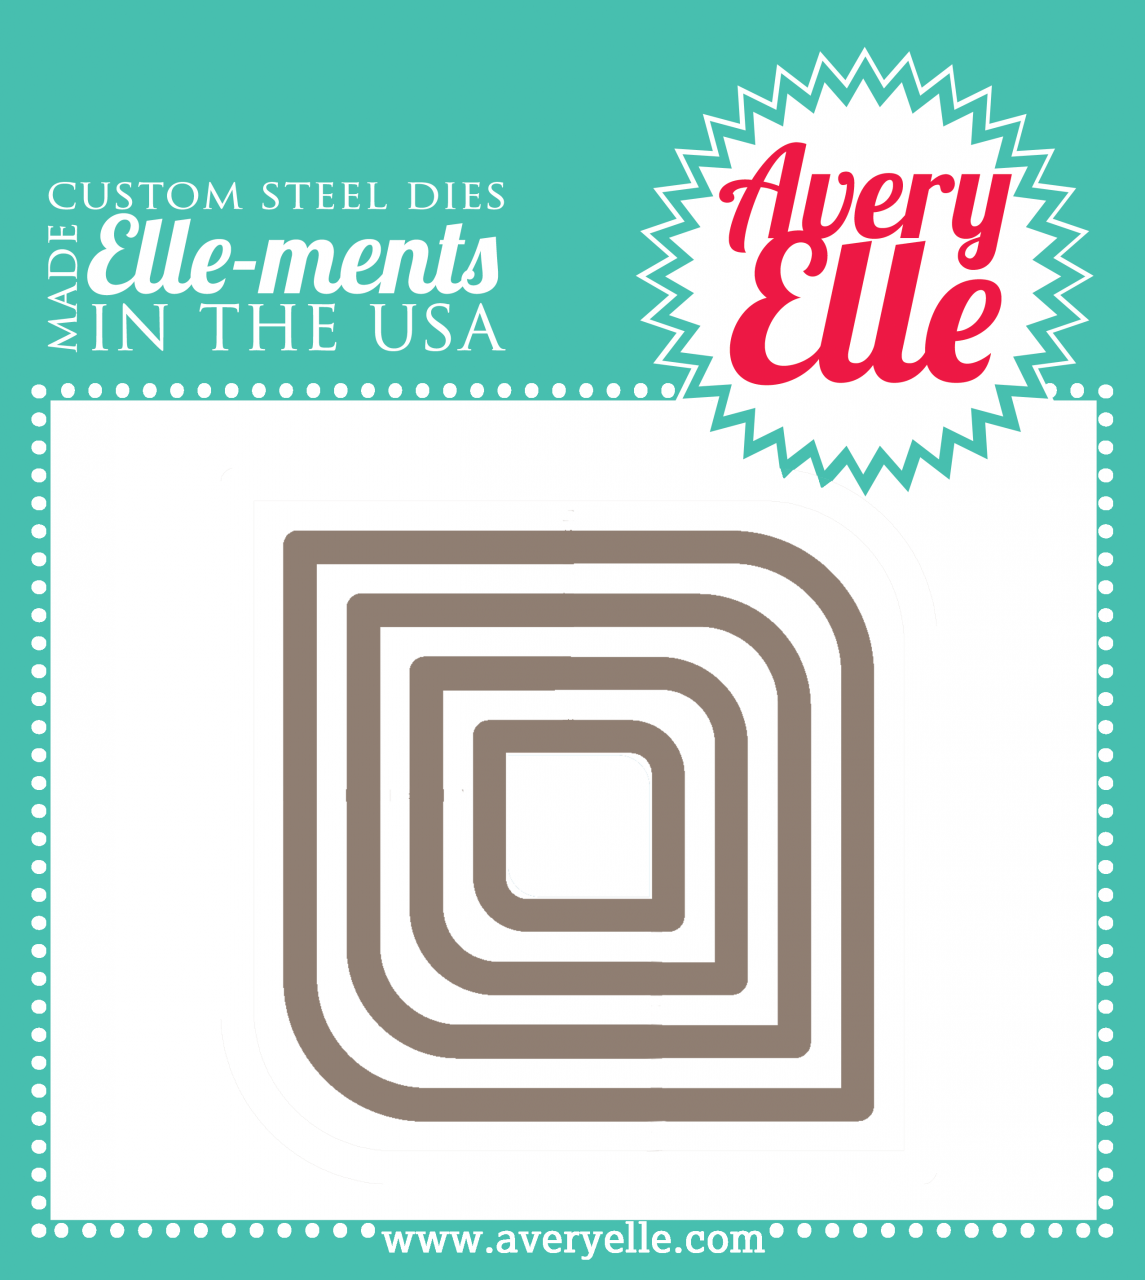


Umm... yeah.  I totally love these and see SO much potential for card cuteness in this die set!  There are coordinating stamps.  I probably need those, too.  Just sayin'.


Maybe it's just because I was born this way, but I do so love the beach.  And the ocean.  And this paper.  For reals.  It's kind of amazing and I kind of love it super tons of lots.  I need it.  Some of those patterns are SO not my usual kind of thing, but I still love it.  *sigh*  


So, that's my list for you today.  What have you bought and LOVED recently?  Anything on your wish list?  Well... it wouldn't surprise me if I just added to your wish list... we are wonderful enablers, are we not?  HA!  I hope you have a super fantastic day!

Have a Happy!  

Jingle Out!


5.15.2009

Glittery Graduation Card - Tutorial

Happy Friday!!! Yes, it is FINALLY here! Sometimes I swear they add a couple of extra days to the week because that is the ONLY way it could actually take as stinking long as it does! LOL!

This is an exciting weekend in my family! My little sister, well...turns out...she's not so little anymore and she is graduating with her Bachelor's degree in Theater from Providence College! Yup! That's pretty crazy, folks! No...really. It's a little nuts because there is NO WAY I am that old! LOL! It's just the two of us and there is a big 'ole span between us so when she hits milestones it totally weirds me out!

So, being that she is graduating and all, I figured I'd be nice and make her a card! LOL! As you know...the Use Your Stash theme for this month is GLITTER! Well, I have to be honest. This challenge was not so much 'challenging' in that 'make you use something in your stash you never use' sort of way for me, simply because I LOVE GLITTER! No, really. I love it. I could marry it. It sparkles and it's pretty and I just want to hug it and squeeze it and...

...okay. You get the point. I'm a fan.

So, I decided to find some fun ways to use it! You saw my layout at the first of the month and now here is my fun Congrats card!


Supplies:

White Cardstock card form. I made my own, but if you have some use 'em. Totally up to you!

Black Cardstock scraps

Patterned Papers from My Little Shoebox Who's There Collection - Wise Old Owl and Night Owl and the solid teal came from Tinkering Ink Perennial Parade collection - Bluebell

Ranger Stickles in Fruit Punch

Light Colored Ink - I used Vanilla Cream from Close To My Heart

Dotty Background Stamp - Mid is from the Close To My Heart Argyle Backgrounds set

White Alphabet Stickers - Doodlebug Designs

Juniper Ink - Close To My Heart (to ink letters)

Pink embroidery floss - DMC

Chocolate Ribbon - Close To My Heart

Tools: Fiskars Finger Knife, paper cutter, 1 inch circle punch, 1/8 inch circle punch, scissors, adhesives - both flat and foam


It takes a bit of time to make this card, but it is all way fun, so it is so worth it!

Step 1:

Stamp a dotted background onto your card using a light, but visible ink color. Versamark will work if you can see it clearly enough. I used Vanilla Cream from Close To My Heart because I was too lazy to look for my VersaMark. Hee-hee.


Step 2:

Use the dots as a guide to drop dots of Stickles Glitter Glue over the entire background of your card. Be sure to work from top to bottom so that you don't smear the glue with your hand and, therefore, glitter yourself, the dog, your husband, and your entire work space.

...not that I've ever done that. I'm just say'n. It's possible.

Allow to dry thoroughly. You can move on to the next few steps while this dries.

Step 3:

Punch colored circles for the fun large dot background behind the main image.


Step 4:

Using the same dotty background stamp (I {heart} dots!) stamp a tone on tone background onto the solid punched circles.


Step 5: AKA: The part where you laugh at me really loudly and tell me that I'm crazy and there is no way you are doing this. BUT WAIT!

Give it a shot! It's not that hard and it looks SO stinking cute when you are done! PLEEEEEASE! {insert cheesy, big-eyed grin here}

Step 5:

Cut out owl/bird/swirl pattern from your patterned paper with a craft knife. I chose my Fiskars Finger Knife for this and let me tell you that was the best $5 I've ever spent! That thing is magnificent! MAGNIFICENT, I tell you!


Step 6:

Since you already got through with Step 5, I'm assuming I'll here less whining about this step. It really is rather simple. Free hand cut a diamond and a small trapezoid for the top and bottom portions of your hat. Using a 1/8 inch hole punch, punch a small circle of black paper for the button on the top of the hat.

For the tassle take a length of embroidery floss about 8 inches or so...maybe shorter, I don't really remember and wrap it around your thumb tip. Leave some extra at the end. Carefully slide the wrapped floss off of your thumb and pinch the top and tie it tightly together close to the top with the remaining floss end. Use scissors to snip the 'loop' of the long end, creating a cute little tiny tassel!


I included the penny to give you an idea of how big these pieces need to be.

Step 7:

Attach your background dots (the larger, punched ones) to the glittered background card. By this point your Stickles should be dry, but doule check before you make a big 'ole mess and stuff.

Use pop dots to attach the owl/bird/swirly cut out piece nicely over the dots. CUTENESS!

Using a small piece of adhesive foam at the very top of your trapezoid piece (the short end) and a small piece of flat adhesive on the bottom (the long end) attach the trapezoid to the head of the bird. The flat adhesive will adhere to the head of the bird and the foam will adhere to the card background. Then, using a foam dot, adhere the diamond piece to the top of the trapezoid giving it dimension. Use a drop of Stickles to adhere the tassel to the center of the hat and then a small drop of Stickles to add the 'button' to the top! ISN'T THAT THE CUTEST THING EVERRRR??? Yes, my friends, it most certianly is.


Step 8:

Cut a piece of patterned paper to fit across the top of the card (4 1/4 in.) Cut two pieces of brown ribbon to fit the same size. Ahere the brown ribbon and then adhere the patterned paper strip overlapping the ribbon to create your sentiment block. Use a dauber to ink white letters to match your card and adhere sentiment. (P.S. If you happen to have letters that match feel free to use them. I wanted this color and didn't have them, so I made 'em! Use'n my stash, folks! Use'n the stash!)


Step 9:

Admire the cuteness that is your card!

Step 10:

Give your card to your little Sitta who is Gradiat'n from college! WHOAH! (If you pronounced that 'whoah' correctly, you are probably very close to me in age. Just say'n.)

I hope you have enjoyed this tutorial! If you make a card like this one I would love to see it so totally link me up, K! K. Thanks, peeps!

Be sure to check out the Use Your Stash blog today for more great card ideas using GLITTER!

ShareThis