Showing posts with label texture. Show all posts

7.28.2015

Texture by Layers

Hello, friends! I have an exciting post up over on the Bazzill Basics Paper blog showcasing a great way to incorporate lots of different textures into your project while keeping a clean and simple design! Head on over there to check out the full tutorial!
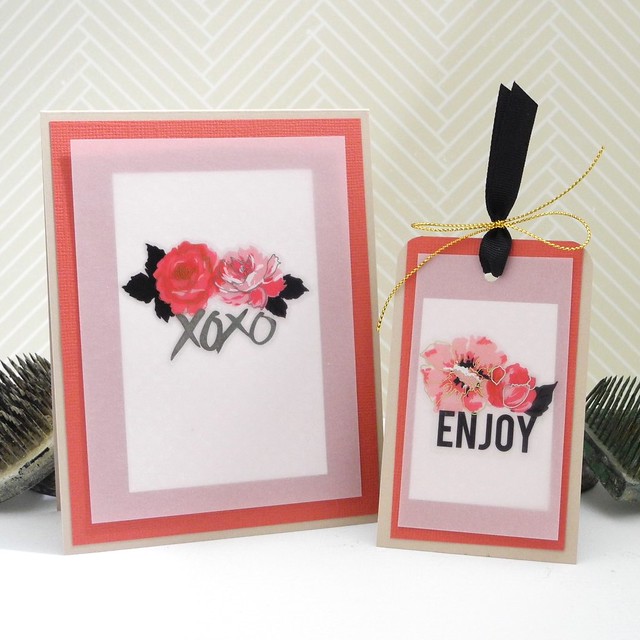
XOXO Enjoy Card/Tag Set


Have a Happy!

P.S. I apologize for the light content around here as of late. We are moving house and things are a bit crazy and my studio is 100% out of commission at the moment. I will be back up and running in a couple of weeks! Thank you for your patience.

9.11.2013

Stick a Bird On It!

Yup.  I did it.  I stuck a bird on it.  And I LOVE it!!!  I am playing with some AMAZINGLY fun goodies from IMAGINE Crafts®/Tsukineko® today!  I am excited to share this fun project with you!  Here is the card I created and a full tutorial on how you can create this same look yourself!

Thanks so Much


Supplies:
IMAGINE Crafts®/Tsukineko® VersaColor™ Pigment Ink in Canary, Scarlet, and Turquoise
IMAGINE Crafts® GooseBumps™ Texture Spray
IMAGINE Crafts®/Tsukineko® VersaFine™ Archival Pigment Ink in Smokey Grey
IMAGINE Crafts®/Tsukineko® Brilliance™ Pigment Ink in Rocket Red
White Cardstock
Black Cardstock
Martha Stewart Bird Sticker

Stick a bird on it step 1


Step 1.  In the corner of a sheet of cardstock, stamp your IMAGINE Crafts®/Tsukineko® VersaColor™ Pigment Ink directly to the cardstock, applying a large amount of ink with each press.  Allow the ink to dry or expedite the process with a heat gun.

Stick a Bird On it Step 2


Step 2.  Spritz the inked block with IMAGINE Crafts® GooseBumps™ Texture Spray to add a bit of shimmer and texture to the ink.  I love how neat this looks!  Allow to dry, or, again, speed up the process with a heat gun.

Step 3.  Cut out the block and mount on black cardstock.  Adhere to white card base with foam tape.

Stick a Bird On It step 4


Step 4.  Stamp the sentiment below the block in Smokey Grey VersaFine ink.  Stamp the heart with Rocket Red Brilliance ink.

Stick a Bird On it Step 5


Step 5.  Affix the bird sticker to the block.

And with that, my dear friends, I bid you adieu!

Have a Happy!


8.23.2013

Chin Up, Buttercup!

Hello, Friday!  I'm so happy to see you today!  I hope that you will be a productive and full of energy kind of day!  Let's do this!

AND... just in case you need a tad bit of encouragement to get there... how about a Chin Up, Buttercup sentiment to spread some smiles?  I'm up for it... so... here you go!

Chin Up

Why, yes, I do love this card super tons of lots!  Thanks for asking!  The textures and colors just make me happy.  What can I say?  LOVE IT!  I used that adorable Chin Up sentiment from Mama Elephant's Say What set.   That set is full of fun sentiments and I just LOVE this one!!!  Tons, dude.  For reals.  The cork diamonds are cut with Avery Elle's Rounded Diamonds dies and stamped with accents from the coordinating Rounded Diamonds stamp set.  That set gets a LOT of ink in my studio!  I just love it!  I stamped with Imagine Crafts/Tsukinkeo Momento Luxe ink on both the cork and the textured cardstock.  Love that stuff!

Chin Up (detail)

Mmmm... hello, texture.  I do so love thee!  Don't you just want to touch it?!!!!  I love that.  I'm a little crazy, though, so maybe it's just me.  HA!

I hope you have had a delightful week and I wish you a super extra delightful weekend!  

Have a Happy!


ShareThis