
When Jennifer McGuire pulled out the Perfect Pearls and gave a few tips on setting them in one of the recent Online Card Classes lessons in Stretch Your Stamps 2 I knew that would be the first technique I would try from that day! I have had Perfect Pearls in my stash for a long time, but I rarely use them. This was a perfect chance to get those suckers out to play!
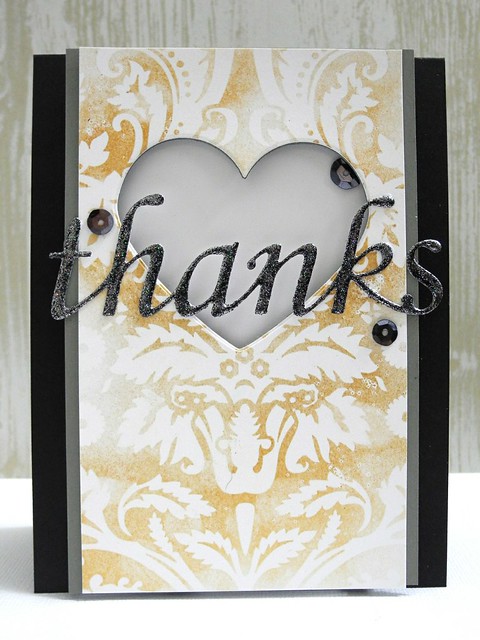
I actually stuck surprisingly close to Jennifer's design, but I played with the colors a bit. I went with the Aztec Gold and the Pearl White powders. I tried using the water and heat gun setting method, but if I'm honest, that totally didn't work, so I ended up just spraying it with workable fixative. I use Krylon Workable Fixatif and I pretty much love that stuff! I die cut the sentiment and then heat embossed it repeatedly (three times) with a fabulously sparkly black powder from Stampendous! They have GREAT embossing powders for layering! They melt together so beautifully!

I chose a glossy white cardstock from Crafter's Companion for inside the heart window to add just a bit more shine. Because obviously the gold shimmer powder and the insanely sparkly embossing wasn't enough. Clearly. HA! A few black sequins ground out that large white space.
After creating this card I was left with the die cut hearts from creating the window. I decided to use mostly the same supplies to create a second card in a completely different style. While the first is an elegant look, the one is a modern, graphic design. I brought in some mint cardstock for this one in addition to the black, white, grey, and gold.

I had a lot of fun creating these cards using techniques I learned in class! You can find the supplies I used in the links below!
Have a Happy!


