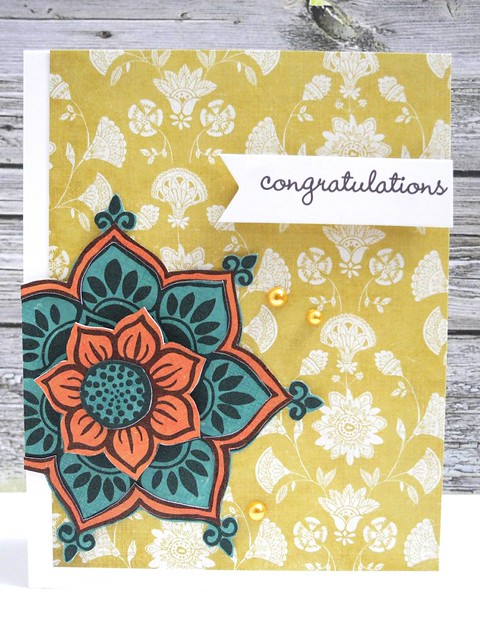
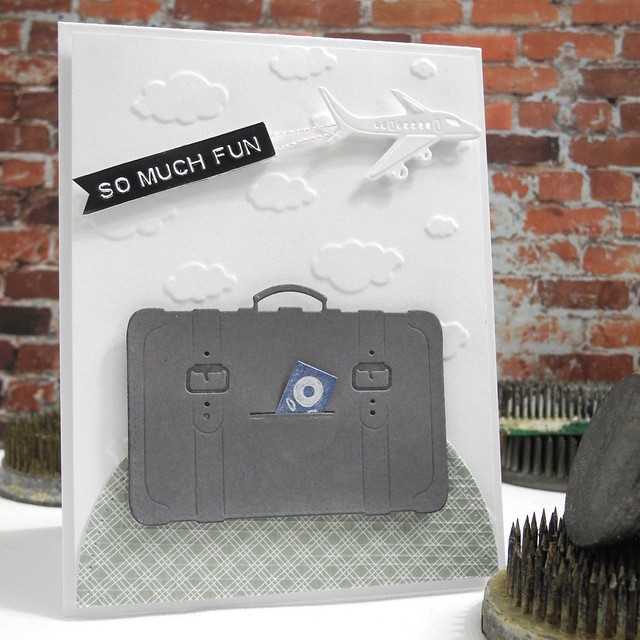
It is SNEAK PEEK time over at Spellbinders® and we are EXCITED! We have some AMAZING new releases coming out at CHA and I am excited to give you a quick peek at two of those great die sets today! The Around The World set and the International Luggage dies are SO MUCH FUN, you guys! For reals! I love these dies! They are great for CAS designs, Shabby Chic designs, vintage, layering...you name it! Seriously... they are super fabulous. For. Reals.
First, I am going to show you how I created this super fun card!
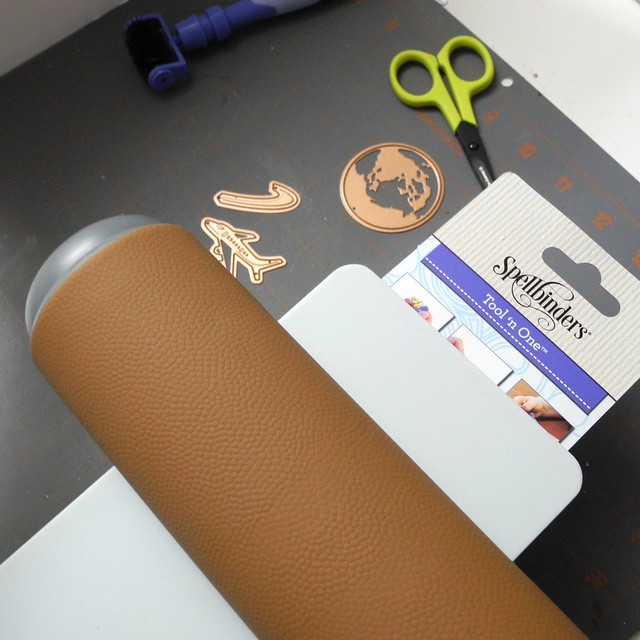
Spellbinders® Supplies:
- IN-048 Around The World
- IN-049 International Luggage
- SCD-009 Pierced Circles
- T-001 Spellbinders® Tool 'n One
- GC-001 Spellbinders® Grand Calibur Die Cut Machine
- MMM-001 Spellbinders® Artisan X-plorer
- WorldWin Papers®: ColorMates® Cardstock (slate, white)
- DCWV®: Woven Paper
- Cosmo CricketTM: Tiny Text Punch Me Stickers
- May Arts Ribbon: Iridescent String
- SCRAPBOOK ADHESIVES BY 3L®: EZ-Runner®, 3D Foam Squares
- Ink: Blue Denim
- Chipboard
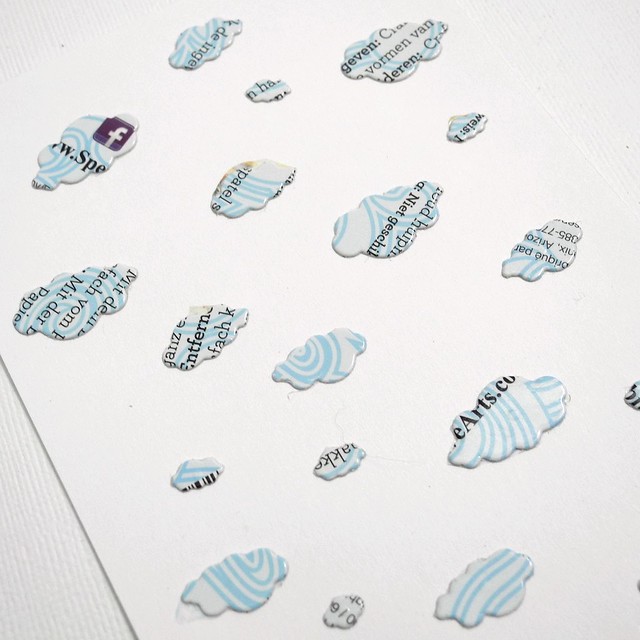
1. To create the cloud background on this card, I used dies to create an embossing plate. This is a super easy technique, that makes your dies even MORE versatile! LOVE THAT! To create the plate, cut a cardstock panel and then die cut the clouds repeatedly from chipboard (I used old product packaging for mine.) and adhere them to the cardstock panel.
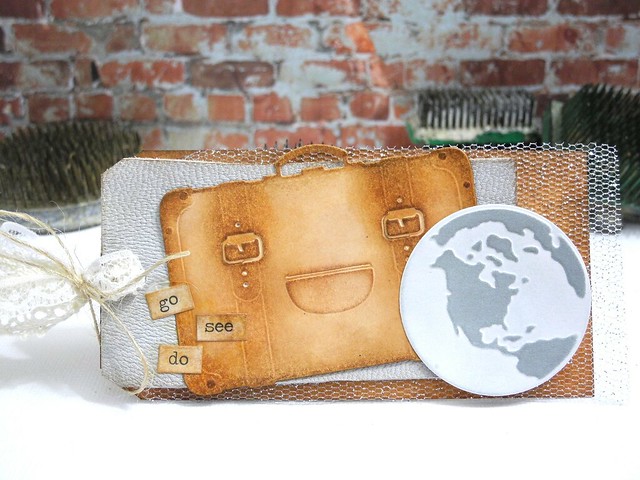
2. Create a sandwich in your die cut machine as you normally would for an embossing plate to emboss.
3. Die cut the suitcase, airplane, and passport. ink the passport and insert into suitcase 'pocket', adding adhesive where needed.
4. Die cut circle, using both the cut die and the piercing die, from the textured paper and adhere to embossed background.
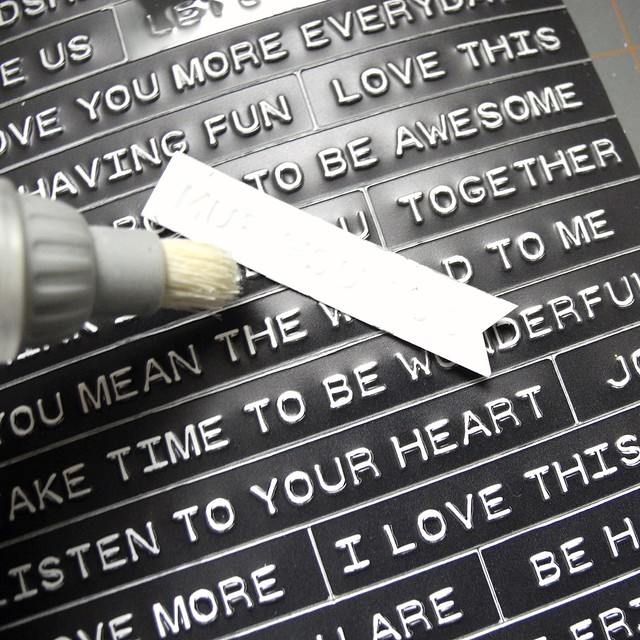
5. Brush powder or cornstarch to the back of sentiment sticker. Using foam tape, adhere string to sentiment and to airplane die cut. Adhere to card with the foam tape.
6. Adhere suitcase with passport to the panel using both a tape runner and foam tape as needed. Adhere panel to card base with foam tape.
I love how cute this card turned out and I can use my custom embossing plate again and again! It is always awesome to get the MOST out of supplies! LOVE IT!
AND... to show you another direction you can go using these same die sets, I created this fun shabby chic luggage tag! LOTS of layers on this one! I used some basic tags along with leather and fabric pieces from the A Gilded Life line. If you haven't checked those out yet...dude... DO IT!
Be sure to head on over to the Spellbinders® Blog for more inspiration and details on our Winter Sneak Peek and Giveaway! Also, Linda Duke is sharing another FABULOUS project on her blog today, so be sure to head over there, as well!
Have a Happy!